Paper Plate Sheep Craft came together on a rainy afternoon when my kids spotted leftover cotton balls from cloud Craft we previously made and immediately wanted to know what we were making next.
I didn’t have a plan. But a paper plate, some cotton balls, and a black marker later, we had the fluffiest little sheep sitting on the table.
Five minutes. No mess. Nothing you need to run out and buy.
Just a simple craft that uses what’s already around the house and keeps little hands busy long enough to actually enjoy the quiet.
Everything you need to pull this together is right below.
What You Need for This Paper Plate Sheep Craft
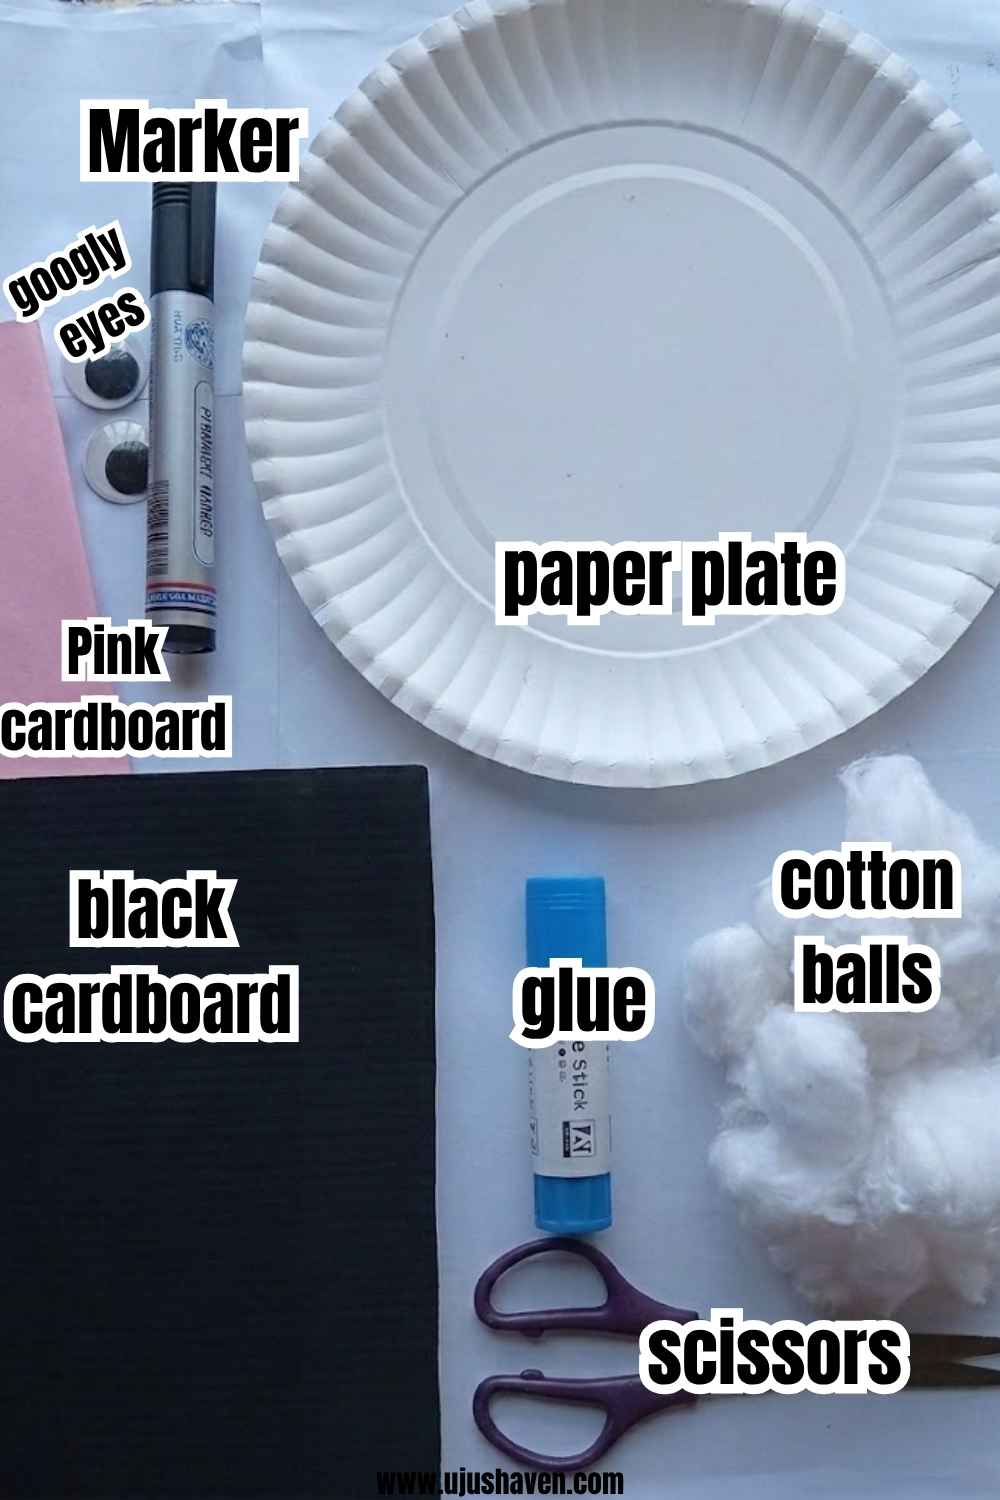
Nothing fancy here. Just a small pile of supplies you probably already have tucked in a craft drawer somewhere.
- One plain white paper plate
- A bag of cotton balls
- Black cardboard (for the face, ears, nose, and smile)
- Pink cardboard (for the inner ears)
- Two googly eyes
- Glue
- Scissors
That’s it. No trip to the store, no waiting on a delivery.
If your supplies are already sitting on the table like mine were, you’re ready to start this paper plate sheep craft right now.
How to Make a Paper Plate Sheep Craft
Step 1: Prepare Your Paper Plate
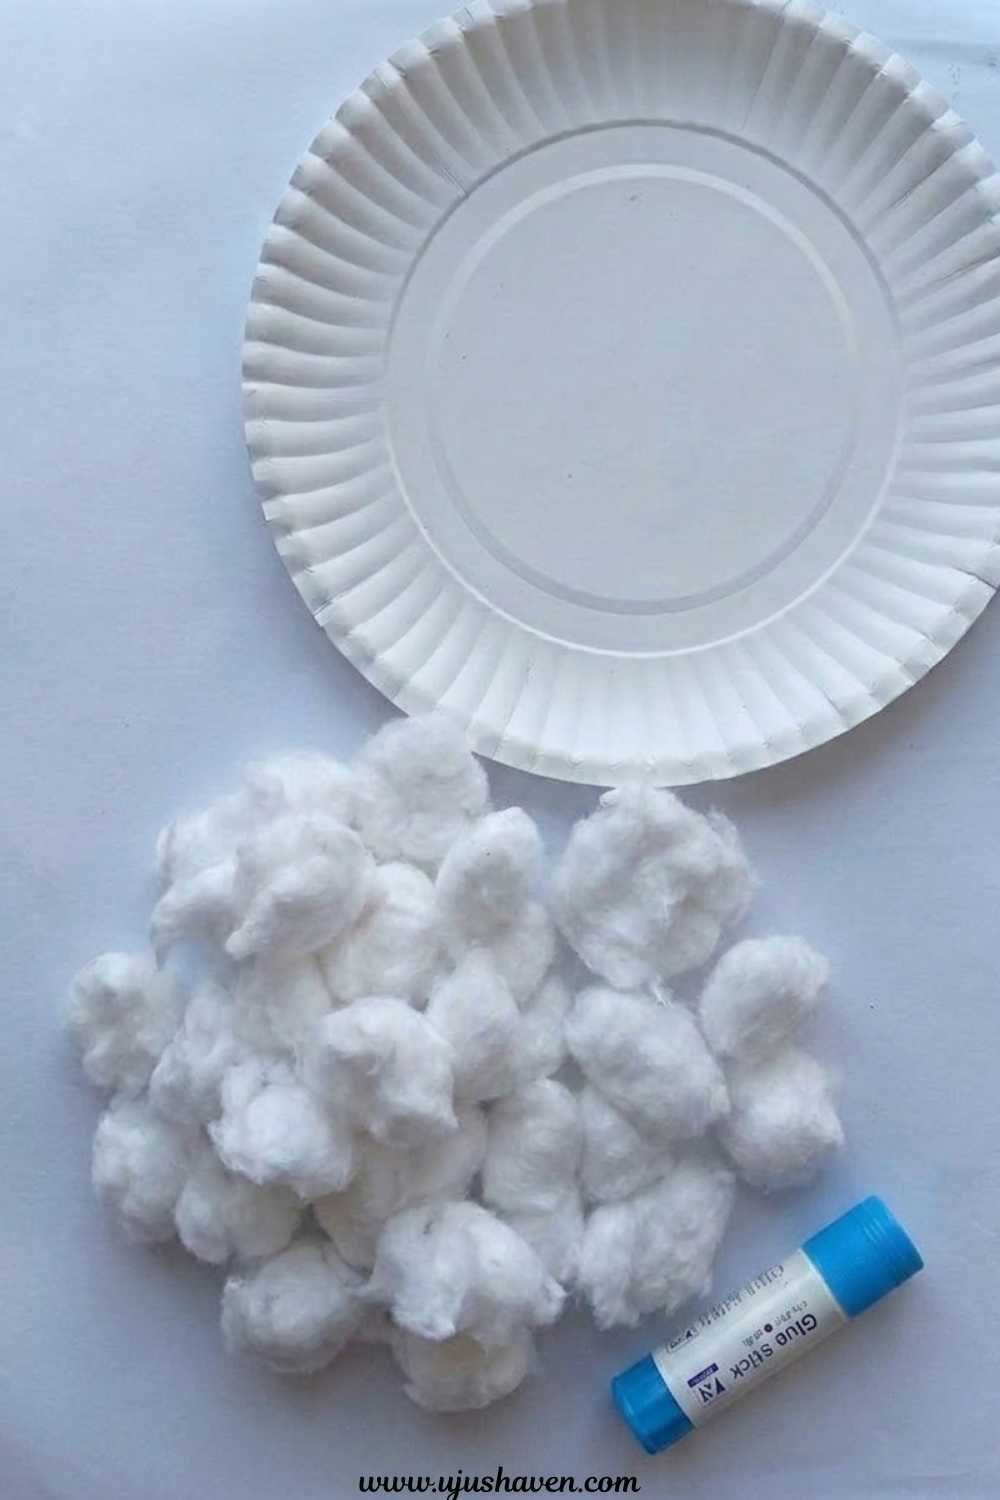
Start with one plain white paper plate. Place it with the front side facing up since this will become your sheep’s fluffy body.
Before adding anything, quickly check that the plate is clean and dry.
This helps the glue stick better and keeps the cotton balls looking bright white.
Step 2: Cover the Plate with Cotton Balls
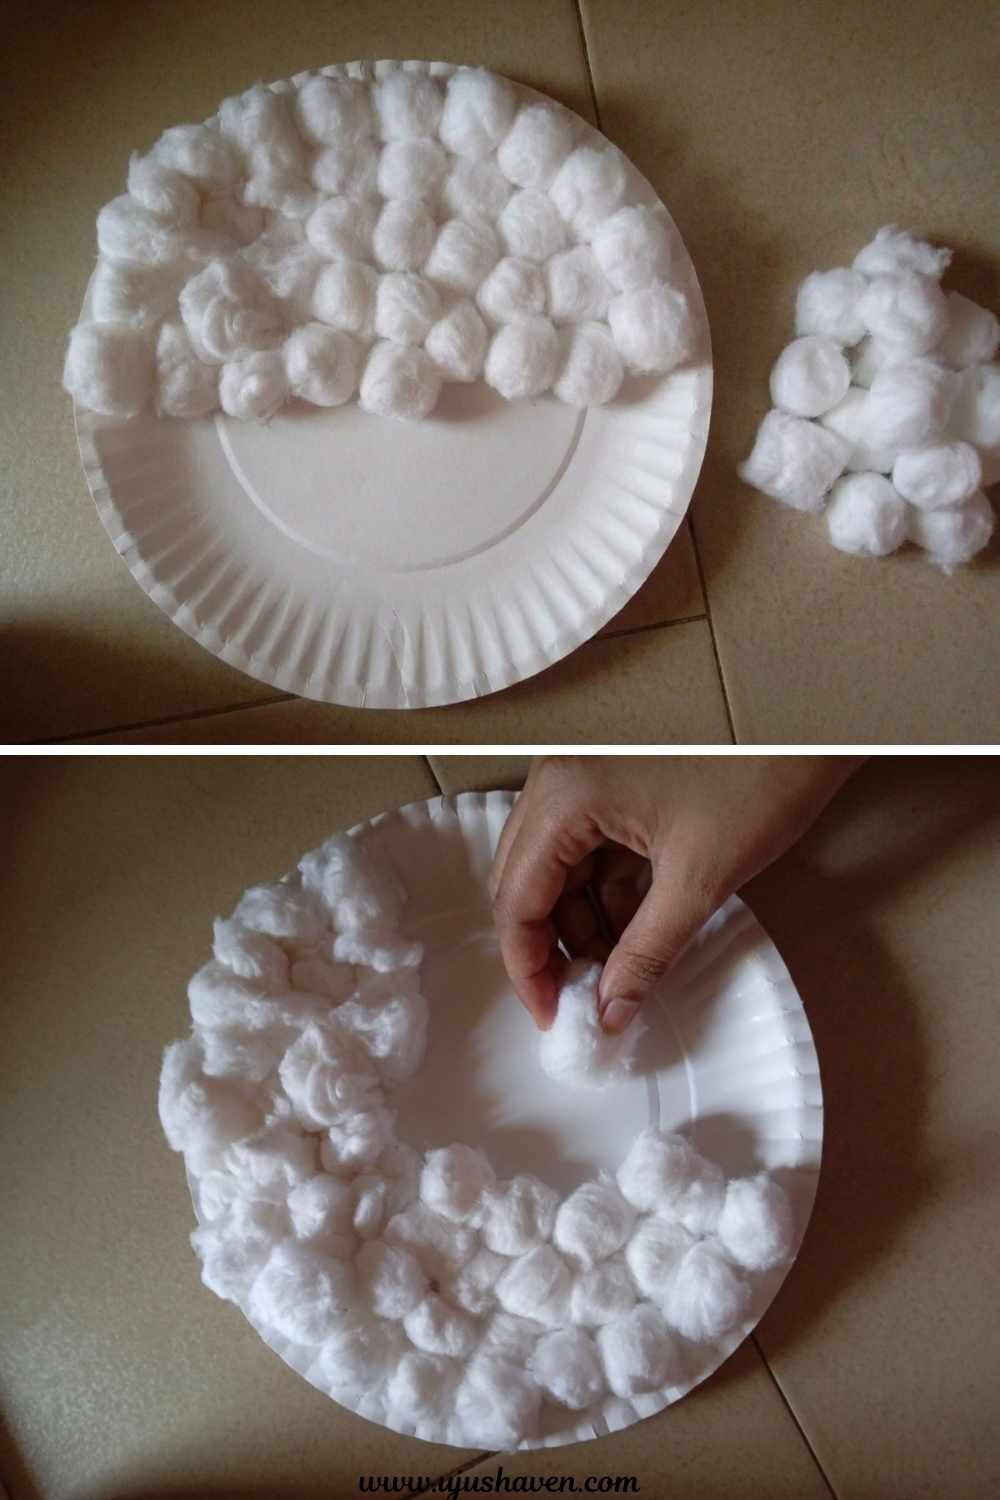
This is the fun part, and the one that makes the sheep come to life.
Apply glue to a small section of the paper plate instead of covering the whole plate at once.
Then press the cotton balls onto the glue one by one.
Keep adding more cotton balls until the entire plate is covered.
Don’t worry if every cotton ball isn’t exactly the same size.
A little variation actually makes the wool look softer and more natural.
Tip: Place the cotton balls close together so there aren’t large gaps showing the paper plate underneath.
Allow the glue to dry for a few minutes before moving on.
Step 3: Cut Out the Sheep’s Face
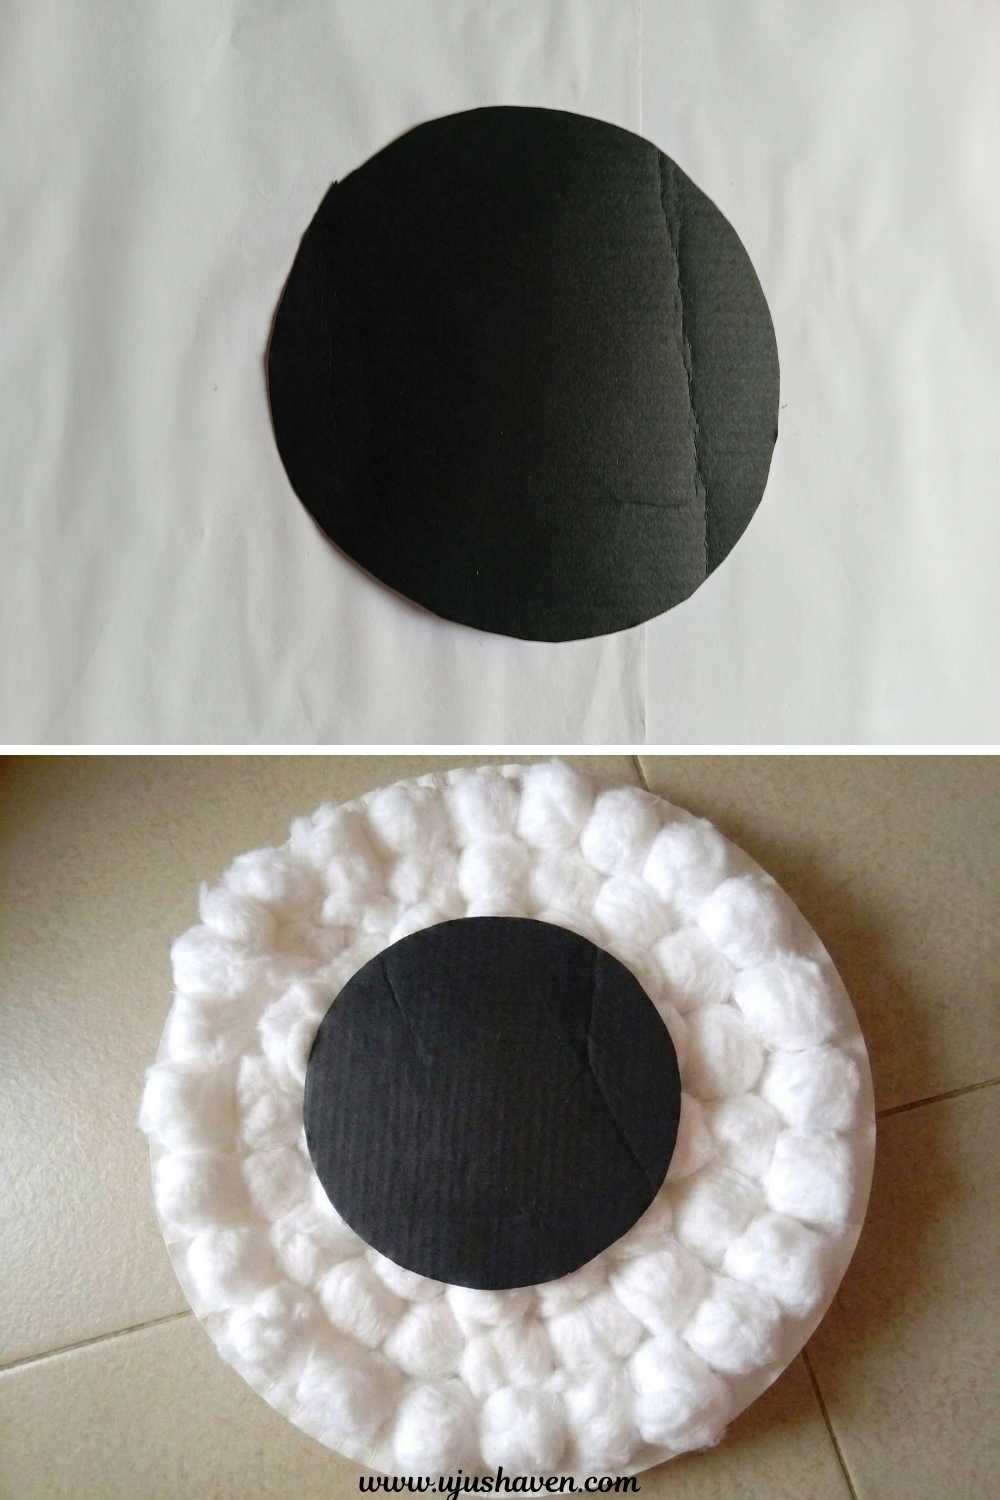
Using your black cardboard, cut out one large circle for the sheep’s face.
It doesn’t have to be perfectly round. Just keep trimming little by little until you’re happy with the shape.
Place the face in the center of the cotton-covered plate before gluing it down. This lets you check that it looks balanced.
Once you’re satisfied, glue it in place.
Step 4: Make the Ears
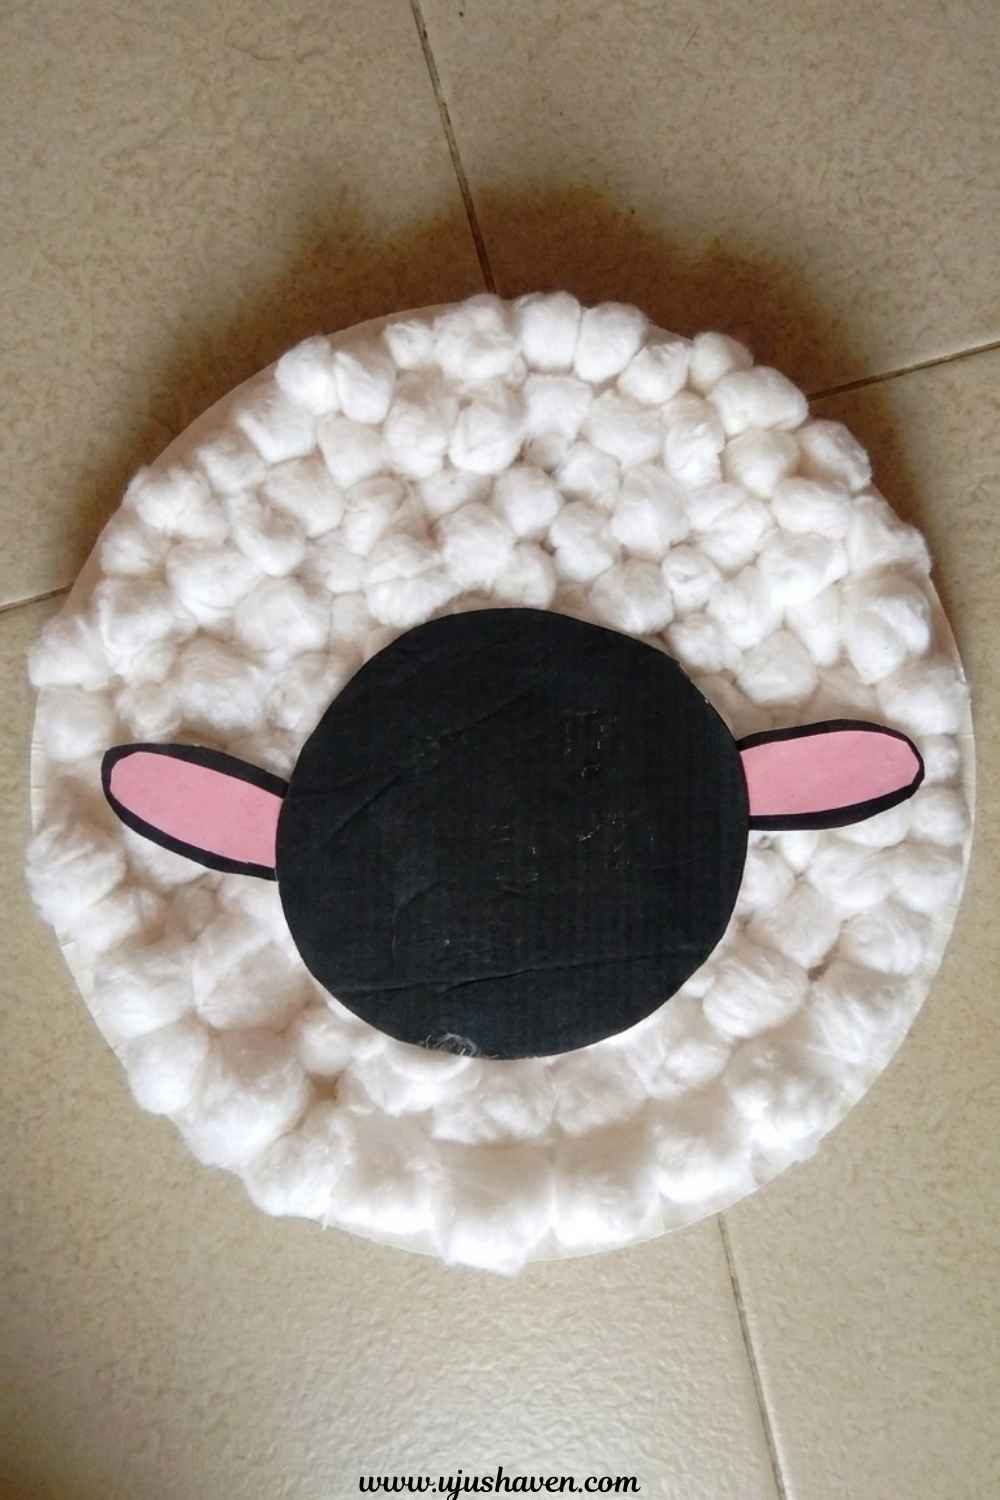
Cut two leaf-shaped ears from the black cardboard.
Next, cut two smaller ear shapes from the pink cardboard.
Glue one pink piece onto the center of each black ear, leaving a small black border showing all the way around.
Attach the finished ears behind the sides of the face.
Try to keep both ears at about the same height.
They don’t need to be perfectly identical.
A tiny bit of handmade charm is completely fine.
Step 5: Add the Googly Eyes
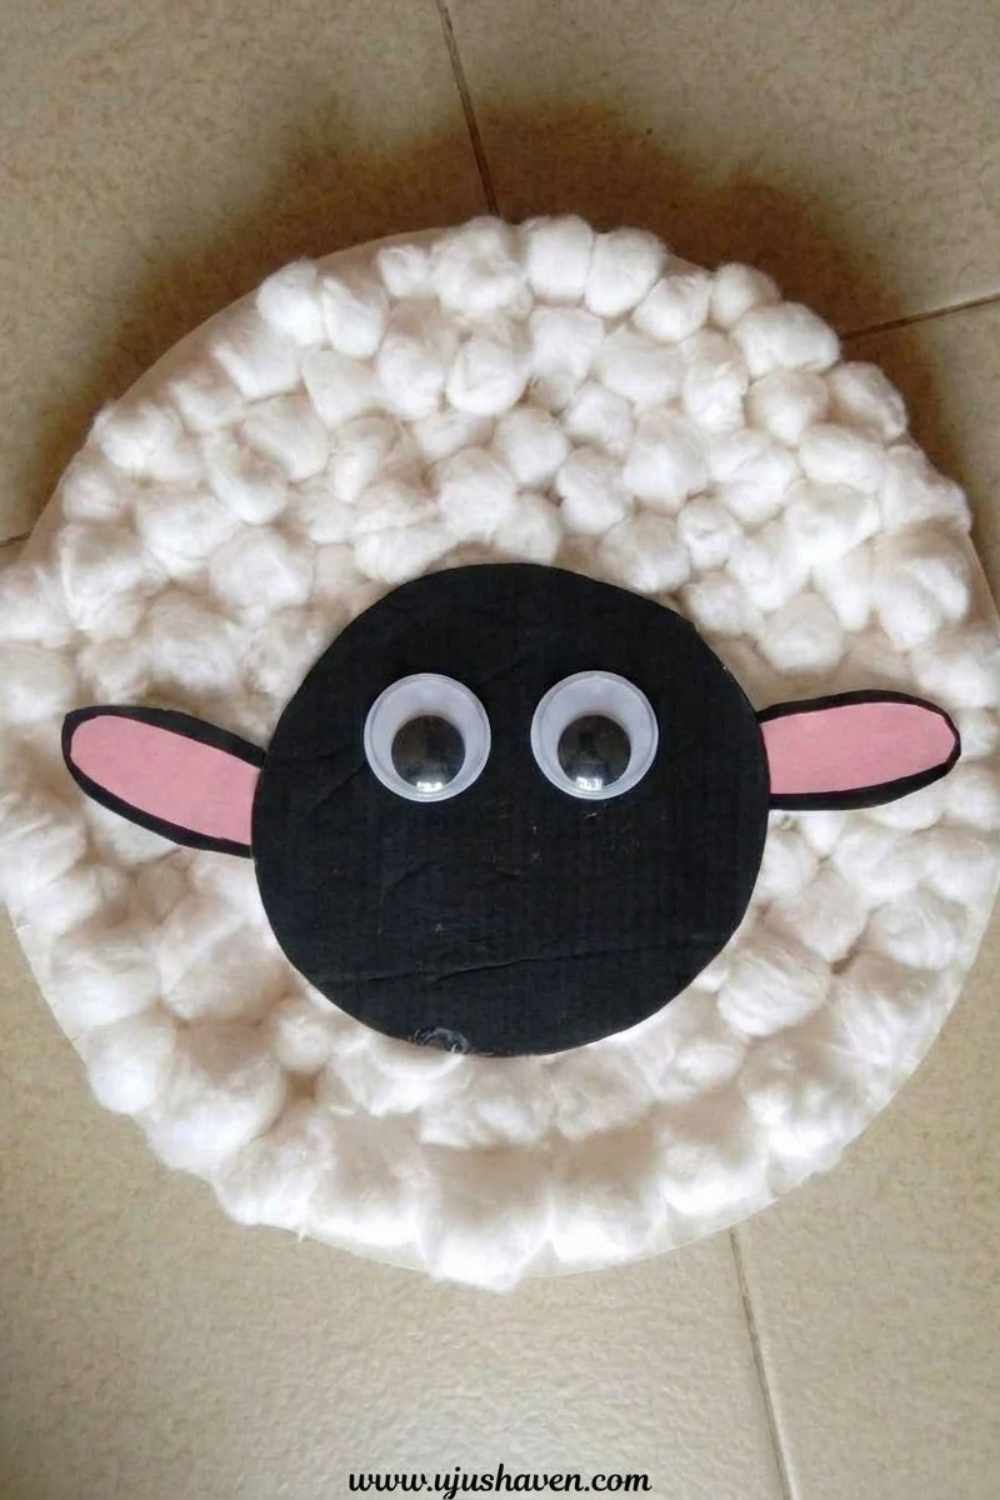
Glue two googly eyes near the top half of the sheep’s face.
Leave a little space between them so the face looks open and friendly.
Before the glue dries, step back and make sure both eyes are sitting straight.
This small check makes a big difference in the finished craft.
Step 6: Create the Nose
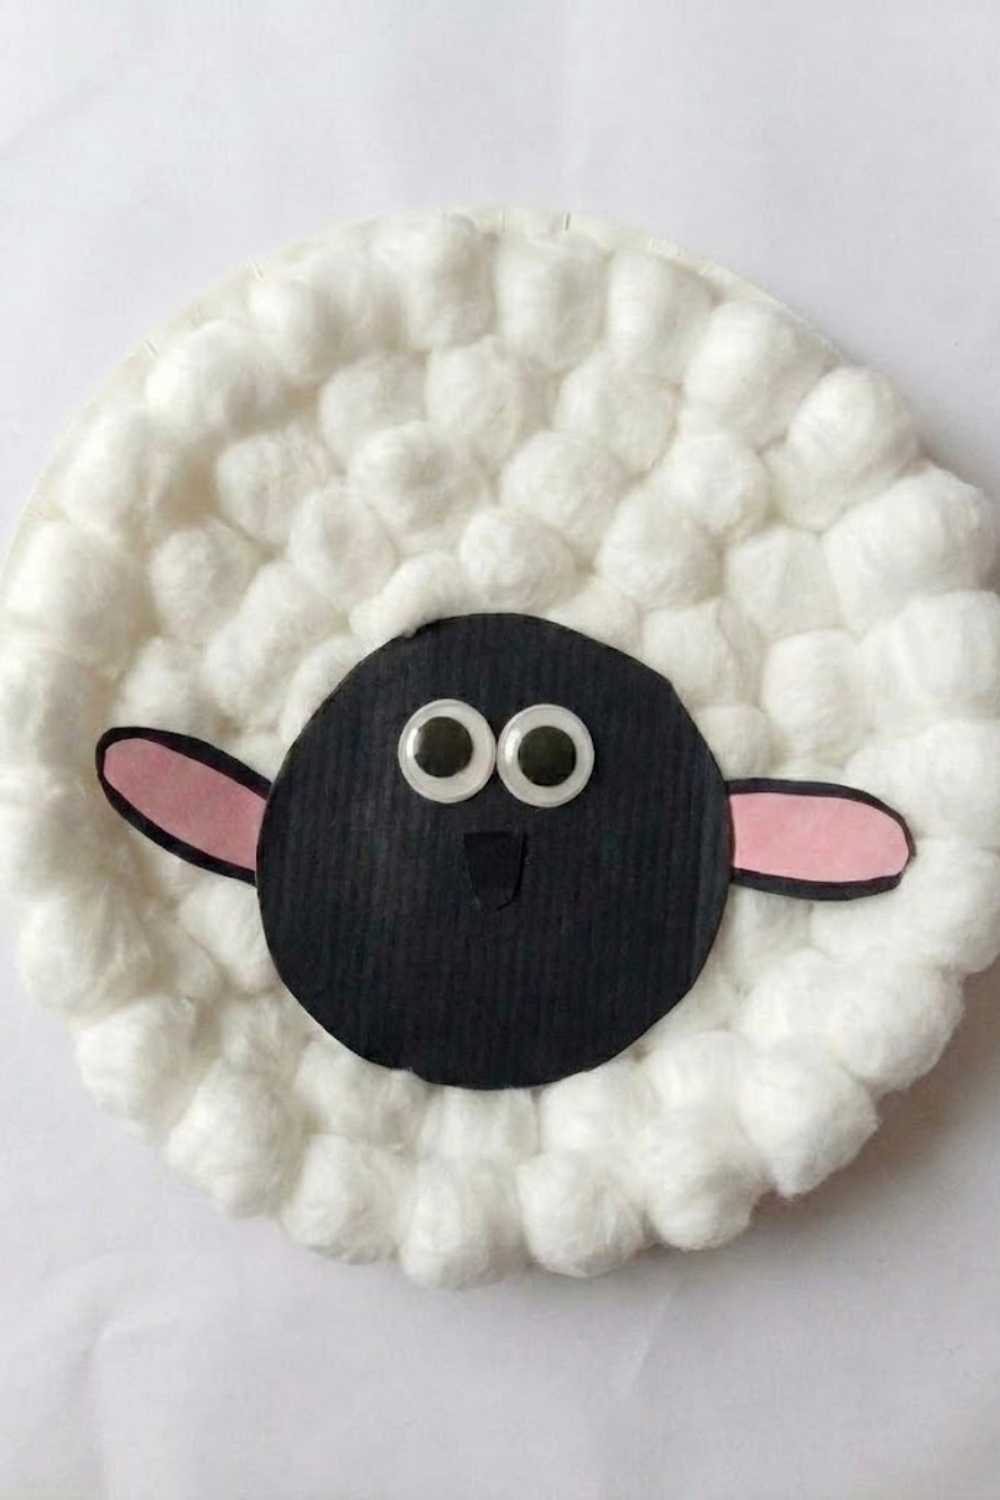
Cut a small nose pieces from your black cardboard or pink cardboard.
Keep them simple and slightly rounded.
Glue it just below the eyes, leaving a little space between them.
The nose doesn’t need lots of detail. Keeping it simple helps the face stay cute and easy to recognize.
Step 7: Add a Friendly Smile
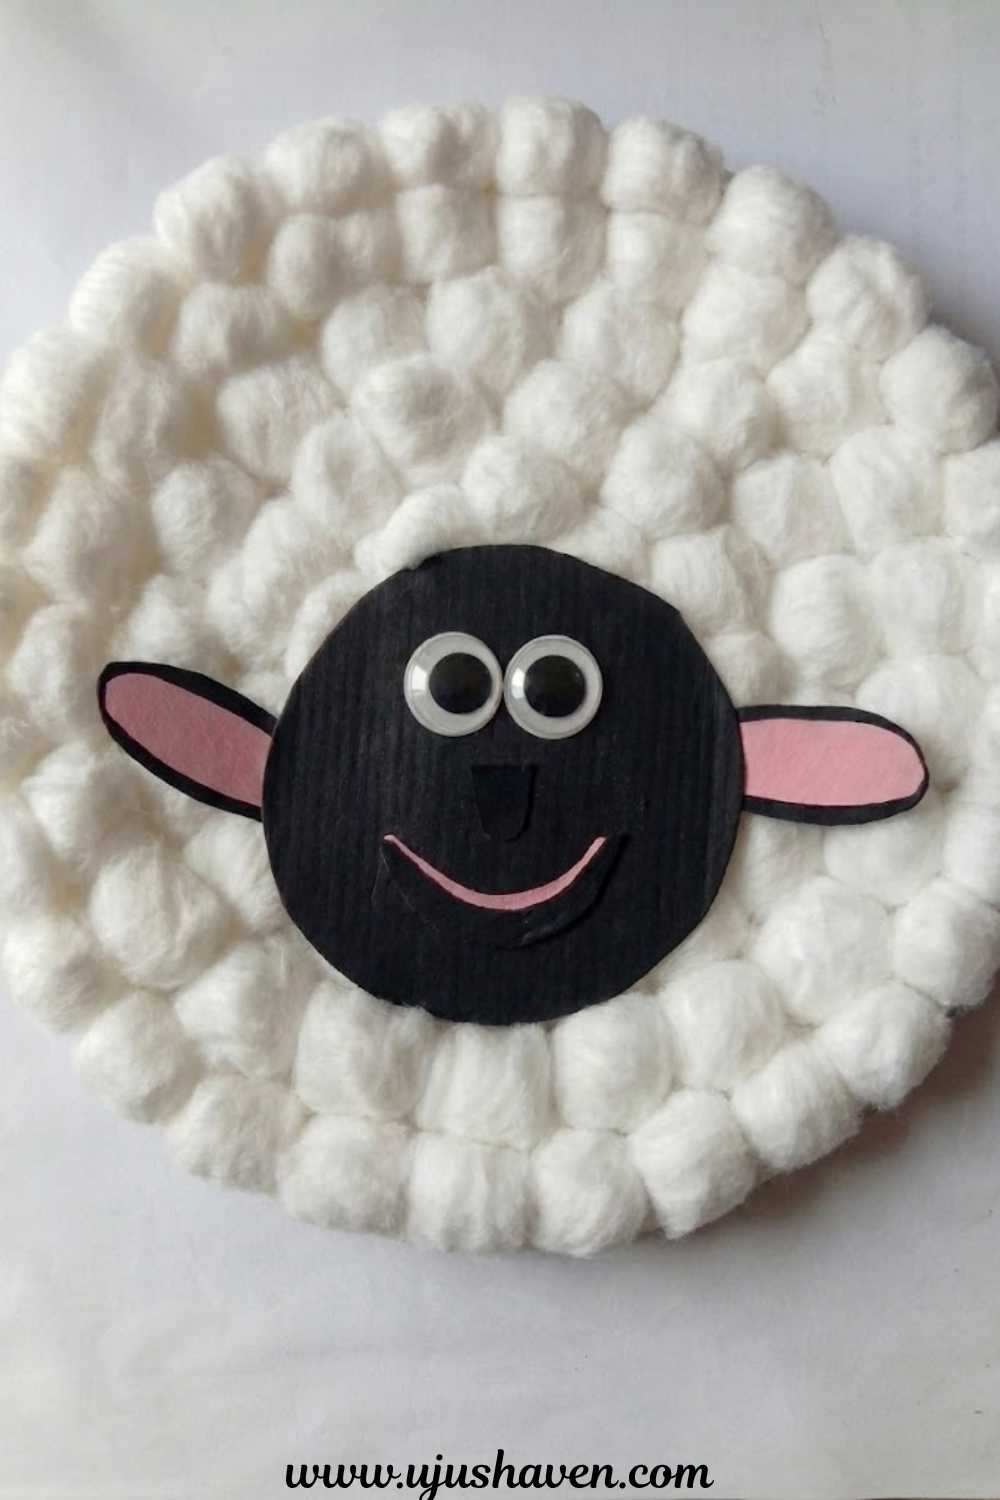
Cut a smooth curved smile from your black cardboard.
Instead of making the smile too thick, keep it fairly slim so it looks soft and natural.
Glue the smile below the nose.
A simple smile is all this sheep needs.
It gives the craft a cheerful expression without making the face look busy.
Step 8: Let Everything Dry
Leave the craft on a flat surface until all the glue has completely dried.
This helps every piece stay firmly attached, especially the cotton balls and ears.
Resist the urge to keep touching or moving it while it’s drying.
Step 9: Give Your Sheep a Final Look
Once everything is dry, take one last look at your sheep.
Check that:
- The cotton balls are covering the plate evenly
- The face is sitting nicely in the center
- The ears look balanced
- The eyes are secure
- The smile gives your sheep a happy expression
If something looks slightly out of place, don’t panic.
Handmade crafts aren’t meant to look factory-perfect. Those tiny differences are part of what makes each sheep unique.
Tips to Keep This Craft Simple for Little Hands
If you’re making this paper plate sheep craft with a toddler or preschooler, a few small adjustments go a long way.
Pre-cut the ears, nose, and smile ahead of time so little hands only have to focus on gluing and placing.
Swap liquid glue for glue dots or a glue stick if mess is a concern, cotton balls stick just fine either way.
Let your child place the cotton balls wherever they land instead of trying to keep the coverage perfectly even.
A slightly patchy sheep still looks adorable, and honestly, it looks more like a real one.
If your little one loses interest halfway through, that’s completely normal.
Step in, finish a section together, then hand it back. The goal is a fun afternoon, not a perfect craft.
Fun Ways to Play With Your Paper Plate Sheep
Once your sheep is dry, don’t just set it aside.
There’s more fun to be had with it.
Turn it into a puppet by taping a craft stick to the back.
Pair it with other farm animal crafts for a full barnyard scene on the table or wall.
Or let your kids use it in pretend play, complete with sheep sounds and a little farm story they make up as they go.
A finished paper plate sheep craft doesn’t have to sit on a shelf.
It can become part of the play itself, which is often the part kids remember most.
More Paper Plate Animal Crafts to Try
If your kids enjoyed making this paper plate sheep craft, there’s a good chance they’ll love turning a paper plate into something else next.
Try Paper Plate Ice Cream Craft For Kids for a sweeter, colorful project, or Paper Plate Watermelon Craft for Kids if summer crafting is more your speed.
And if you’re looking to switch materials entirely, 15 Easy Popsicle Stick Crafts For Kids has plenty of ideas to keep the craft supplies busy for weeks.
Whichever one you pick next, you already know the drill.
Simple supplies, a little glue, and a quiet afternoon are really all it takes.
Frequently Asked Questions About Paper Plate Sheep Craft.
Can I use something other than cotton balls for the sheep’s wool?
Cotton balls give the best fluffy texture for this paper plate sheep craft, but if you don’t have any on hand, torn-up cotton pads or even scrunched-up white tissue paper work in a pinch.
The look won’t be quite as soft, but it still gets the job done for a quick craft session.
How long does this paper plate sheep craft actually take?
From start to finish, this craft takes about five minutes of hands-on work, not counting drying time.
The steps themselves are quick since there’s no complicated cutting or shading involved.
Just budget a little extra time for the glue to set before moving your sheep around.
What age group is this paper plate sheep craft best for?
This craft works well for toddlers through early elementary age.
Younger kids can help with placing cotton balls and eyes, while older kids can handle the cutting and gluing on their own.
It’s flexible enough to adjust based on how much independence your child wants.
Do I need a template to cut out the face and ears?
Not at all. This paper plate sheep craft doesn’t require a template.
Free-handing the face, ears, nose, and smile is part of what keeps it low-pressure.
A slightly uneven circle or ear still looks charming once it’s glued in place, and no two sheep ever turn out exactly alike.
Can I make this craft without cardboard?
Yes. If you don’t have black or pink cardboard around, construction paper or even cut-up cereal box cardboard works just as well.
The goal is just something sturdy enough to hold its shape once glued onto the plate.
How do I store or display the finished craft?
Once your paper plate sheep craft has fully dried, it holds up well sitting flat on a shelf or table.
If you’d rather hang it up, gluing a loop of string or a small piece of tape to the back works fine.
Just avoid stacking anything on top of it since the cotton balls can flatten under weight.