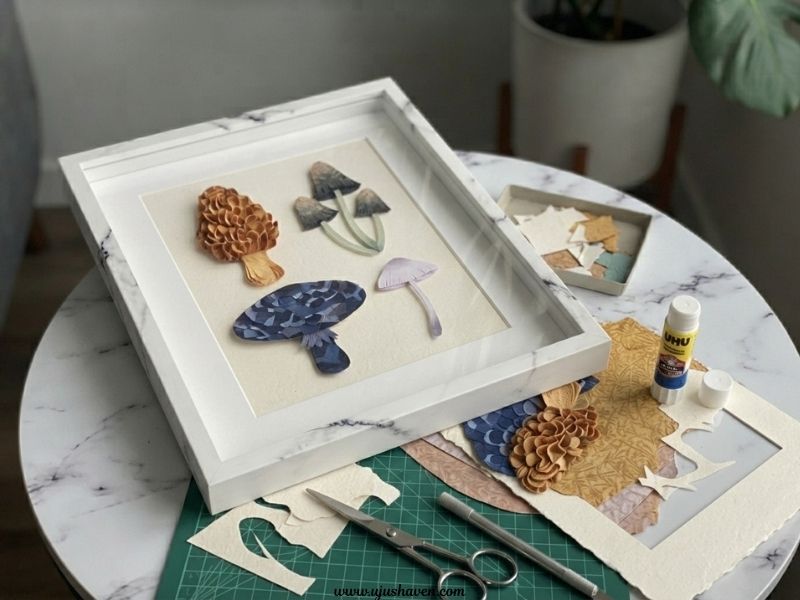
Fall Leaf Crafts for Adults were the last thing on my mind when I stepped outside for a walk one October afternoon.
But somewhere along the path, I started picking up leaves without really thinking about it.
The colors, the shapes, the way they felt dry and papery between my fingers. I came home with a small pile and absolutely no plan.
That’s the part nobody talks about.
The pull to make something is real, but most of the ideas you find online look effortless in the photo and completely different once you’re actually sitting at your table with a leaf, some mod podge, and suddenly no idea what you’re doing.
The project ends up abandoned halfway, and the leaves end up in the bin.
That’s exactly what this list is meant to fix, fifteen fall leaf crafts for adults that are genuinely worth the hour, look good when they’re done, and don’t require skills you don’t have.
You Don’t Need to Be Crafty for This
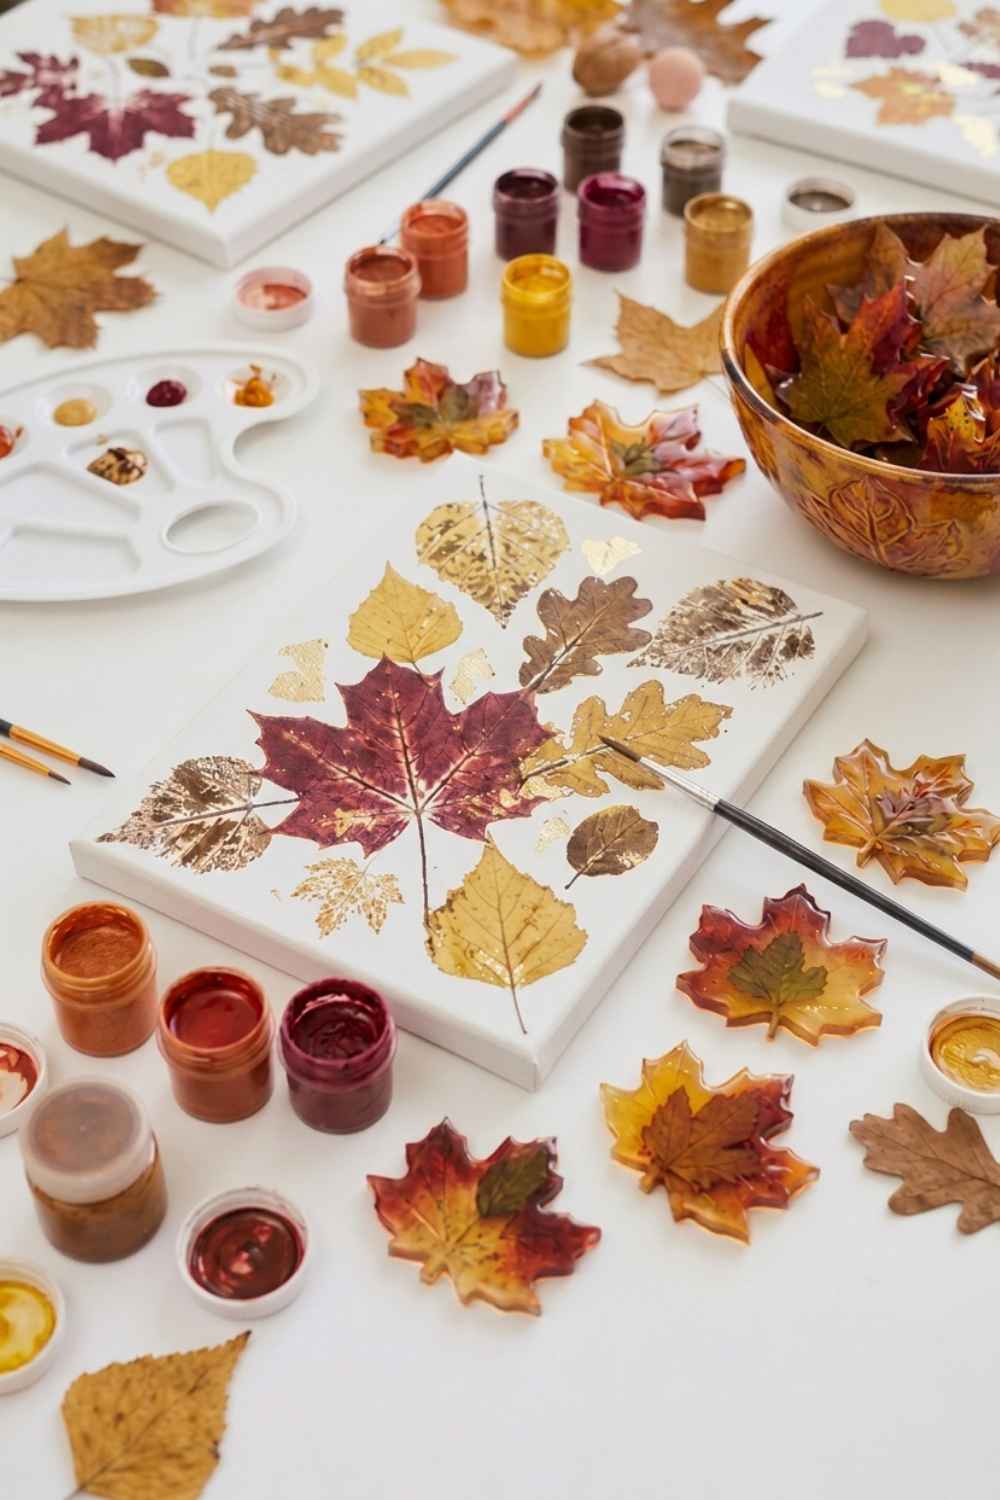
It’s easy to scroll this with a little doubt. The pin looks perfect, the leaves arranged like they never once curled or cracked on anyone.
And somewhere in the back of your mind, there’s a small worry that it won’t look like that once it’s your table, your glue gun, your leaves that didn’t press quite right.
It will. Every one of these fall leaf crafts for adults comes from leaves that give people trouble at some point.
None of them ask for a steady hand or a trip to a specialty store.
If you can press a leaf between two books and squeeze a glue bottle, you’re already qualified.
Fall Leaf Crafts for Adults You Can Finish in Under 30 Minutes
1. Pressed Leaf Bookmarks
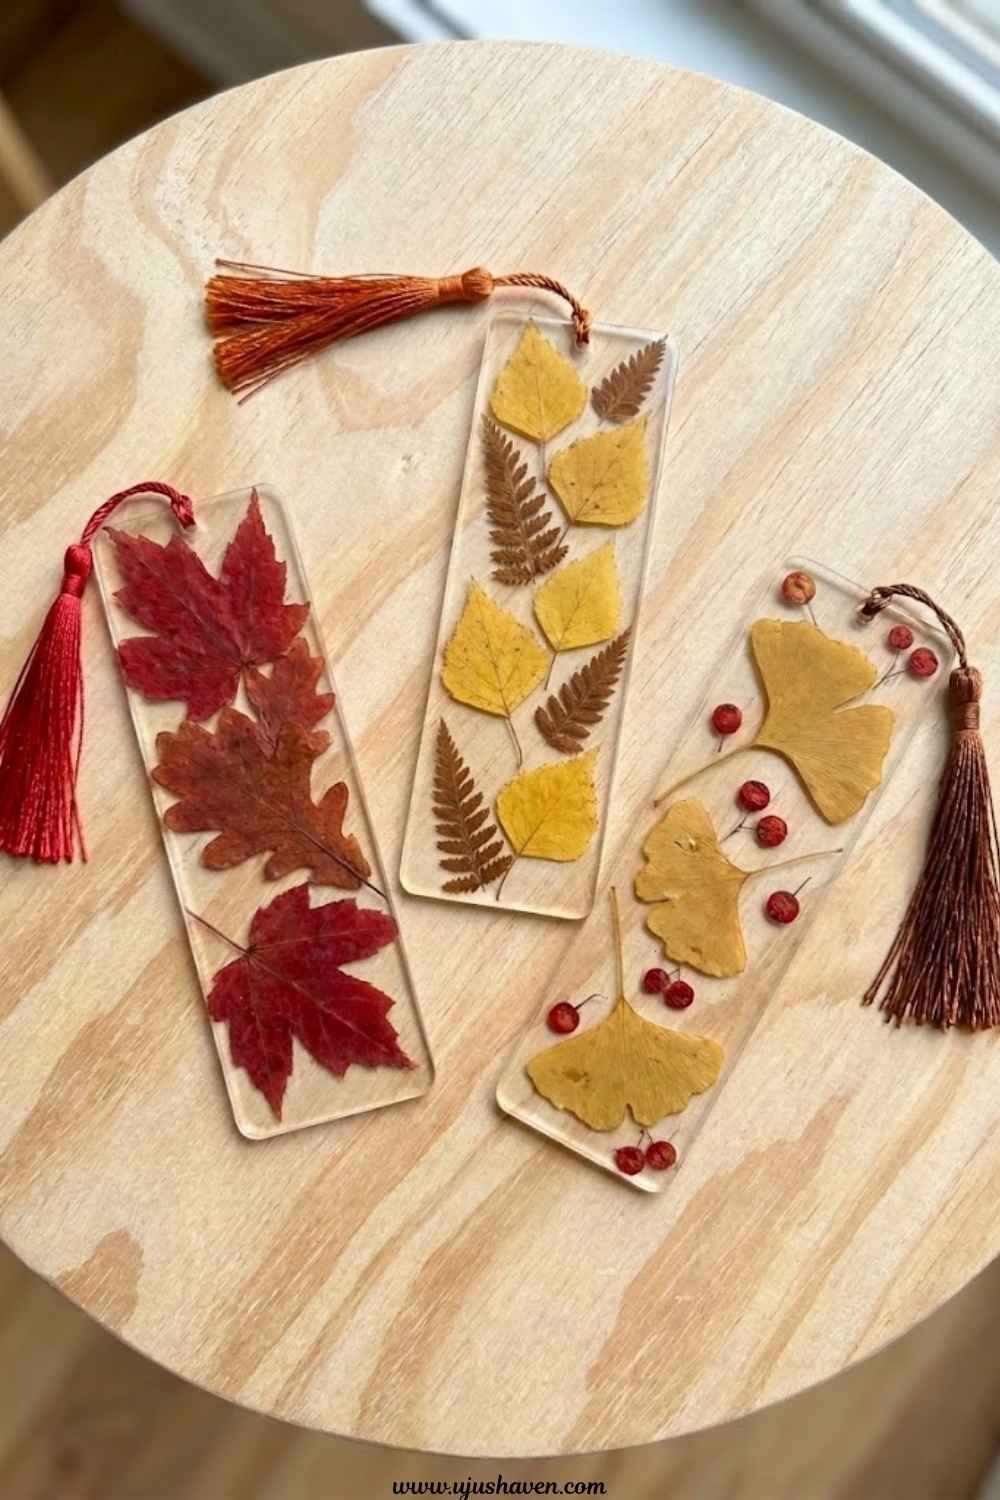
This is the one for a night with zero energy left for anything bigger.
A single leaf, turned into something you actually reach for again and again.
What you’ll need:
- 2-3 pressed leaves
- Clear cardstock or laminating sheets
- Scissors
- A small hole punch
- Ribbon or string
How to make it:
- Press your leaves flat for at least two days.
- Arrange each leaf between two sheets of clear cardstock.
- Laminate or seal with clear tape around the edges.
- Trim into a bookmark shape.
- Punch a hole at the top and loop through ribbon.
Pro tip: Press leaves while they still have a little give left in them. Fully dried ones crack the second they hit the laminate.
Make it yours: Layer two smaller leaves instead of one for a fuller look.
2. Leaf Stamped Tote Bag
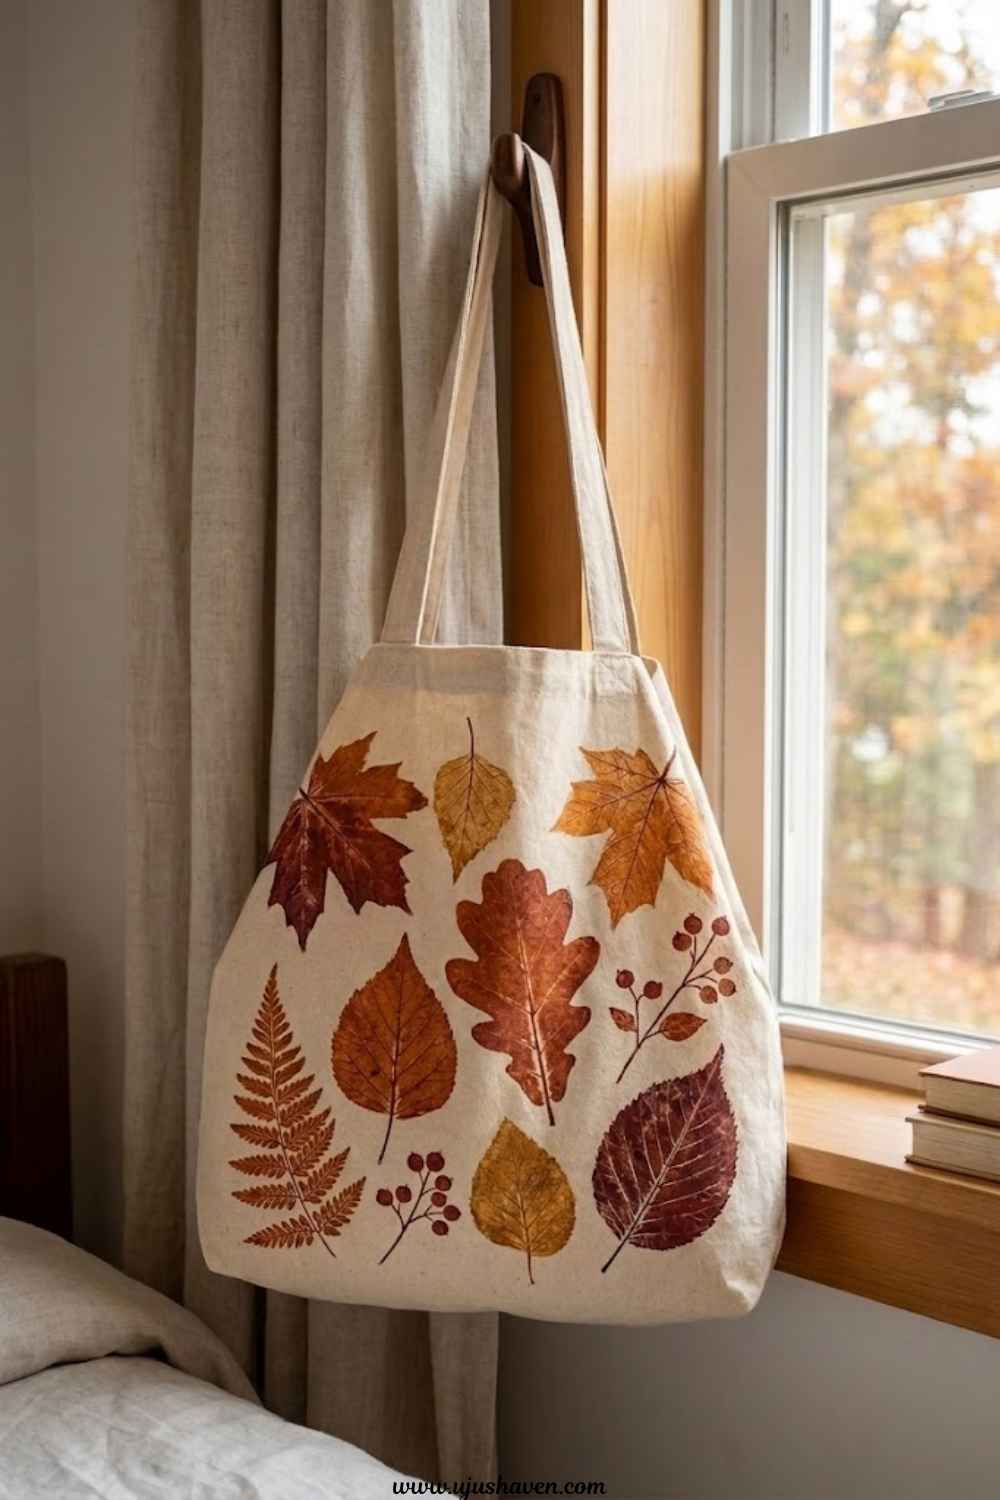
This is the craft that makes an ordinary tote look like it came from a small design studio, in about the same time it takes to make dinner.
What you’ll need:
- A plain canvas tote
- Fabric paint
- A few sturdy leaves with visible veins
- A foam brush
- Cardboard to slide inside the bag
How to make it:
- Slide cardboard inside the tote so paint doesn’t bleed through.
- Brush a thin layer of fabric paint onto the underside of a leaf.
- Press the leaf paint side down onto the fabric firmly.
- Peel back slowly and repeat with different leaves and angles.
- Let it dry fully before using the bag.
Pro tip: Too much paint and the veins smudge into a blur.
A thin coat gives a crisper print every time.
Make it yours: Use two shades of paint for a layered, ombre look.
3. Simple Leaf Garland
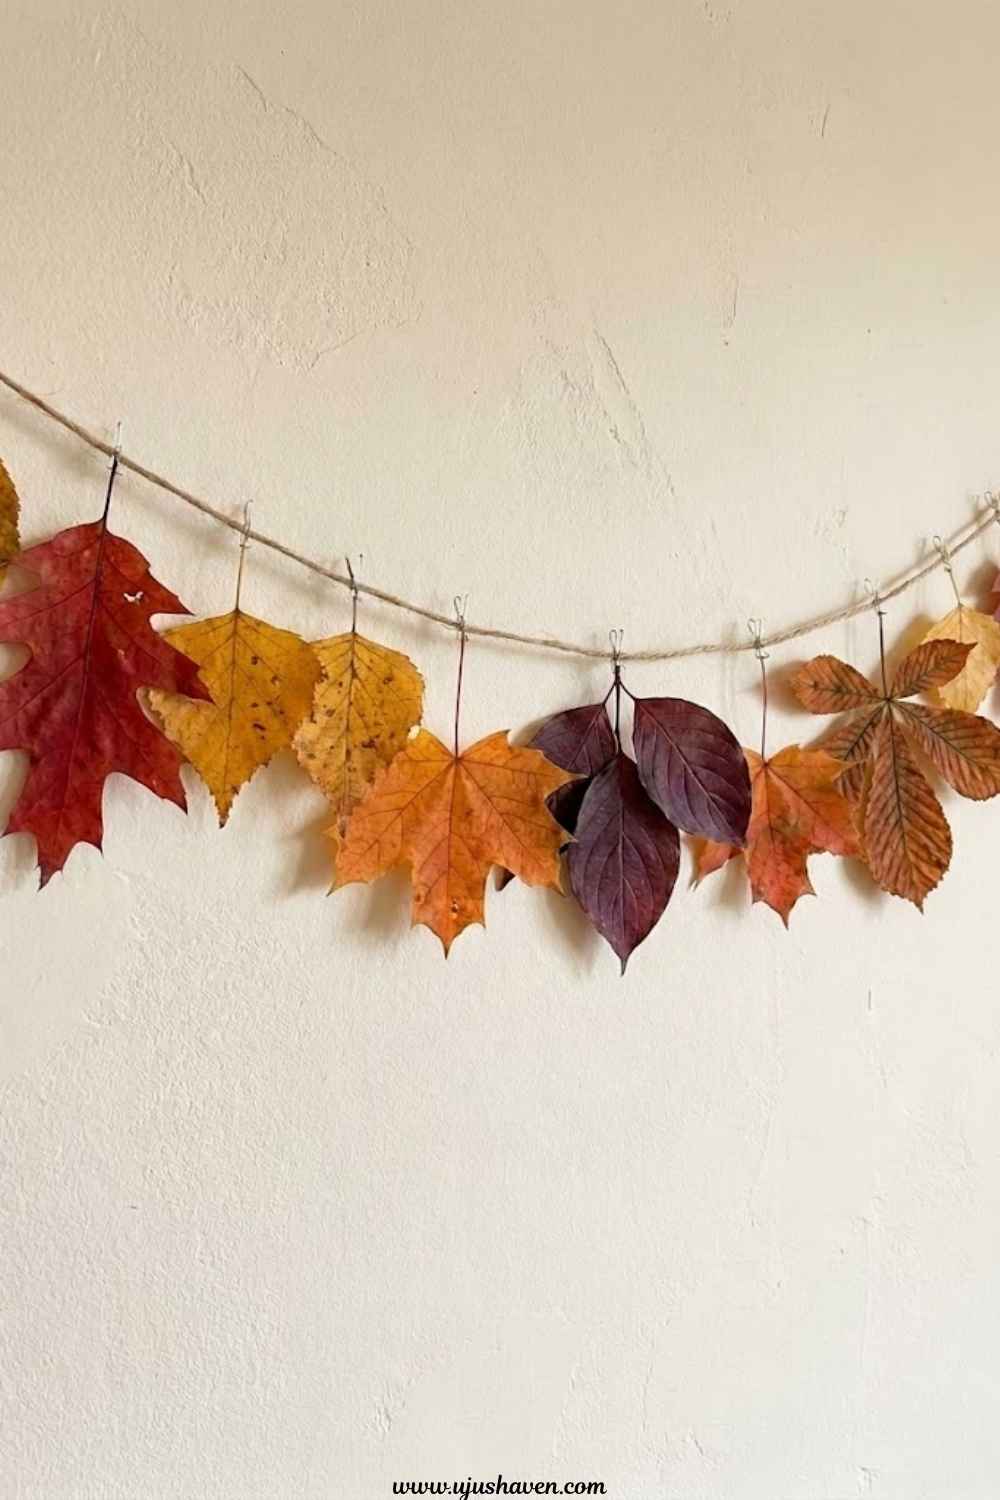
Some of these fall leaf crafts for adults aren’t really about the finished piece.
They’re about the hour spent making it.
Quiet, repetitive, oddly calming, and one of the rare projects where a glue gun actually cooperates the whole way through.
What you’ll need:
- 8-10 pressed leaves
- Twine
- A hot glue gun
- Scissors
How to make it:
- Lay out your twine to your desired length.
- Add a small dot of glue to the top of each leaf stem.
- Press the leaf onto the twine, spacing them evenly.
- Let each one set for a few seconds before moving to the next.
- Hang once fully dry.
Pro tip: Alternate leaf sizes so it doesn’t end up looking too uniform, or worse, store bought.
Make it yours: Add small dried flowers between leaves for extra texture.
4. Mod Podge Leaf Coasters
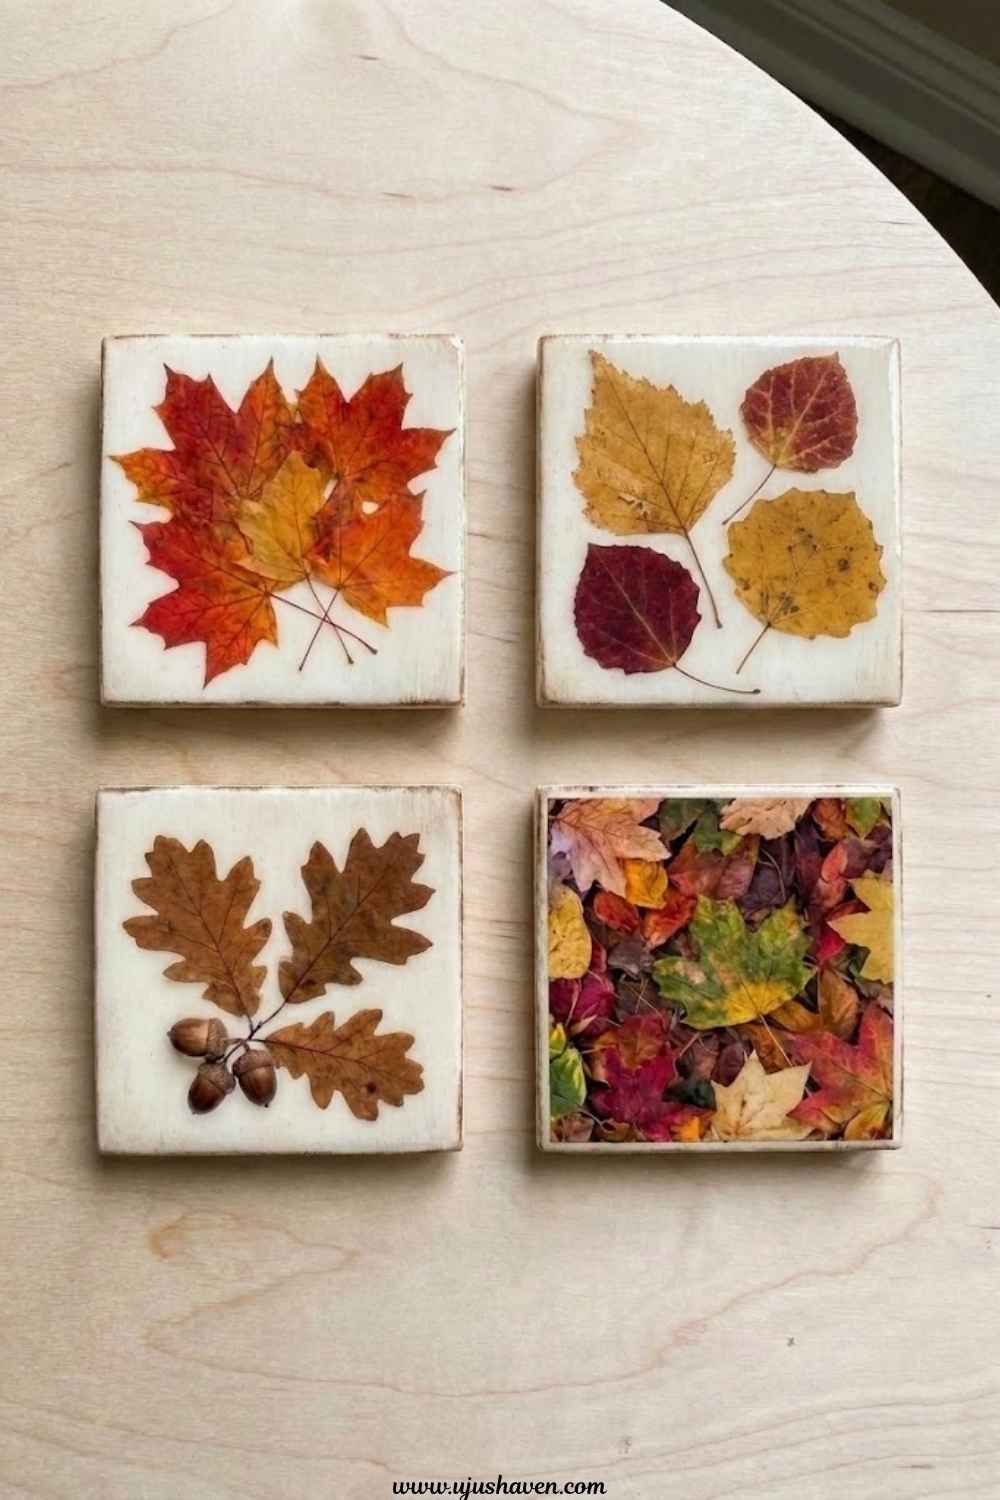
The kind of craft that looks like it might fall apart within a week and instead lasts the whole winter without a single peeling edge.
What you’ll need:
- Plain cork or wood coasters
- Small pressed leaves
- Mod podge
- A foam brush
How to make it:
- Brush a layer of mod podge onto the coaster.
- Press your leaf into place.
- Seal over the top with another layer of mod podge.
- Let dry completely between coats.
- Add a final protective layer for durability.
- Pro tip: Three thin coats seal better than one thick one, which tends to bubble up.
- Make it yours: Match leaf colors to your kitchen or dining set.
Fall Leaf Crafts for Adults That Double as Home Decor
5. Framed Pressed Leaf Art
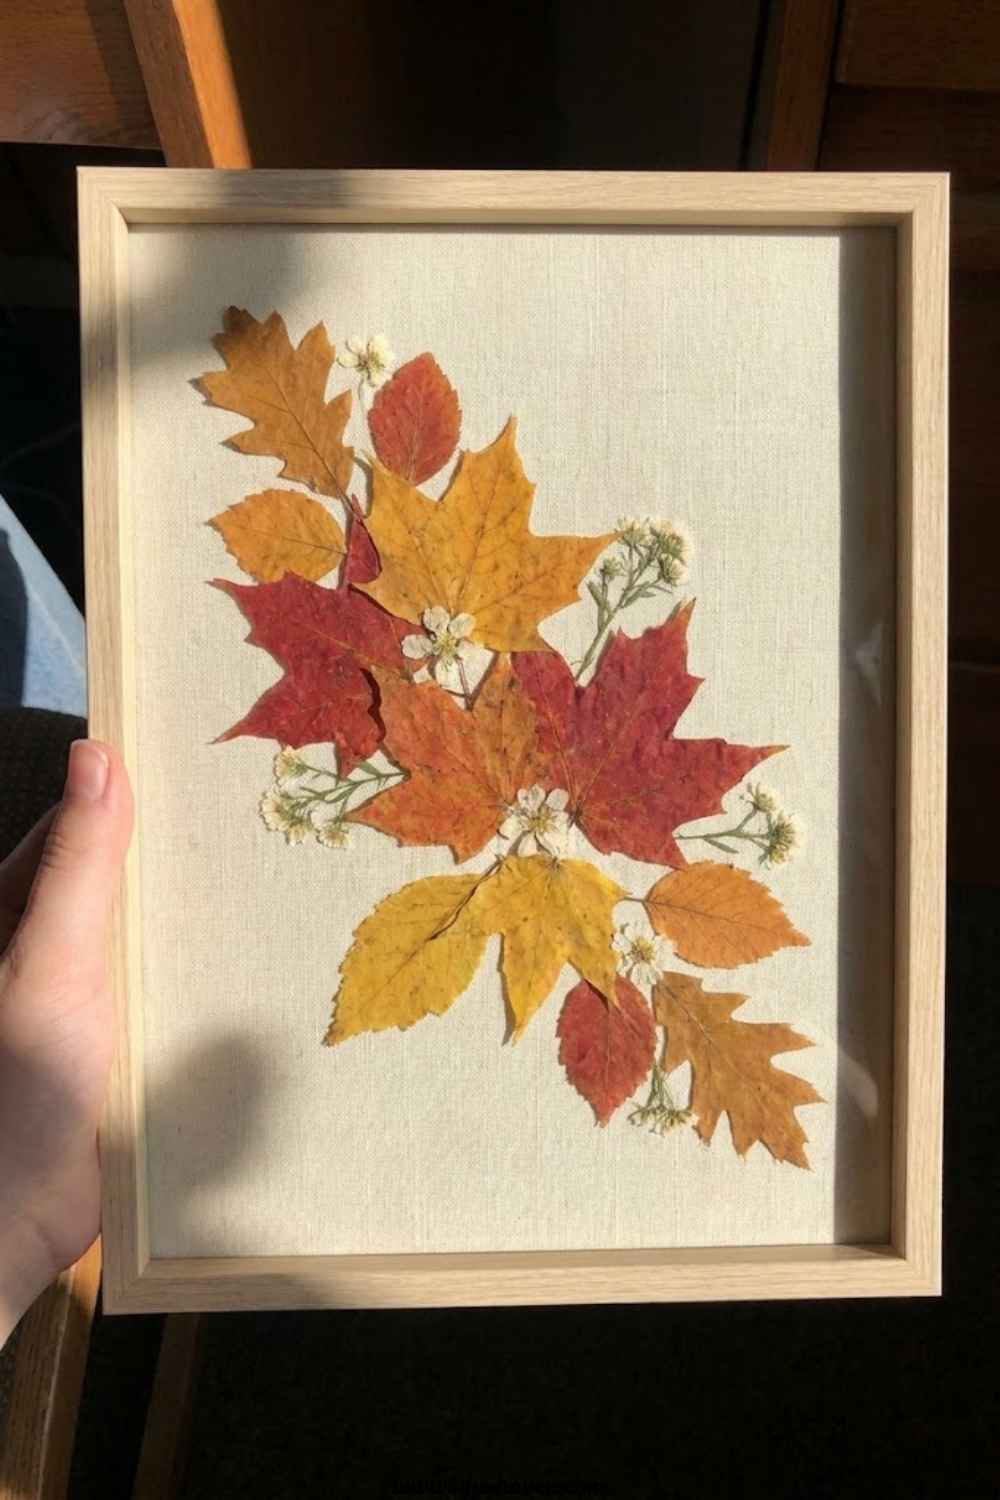
The project that makes a living room feel like fall without a single pumpkin in sight.
What you’ll need:
- 3-4 pressed leaves
- A plain frame with a mat
- Acid free glue
- Tweezers for placement
How to make it:
- Arrange your leaves on the mat before gluing anything.
- Once the layout feels right, dot a small amount of glue on the back of each leaf.
- Press into place using tweezers for precision.
- Let dry fully before closing the frame.
- Hang somewhere with indirect light to keep colors from fading.
Pro tip: Direct sunlight will bleach leaves out within weeks. Pick the spot carefully.
Make it yours: Use a single oversized leaf for a bold, minimal look instead of a cluster.
6. Natural Leaf Wreath
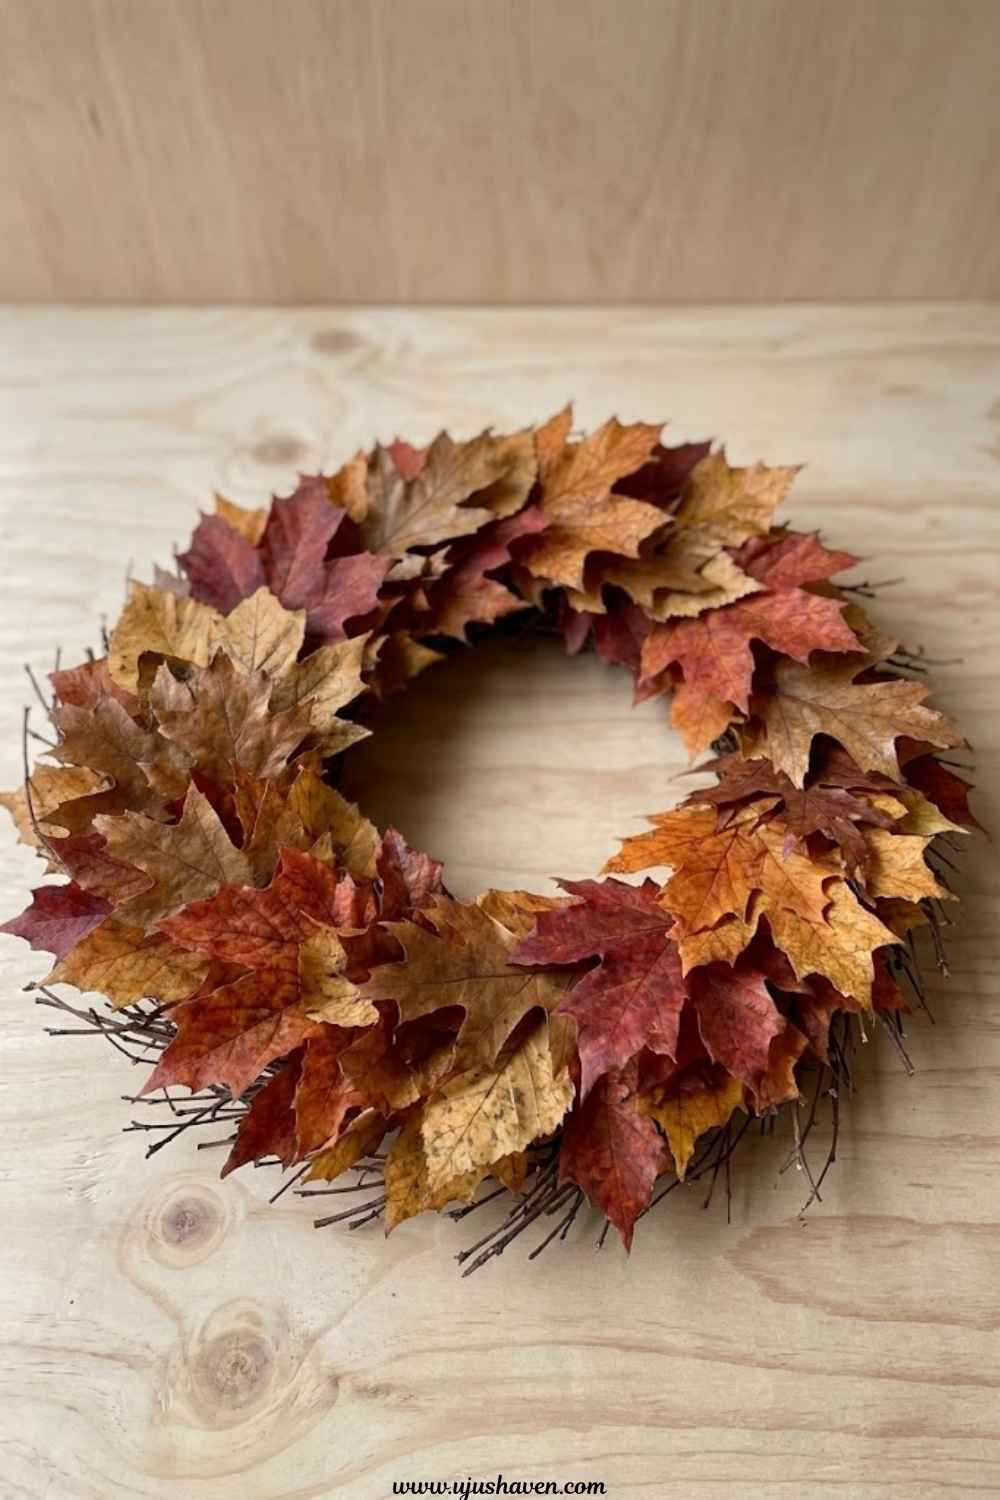
The one people ask about the most.
It looks far more complicated hanging on the door than it actually is to put together.
What you’ll need:
- A grapevine or foam wreath base
- A mix of dried leaves
- Hot glue gun
- Ribbon for hanging
How to make it:
- Start at one point on the wreath base and work in one direction.
- Overlap leaves slightly as you glue, like shingles on a roof.
- Continue around until the base is fully covered.
- Fill in any gaps with smaller leaves.
- Attach a ribbon loop at the top for hanging.
Pro tip: Working in one direction the whole way around keeps the overlap looking intentional instead of patchy.
Make it yours: Mix in a few pinecones or small berries for extra dimension.
7. Wax Dipped Leaf Centerpiece Bowl
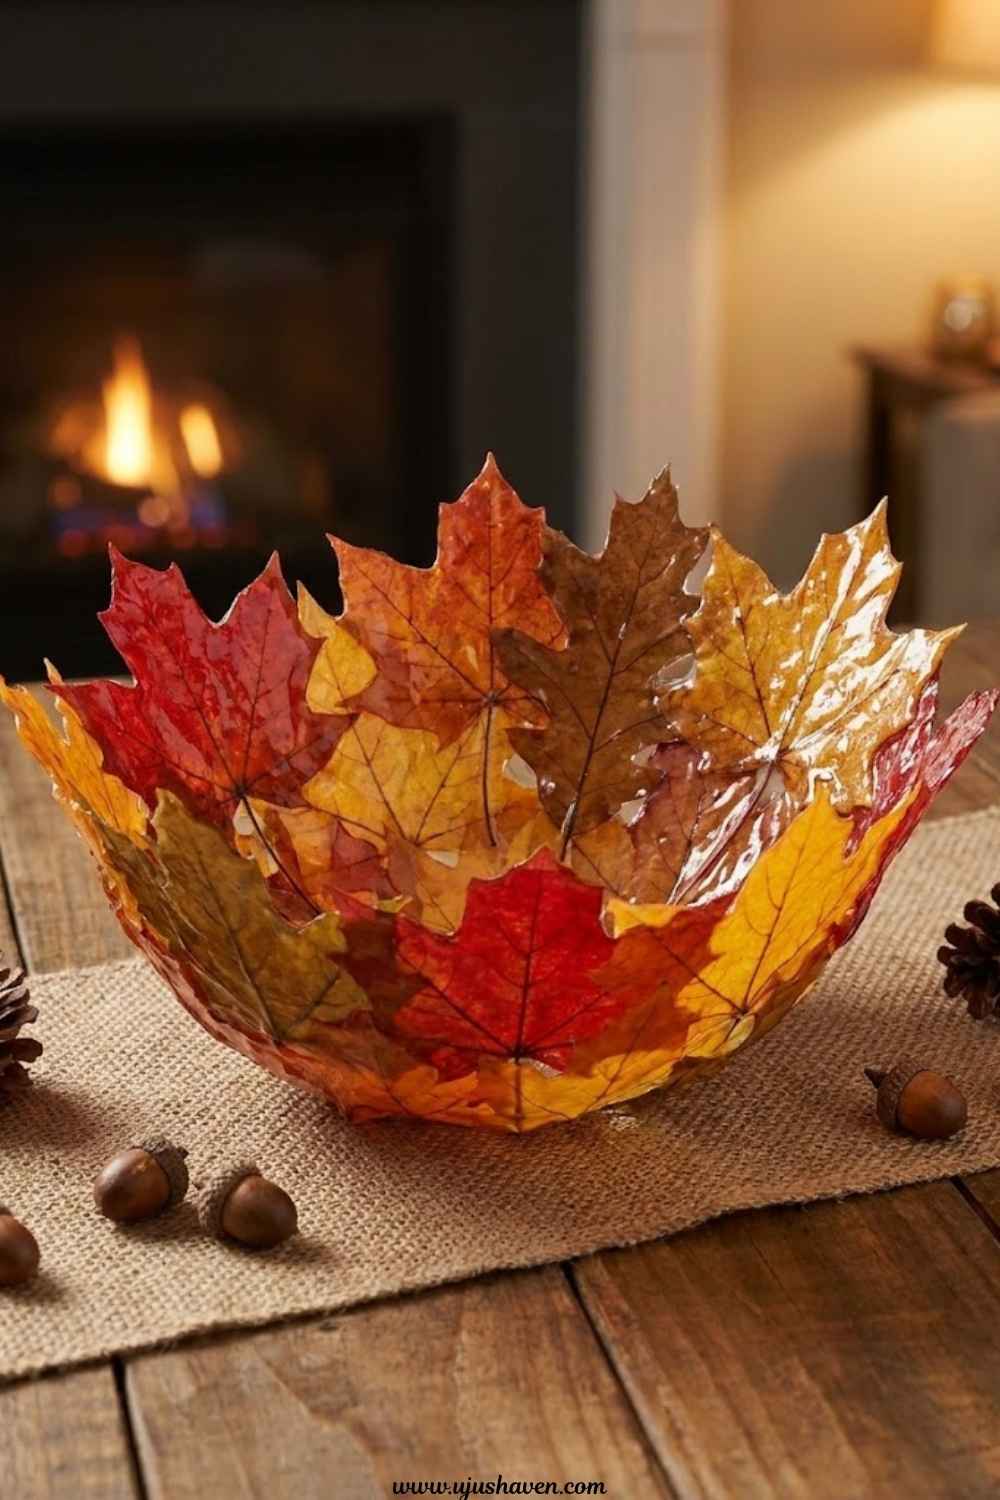
The most surprising one on this whole list.
Wax turns fresh leaves that would’ve wilted in days into something that lasts for weeks.
What you’ll need:
- Fresh, sturdy leaves
- Melted paraffin wax
- Tongs
- Parchment paper
How to make it:
- Melt wax in a double boiler until fully liquid.
- Dip each leaf halfway using tongs.
- Lay flat on parchment paper to harden.
- Repeat until there are enough for a centerpiece.
- Arrange in a bowl or scatter across a table runner.
Pro tip: Dip quickly and pull out fast. Leave a leaf in too long and the wax coat turns heavy and brittle instead of thin and glossy.
Make it yours: Add a few wax dipped pinecones for a fuller centerpiece.
8. Leaf Print Table Runner
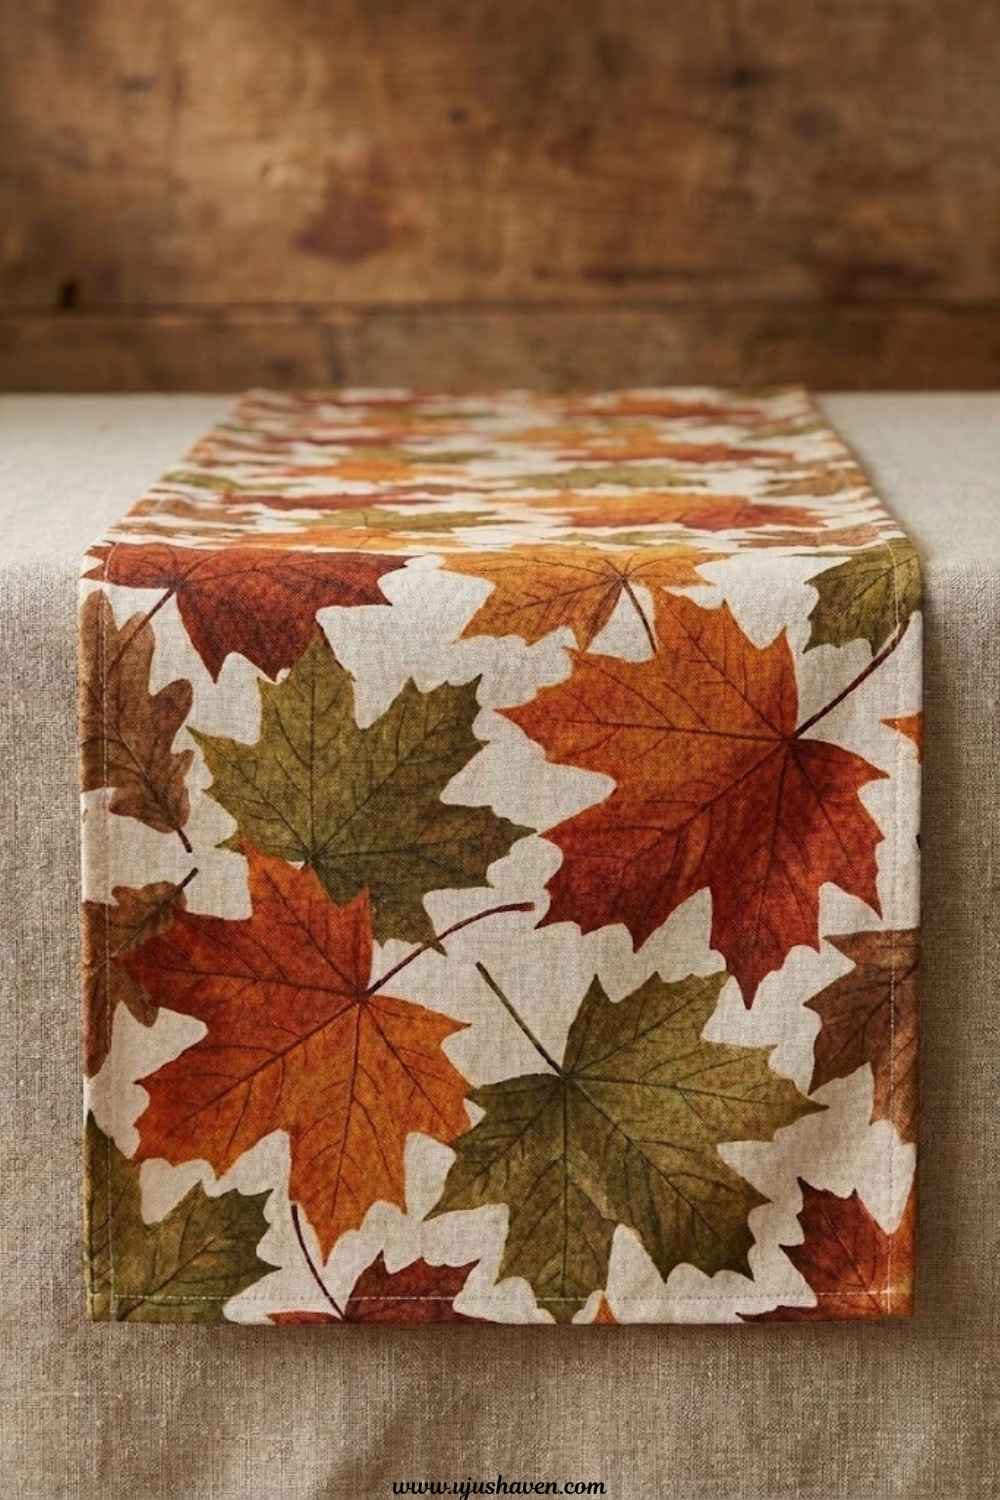
The one worth keeping out from late September through Thanksgiving.
It changes the whole feel of a table without much effort at all.
What you’ll need:
- A plain cotton or linen runner
- Fabric paint
Leaves with strong vein patterns
- Foam brush
How to make it:
- Lay the runner flat on a protected surface.
- Brush paint onto the underside of each leaf.
- Press firmly onto the fabric in the chosen pattern.
- Let dry fully before folding or using.
- Heat set with a warm iron if the paint requires it.
Pro tip: Test the first print on scrap fabric, so there’s a clear sense of how much paint to use before committing to the actual runner.
Make it yours: Run a border along both short ends instead of covering the whole runner for a more subtle look.
Fall Leaf Crafts for Adults for a Cozy Night In
9. Leaf Silhouette Candle Jars
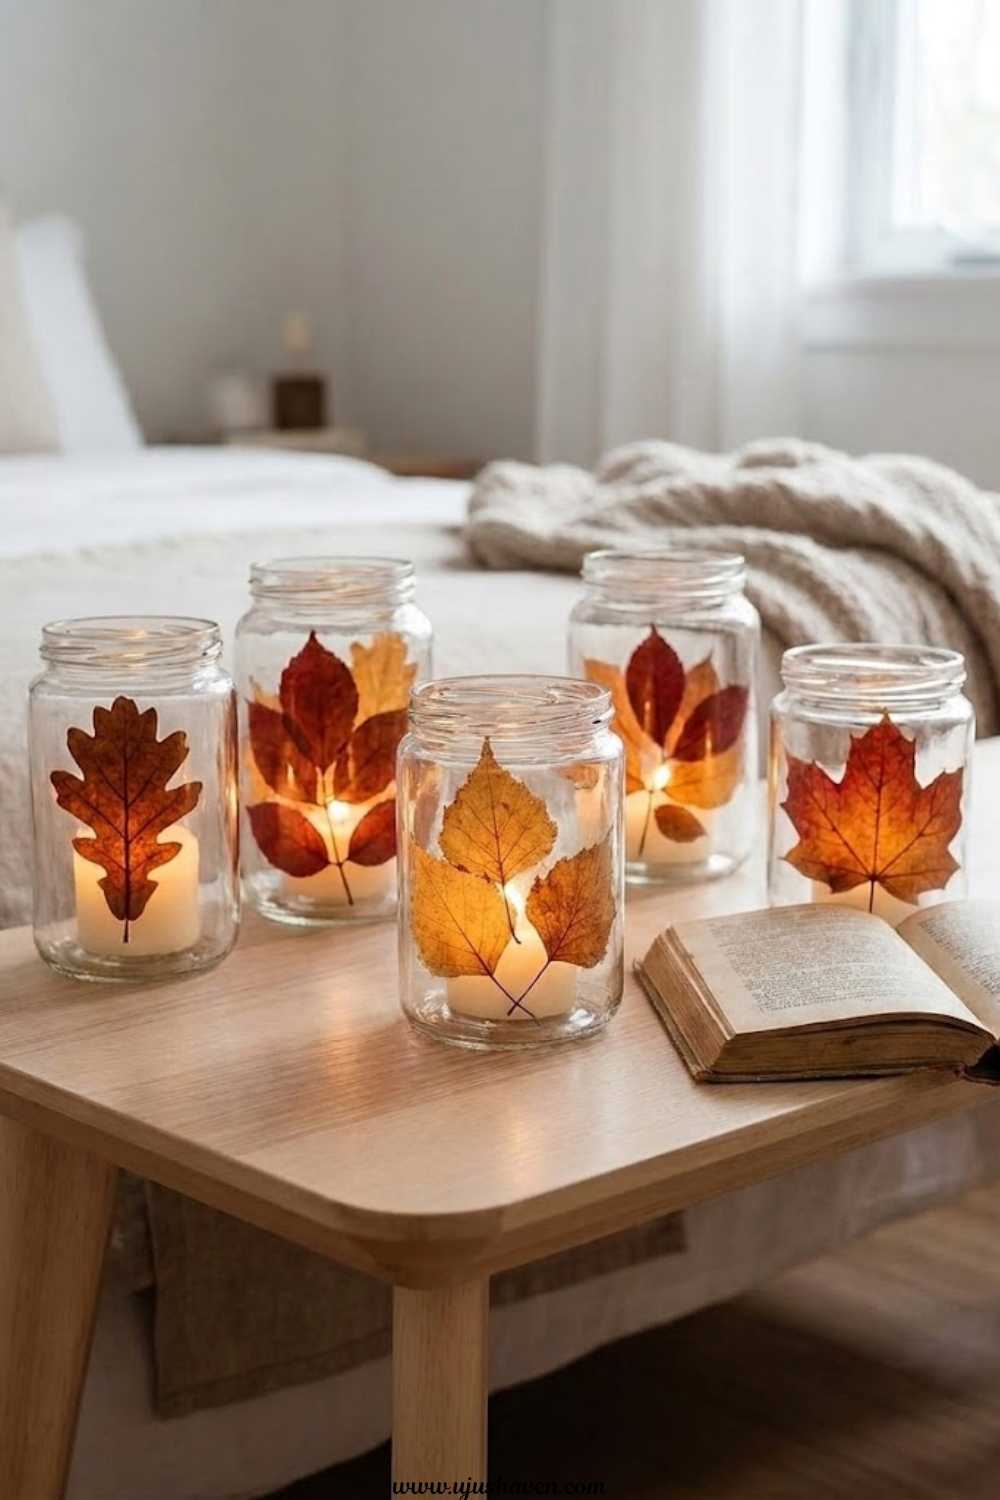
One of the best ways to spend a quiet evening once the weather cools down.
Pairs well with a few other [relaxing crafts for adults] for anyone who wants more slow, screen free evenings.
What you’ll need:
- Clear glass jars
- Small pressed leaves
- Mod podge
- Tea light candles
How to make it:
- Brush mod podge onto the outside of the jar.
- Press leaves into place, overlapping slightly.
- Seal over the top with another coat.
- Let dry fully before adding a candle inside.
- Light and watch the shadows the leaves cast.
Pro tip: Use tea lights instead of taller candles, so the flame stays a safe distance from the leaves.
Make it yours: Group three jars of different heights together for a warmer glow.
10. Pressed Leaf Journal Cover
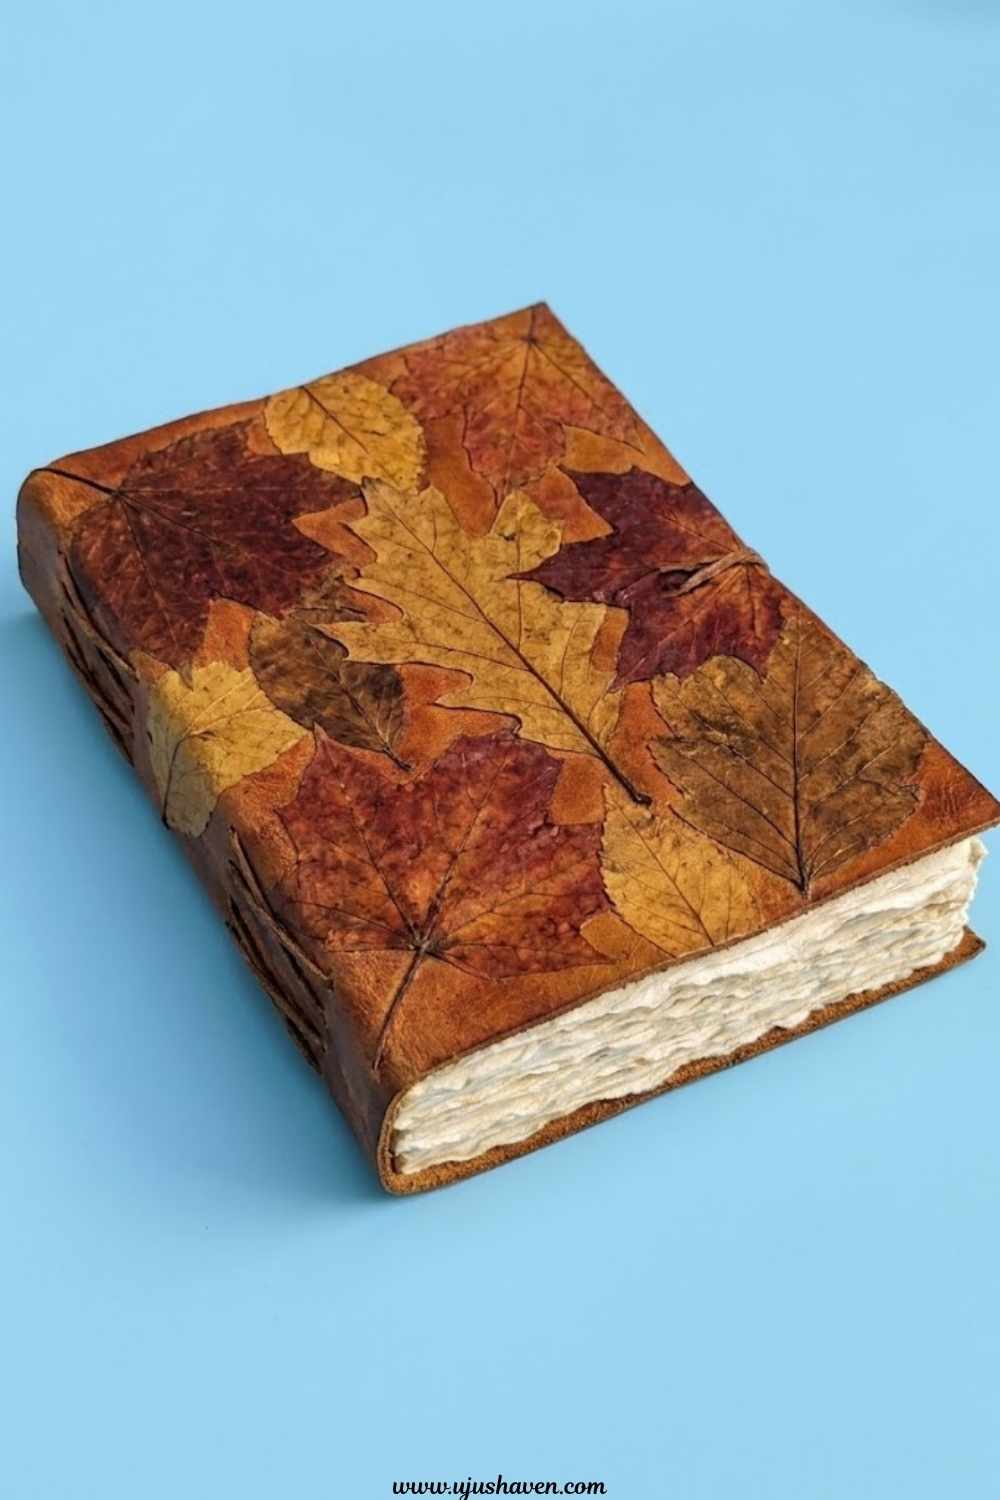
A journal that ends up feeling a little special every time it’s opened, all season long.
What you’ll need:
- A plain notebook or journal
- Pressed leaves
- Clear contact paper or laminate sheet
- Scissors
How to make it:
- Arrange your leaves across the front cover.
- Cover with clear contact paper, smoothing out air bubbles as you go.
- Trim excess around the edges.
- Repeat on the back cover for a matching design.
- Use right away, no drying time needed.
Pro tip: Smooth from the center outward when applying the contact paper. It’s the only way to avoid trapping bubbles.
Make it yours: Add a pressed flower alongside the leaves for extra color.
11. Leaf Stamped Watercolor Art
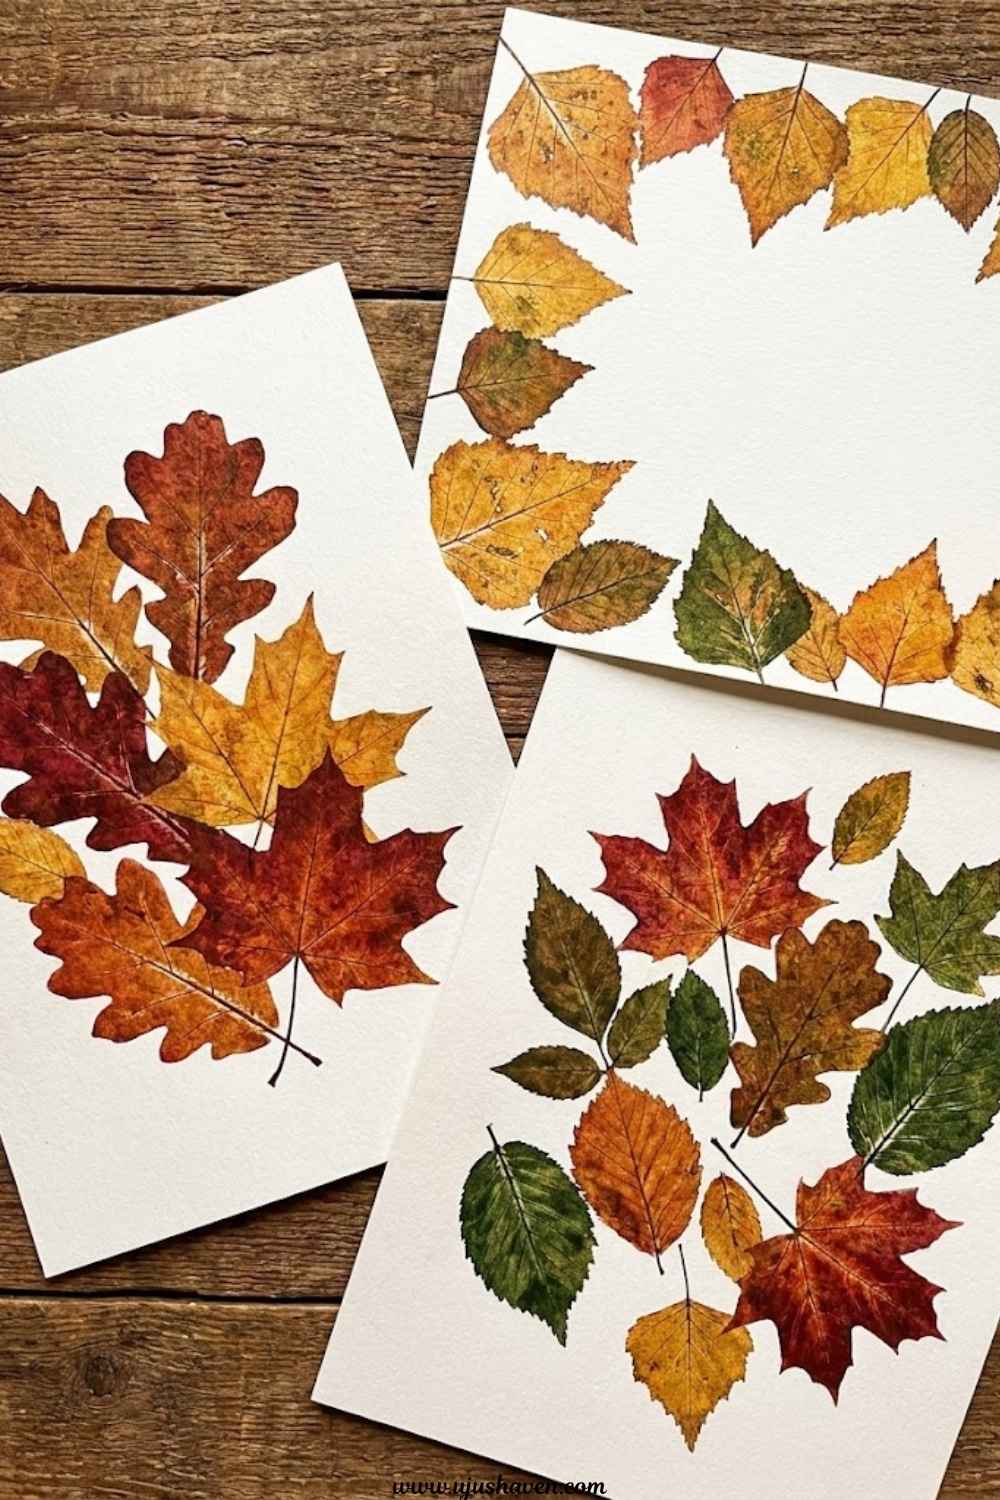
A craft simple enough to finish in one sitting, and it still ends up looking like something worth framing.
What you’ll need:
- Watercolor paper
- Watercolor paints
- Sturdy leaves
- A paintbrush
How to make it:
- Paint the underside of a leaf with watercolor.
- Press firmly onto the paper.
- Peel back carefully to reveal the print.
- Layer additional leaves and colors as you go.
- Let dry flat before framing.
Pro tip: Watercolor always dries lighter than it looks wet, so paint a little bolder than feels natural.
Make it yours: Use a single color family for a cohesive, gallery style piece.
12. Dried Leaf and Spice Sachets
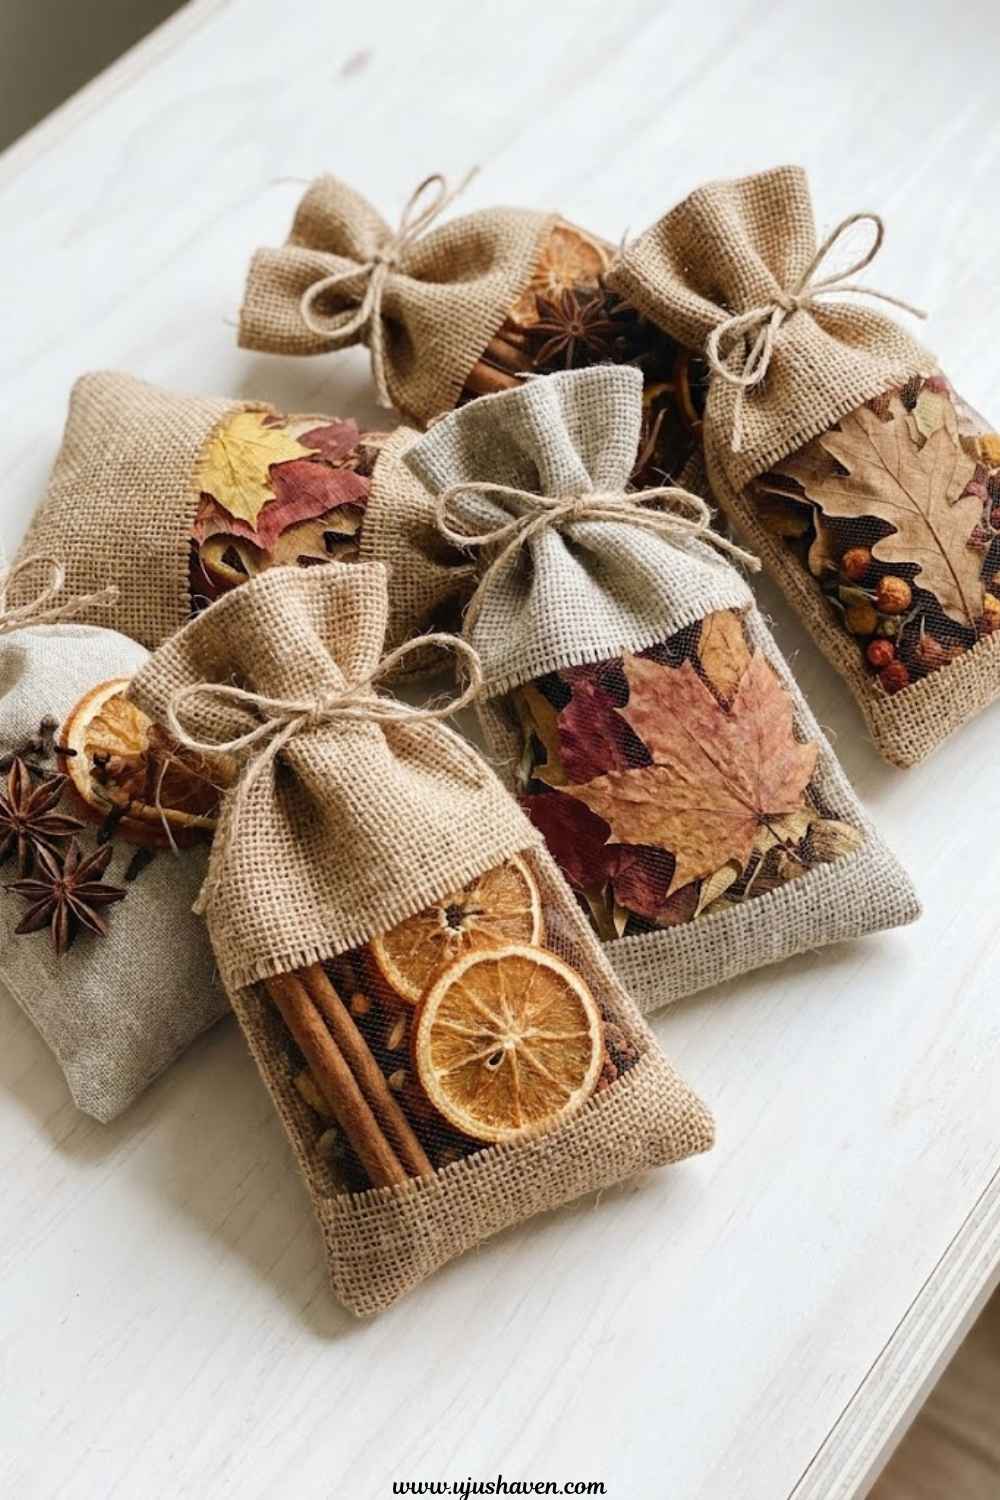
A small scent project that ends up being the favorite part of fall for most people who try it.
One of those quiet [mindfulness crafts for adults] that asks for nothing but a few minutes of attention.
What you’ll need:
- Dried leaves, crumbled
- Cinnamon sticks or cloves
- Small fabric pouches
- Twine
How to make it:
- Crumble dried leaves into small pieces.
- Mix with a few whole spices.
- Fill each fabric pouch about halfway.
- Tie closed with twine.
- Tuck into drawers or closets.
Pro tip: A little spice goes a long way. Start light, then add more if the scent fades over time.
Make it yours: Swap cinnamon for dried orange peel for a brighter scent.
Fall Leaf Crafts for Adults to Give as Gifts
13. Leaf Print Soap Bars
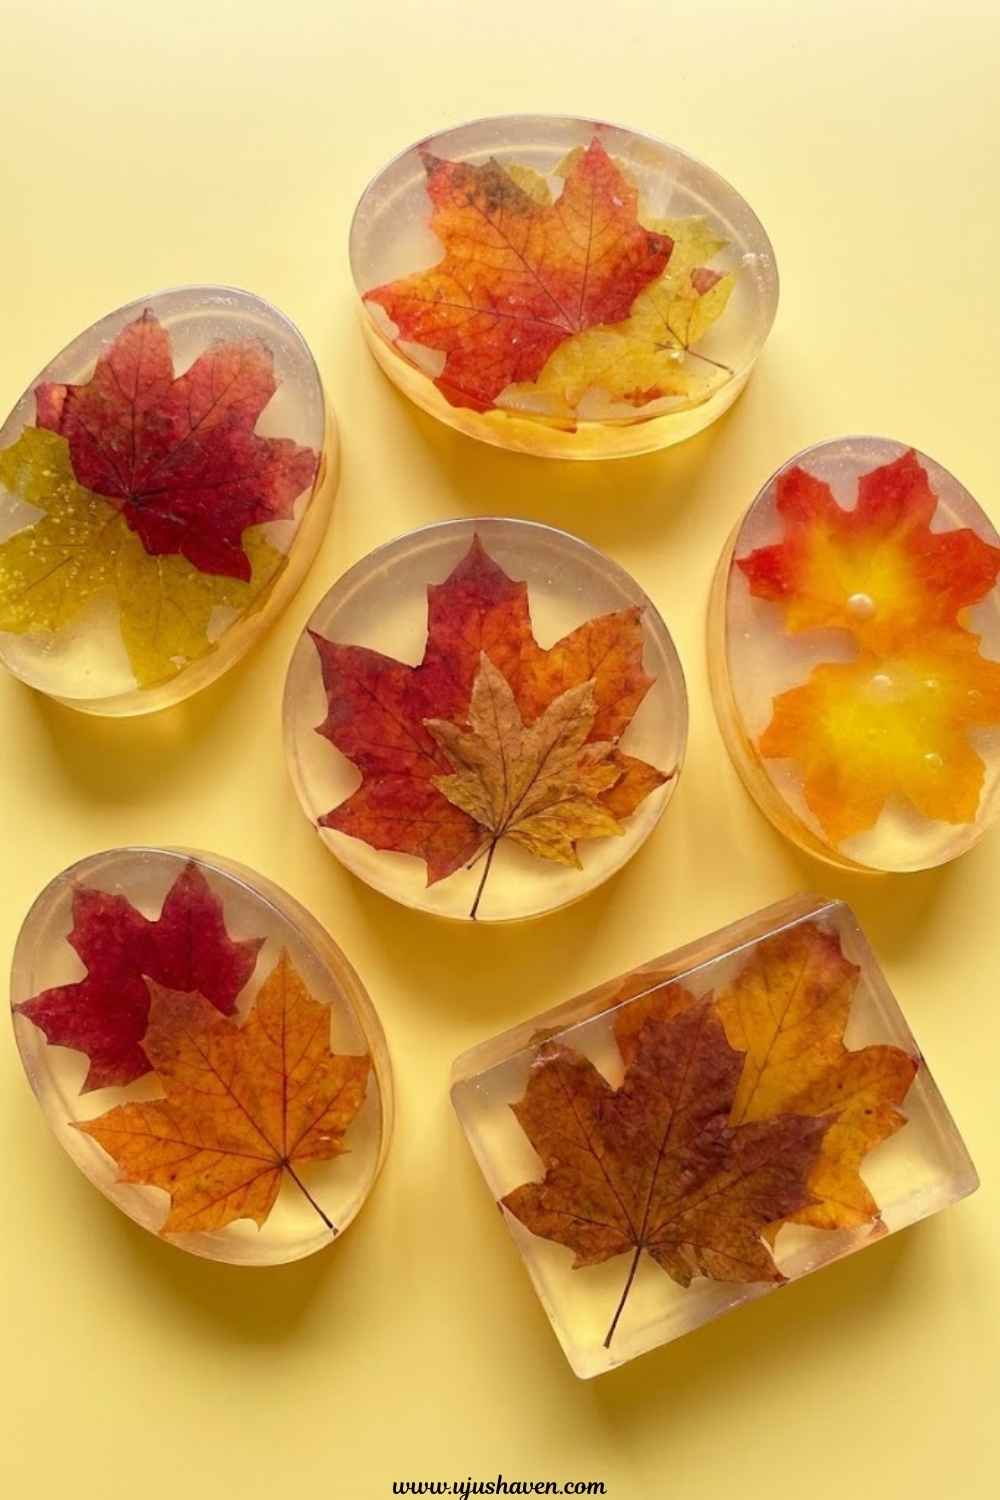
The kind of handmade gift people quietly ask for again the following year.
What you’ll need:
- Clear melt and pour soap base
- Small pressed leaves
- Soap molds
- A microwave safe bowl
How to make it:
- Melt soap base according to package instructions.
- Pour a thin layer into each mold and let it set slightly.
- Press a leaf onto the semi set layer.
- Pour remaining soap over the top to seal the leaf inside.
- Let cool completely before removing from the mold.
Pro tip: Work quickly once the soap starts to set. Wait too long and the leaf won’t sit flat inside the bar.
Make it yours: Layer soap in two colors for a fall ombre effect.
14. Hand Stamped Leaf Greeting Cards
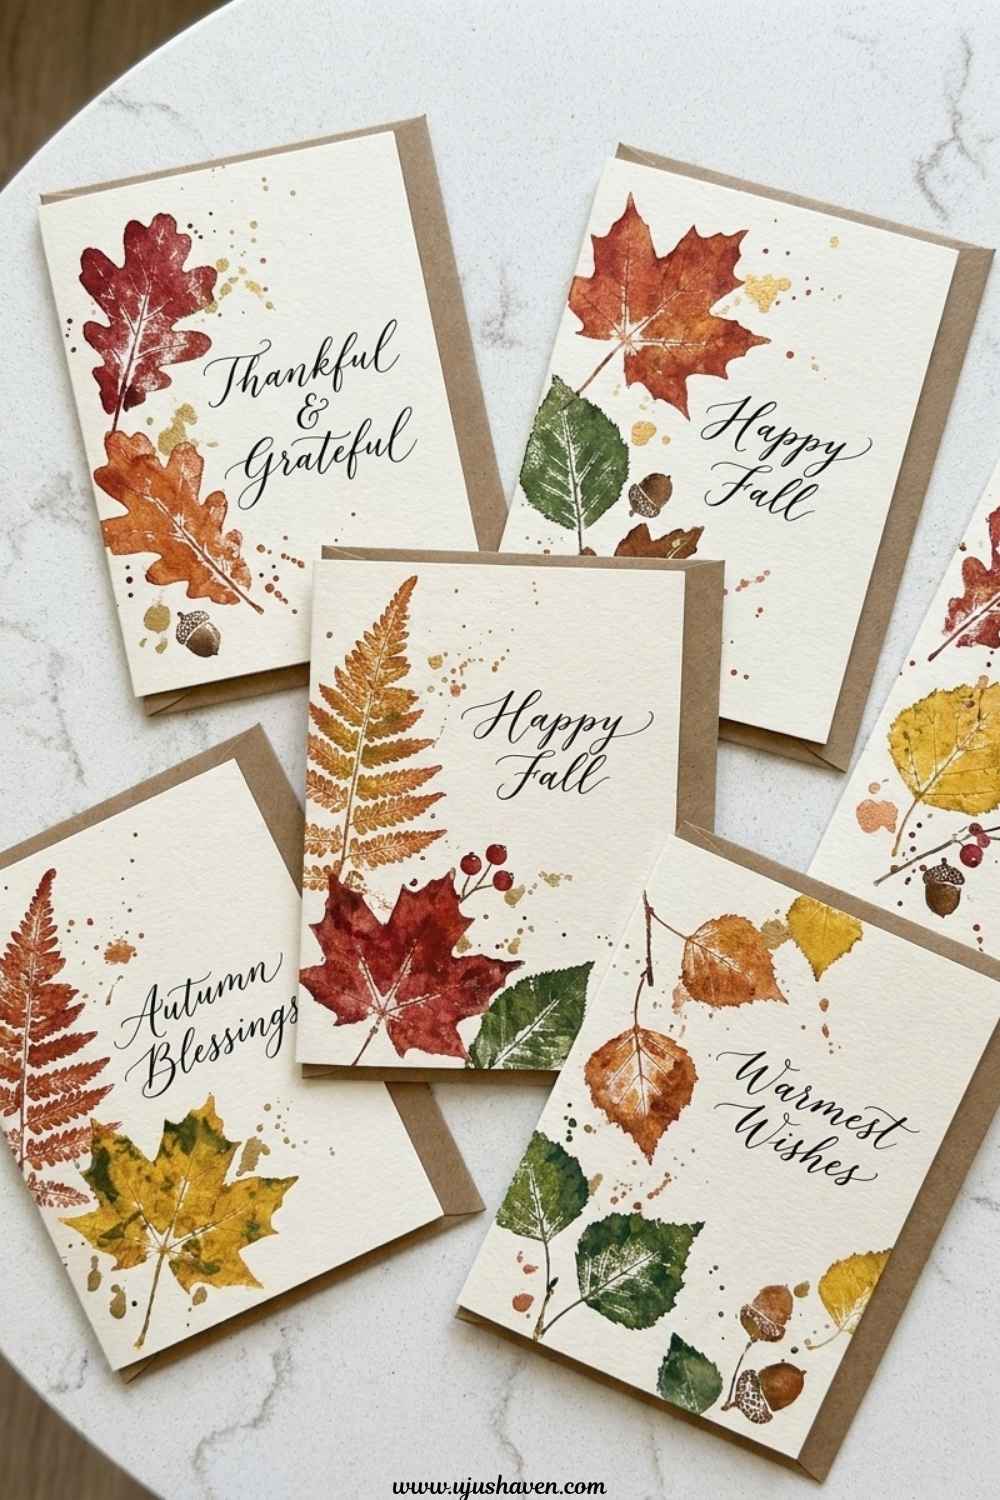
The easiest go to for every fall birthday and thank you note, and it costs almost nothing to make a full set.
What you’ll need:
- Blank cardstock cards
- Ink pads in fall colors
- Leaves with clear vein detail
- A brayer or roller
How to make it:
- Roll ink evenly across the leaf using the brayer.
- Press ink side down onto the card.
- Peel back slowly to reveal the print.
- Let dry before writing inside.
- Repeat for a full set.
Pro tip: Reapply ink after every single print. Leaves lose their coating fast once pressed.
Make it yours: Add a hand written quote inside for a more personal gift.
15. Resin Leaf Ornaments
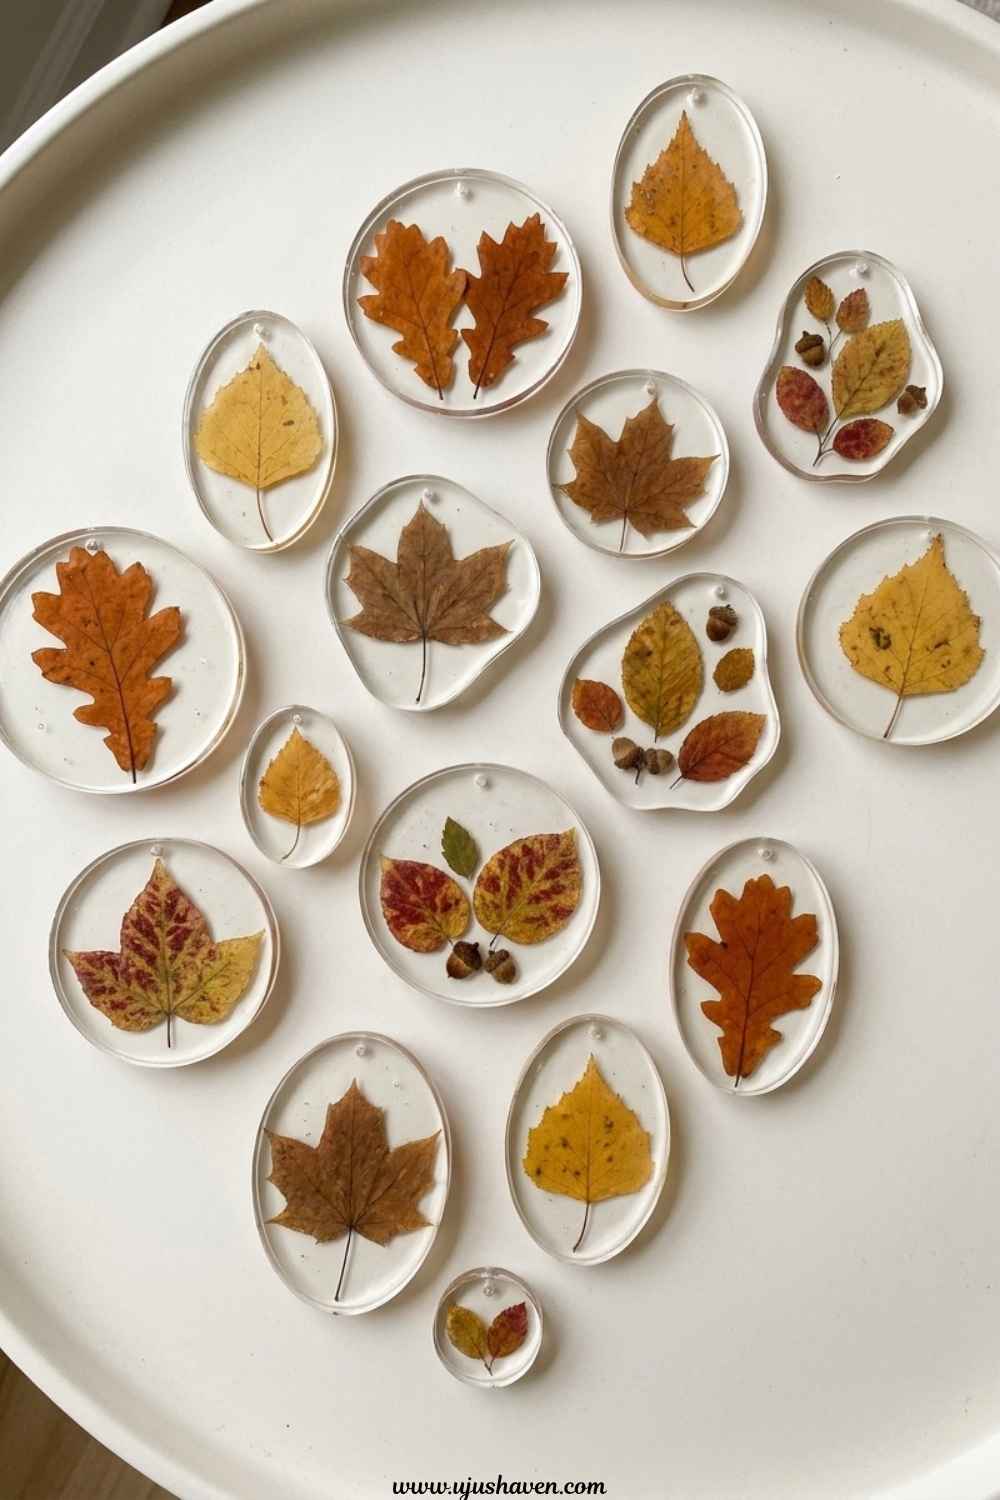
Out of everything on this list, the most special thing to give away.
Small, but clearly made with care.
What you’ll need:
- Small pressed leaves
- Clear resin and hardener
- Silicone ornament molds
- Ribbon or string
How to make it:
- Mix resin and hardener according to instructions.
- Pour a thin layer into the mold.
- Place a leaf on top once slightly tacky.
- Cover with a final layer of resin.
- Let cure fully, then thread with ribbon for hanging.
Pro tip: Work in a well ventilated space and pour slowly. It’s the easiest way to avoid trapping air bubbles.
Make it yours: Add a tiny date or initial charm alongside the leaf for a keepsake feel.
How to Keep Pressed Leaves From Cracking
The most common problem across every one of these fall leaf crafts for adults is a leaf that cracks right when the project is almost done.
A few fixes help most.
Press leaves while they’re still slightly fresh, not fully dried out.
Keep them under even weight for at least 48 hours.
Store finished leaves flat until they’re ready to use, since even a small bend can cause a crack days later.
And always seal with mod podge or a clear coat before too much handling.
For anyone whose glue keeps causing trouble along the way, how to keep glue bottles from clogging cover both fixes worth knowing early.
Frequently Asked Questions on Fall Leaf Crafts for Adults
What are the best leaves to use for crafting?
Maple, oak, and sweetgum leaves tend to hold their shape and color best once pressed or sealed.
How long do leaf crafts last?
Sealed or resin pieces can last for years. Unsealed pressed leaves usually hold their color for one to two seasons before fading.
Can faux leaves work instead of real ones?
Yes, faux leaves work well for anything glued rather than pressed, like wreaths or garlands, and they hold up better long term.
Are special tools needed to get started?
No. A glue gun, scissors, and a few heavy books cover almost everything on this list.
Anyone who enjoyed this list might like these bumble bee crafts for adults too, once spring rolls back around.