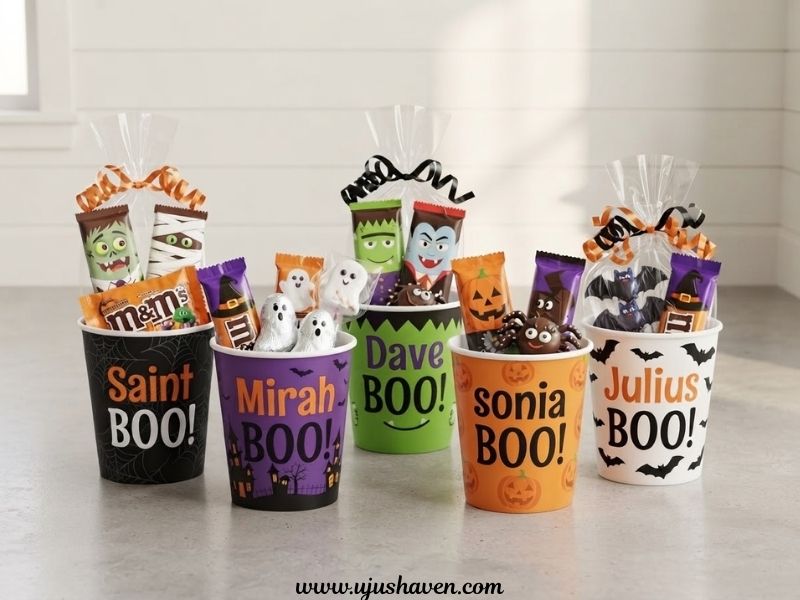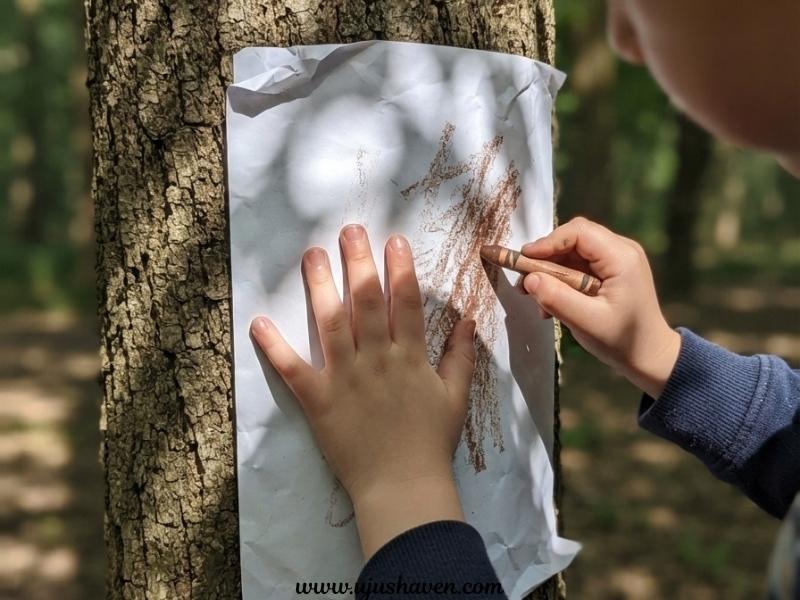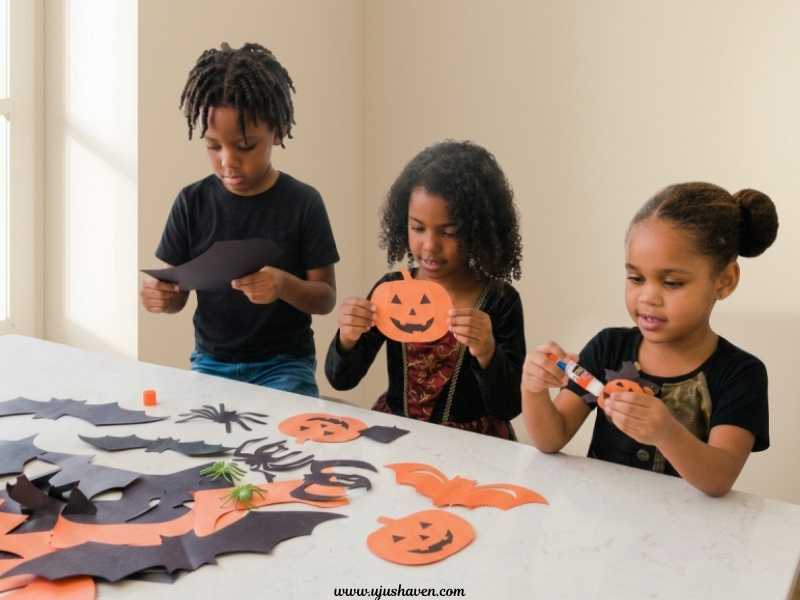
The Halloween aisle at Dollar Tree has a way of pulling kids in before you’ve even reached the end of it. One minute you’re grabbing a pack of paper plates, and the next they’re holding foam pumpkins, googly eyes, and tiny plastic spiders, already talking about what they want to make. That’s exactly why easy Dollar Tree Halloween crafts for kids feel like such a natural place to start.
That was the moment it became clear that creating something fun didn’t have to mean filling a shopping cart at the craft store.
The ideas in this post use real Dollar Tree supplies, simple steps, and projects kids can actually enjoy making without needing fancy tools, a Cricut, or hours of adult help.
They’re creative enough to feel special but easy enough to fit into an ordinary afternoon.
Most of these crafts take under 15 minutes and use supplies that cost around $2 or less.
Let’s get into the ideas and find one that’s just right for your little crafter.
Why You’ll Love These Easy Dollar Tree Halloween Crafts for Kids
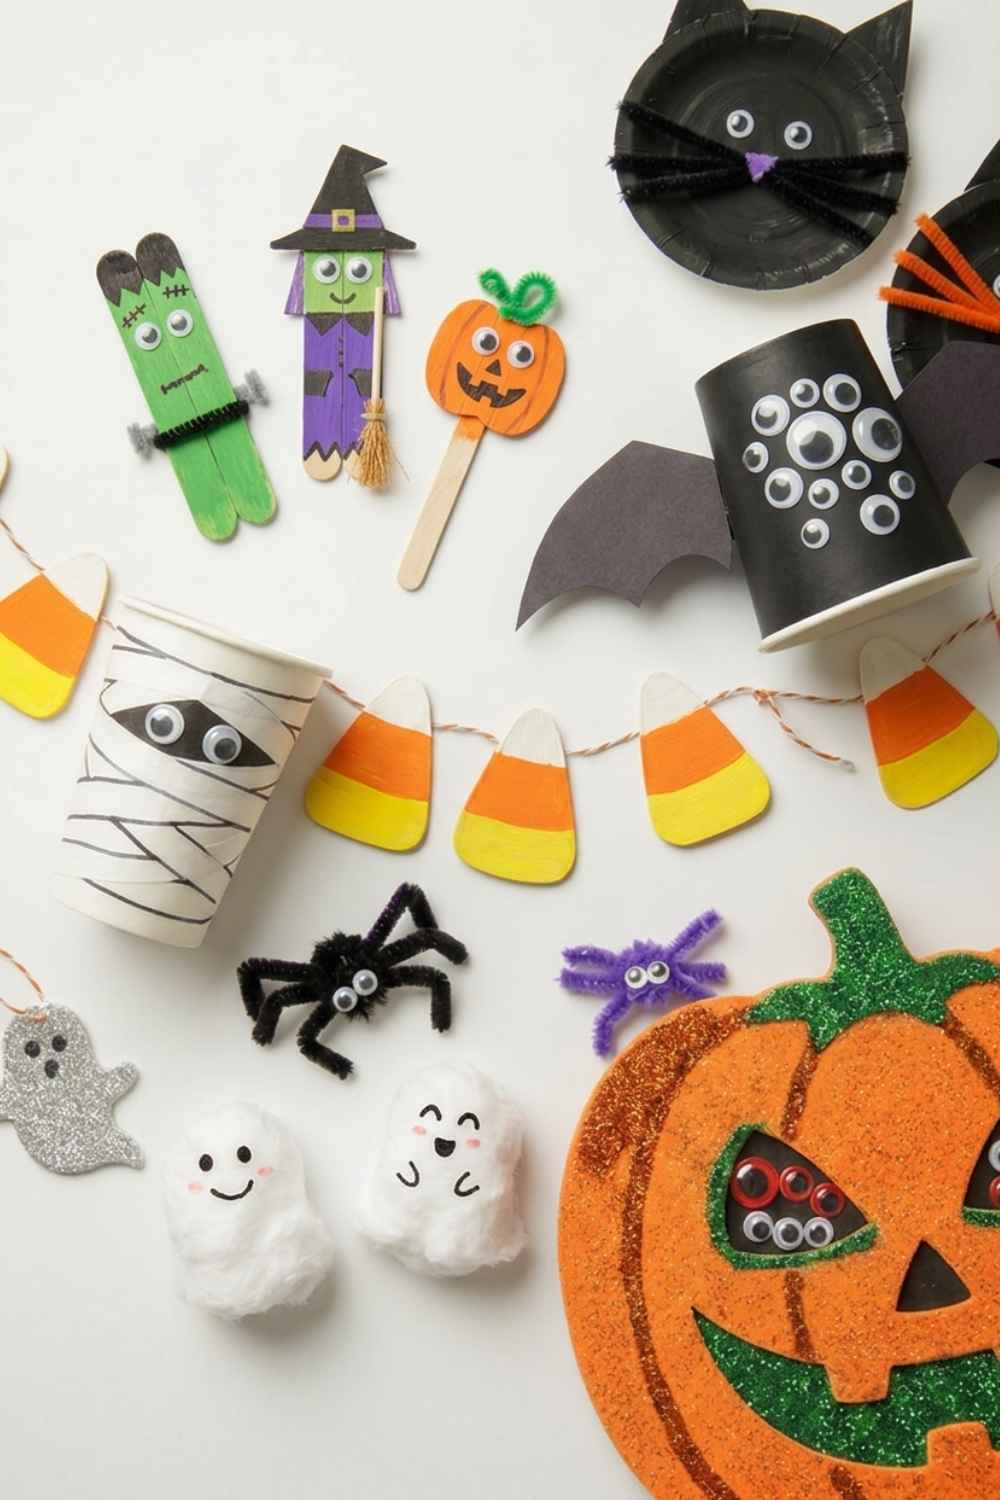
- Every supply comes from one store and one shopping trip
- Most projects use $1-2 items, so a whole afternoon of crafting costs less than a coffee
- Steps are short enough for kids to follow with minimal help
- No Cricut, hot glue gun, or specialty tools required
- Great for classrooms, playdates, or a quiet afternoon at home
These are the kinds of easy Dollar Tree Halloween crafts for kids that hold up even if you’re crafting with one child or a whole room of them.
Dollar Tree Supplies You’ll Keep Reaching For
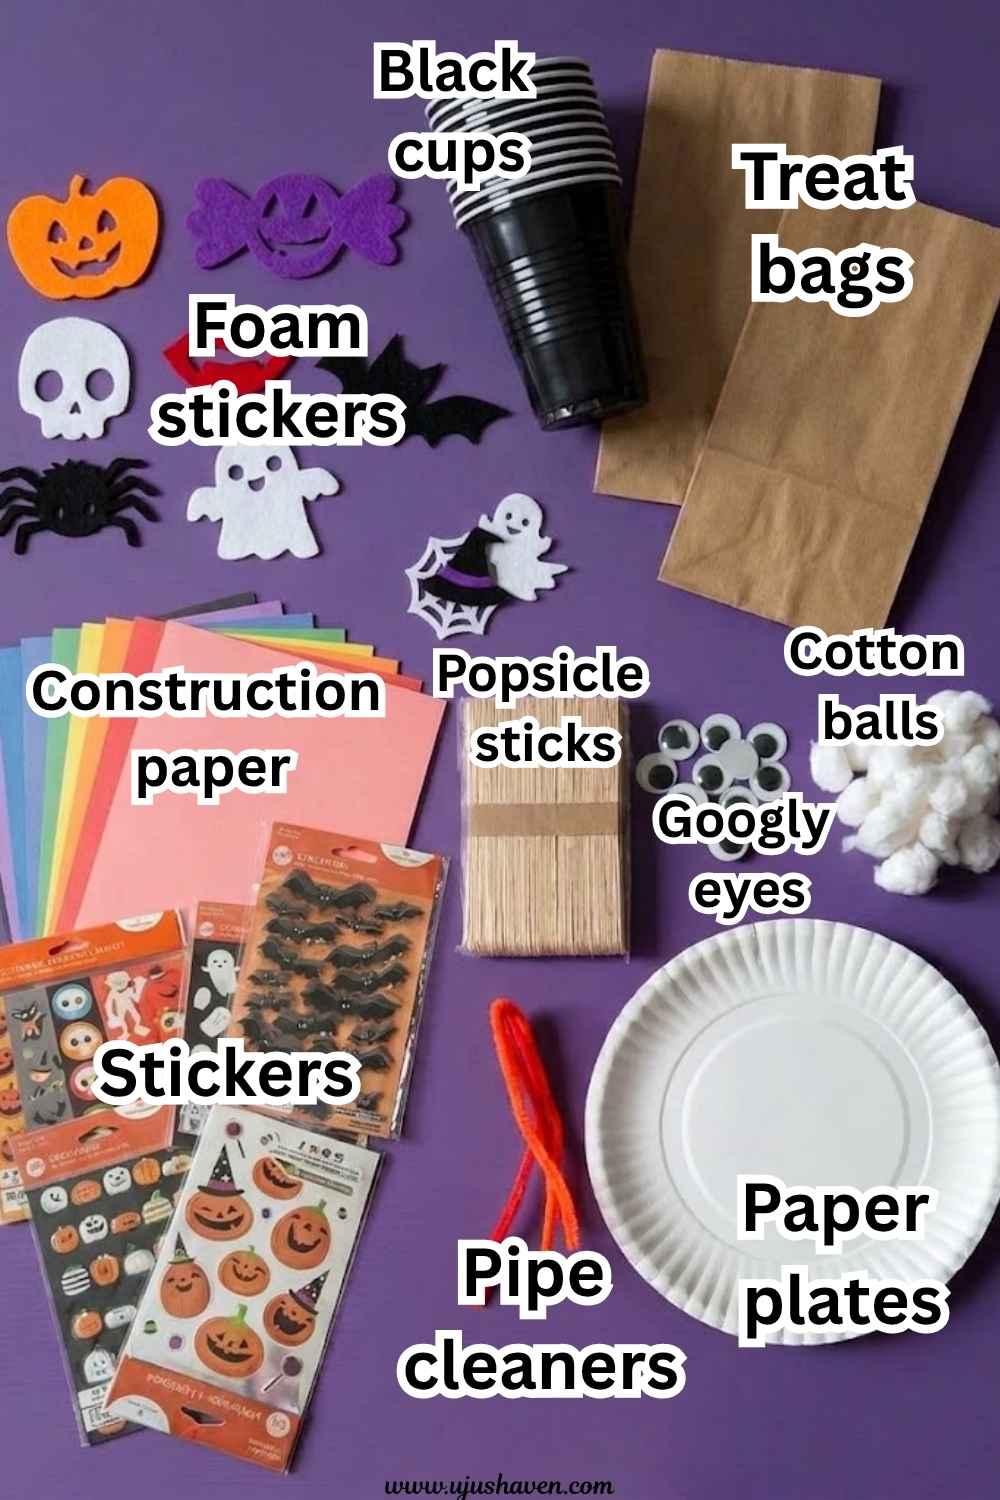
A few supplies show up again and again in this list, so it’s worth grabbing extra of these on your first trip:
- Black plastic cups
- Foam sheets and foam stickers
- Googly eyes (multiple sizes)
- Paper plates
- Pipe cleaners
- Cotton balls
- Popsicle sticks
- Construction paper
- Treat bags
Paper plates in particular are worth stocking up on.
They’re the base for a few crafts below, and they’re also the star of two other projects on the blog: the Paper Plate Ice Cream Craft and the Paper Plate Watermelon Craft, both worth trying once Halloween wraps up.
17 Easy Dollar Tree Halloween Crafts for Kids
These first eight ideas are the ones to start with if you only have a few supplies and a short window of time.
1. Googly-Eyed Paper Cup Spider
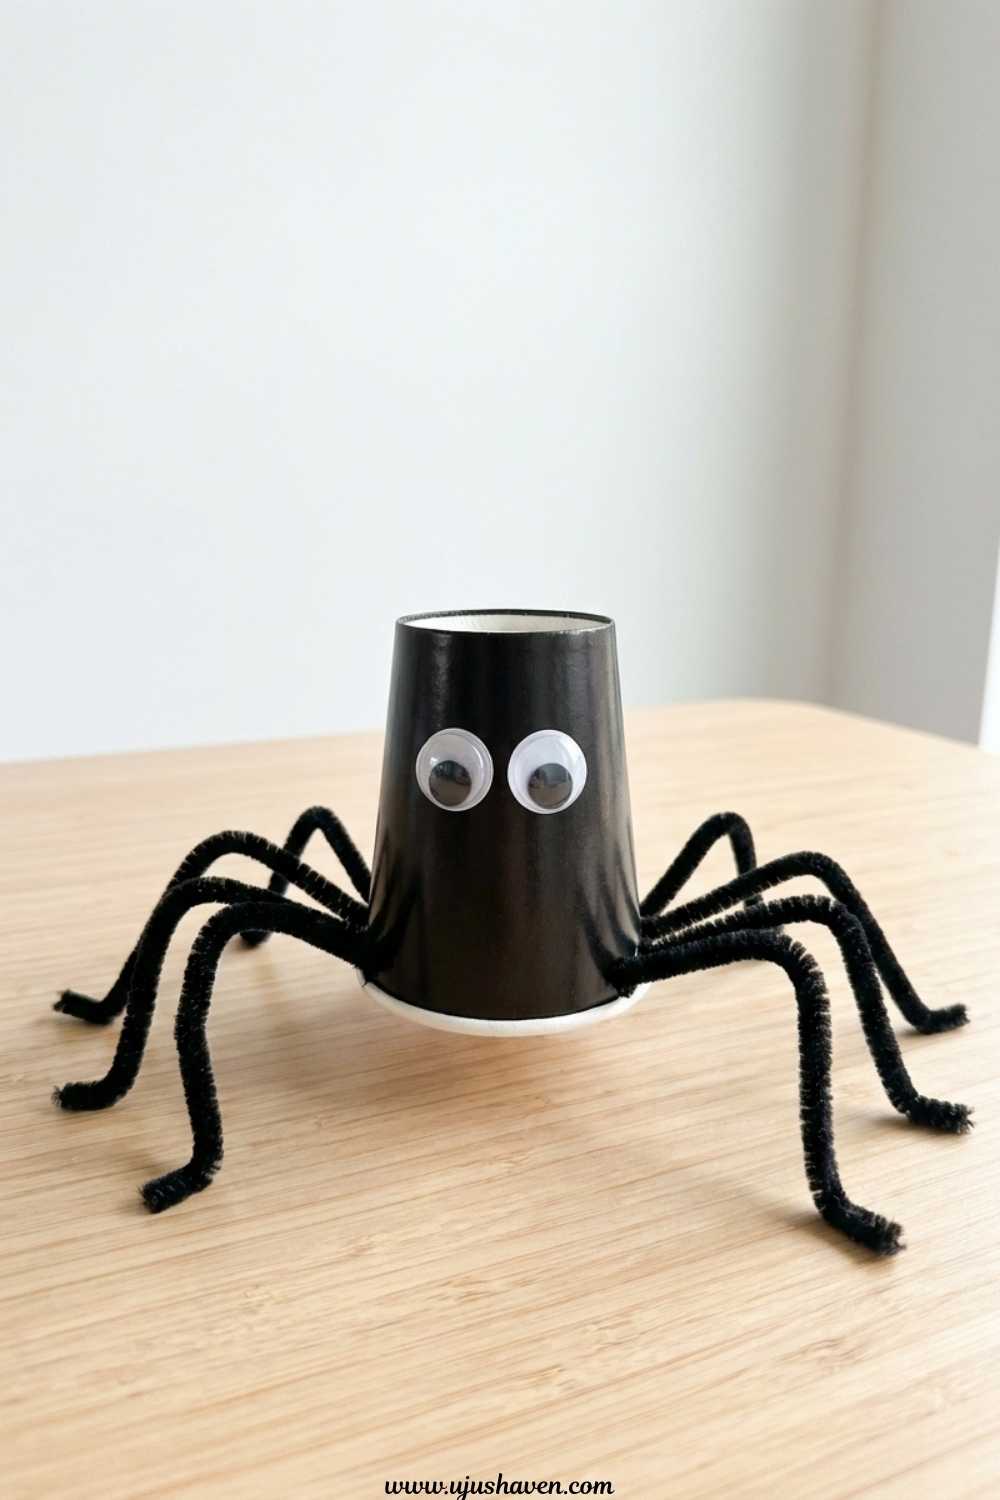
A cup, some pipe cleaners, and a handful of googly eyes turn into a spider your kid will want to name.
Budget: Under $2
Time: 10 minutes
Best for Ages: 3-8
Skill Level: Easy
Supplies:
- 1 black plastic cup
- Black pipe cleaners
- Googly eyes
How to make it:
- Turn the cup upside down.
- Bend four pipe cleaners in half and tape or poke them across the rim to form eight legs.
- Bend each leg slightly at the middle so the spider can stand.
- Glue googly eyes onto the front of the cup.
No two spiders turn out the same, which is half the fun.
2. Foam Pumpkin Garland
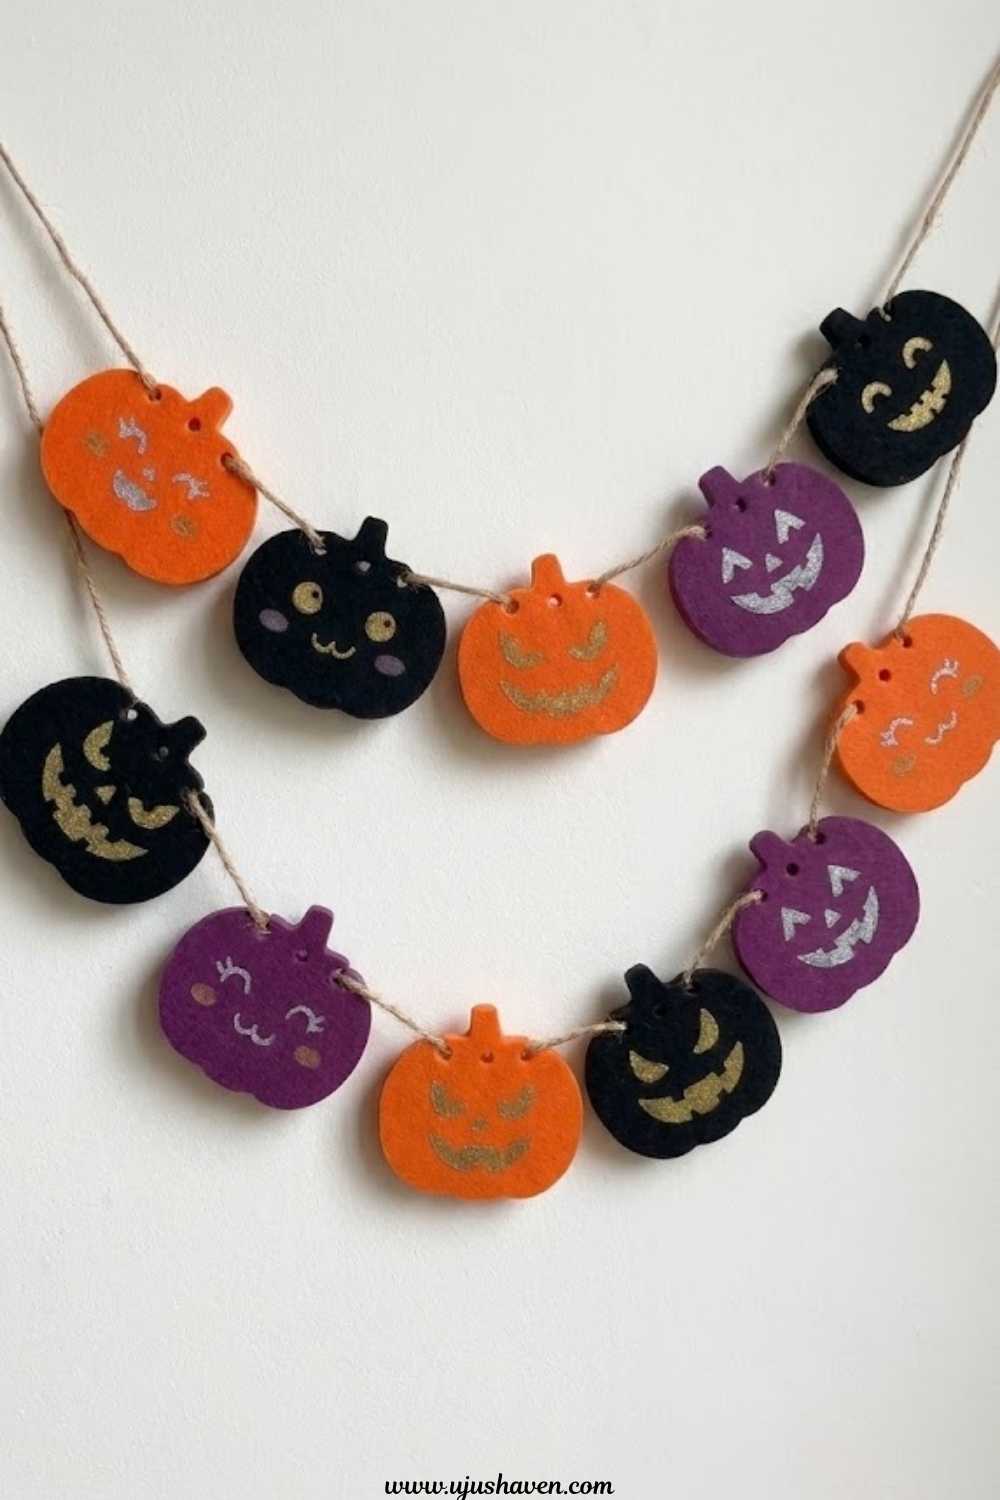
Foam pumpkin shapes strung on twine make an instant Halloween decoration your kid helped create.
Budget: Under $3
Time: 15 minutes
Best for Ages: 4-9
Skill Level: Easy
Supplies:
- Foam pumpkin shapes
- Twine or string
- Hole punch
- Markers (optional, for faces)
How to make it:
- Punch a hole near the top of each foam pumpkin.
- Let kids draw faces on the pumpkins if they’d like.
- Thread twine through each hole, spacing the pumpkins evenly.
- Hang the finished garland across a window or shelf.
This one doubles as decor, so it stays up long after craft time is done.
3. Paper Plate Ghost
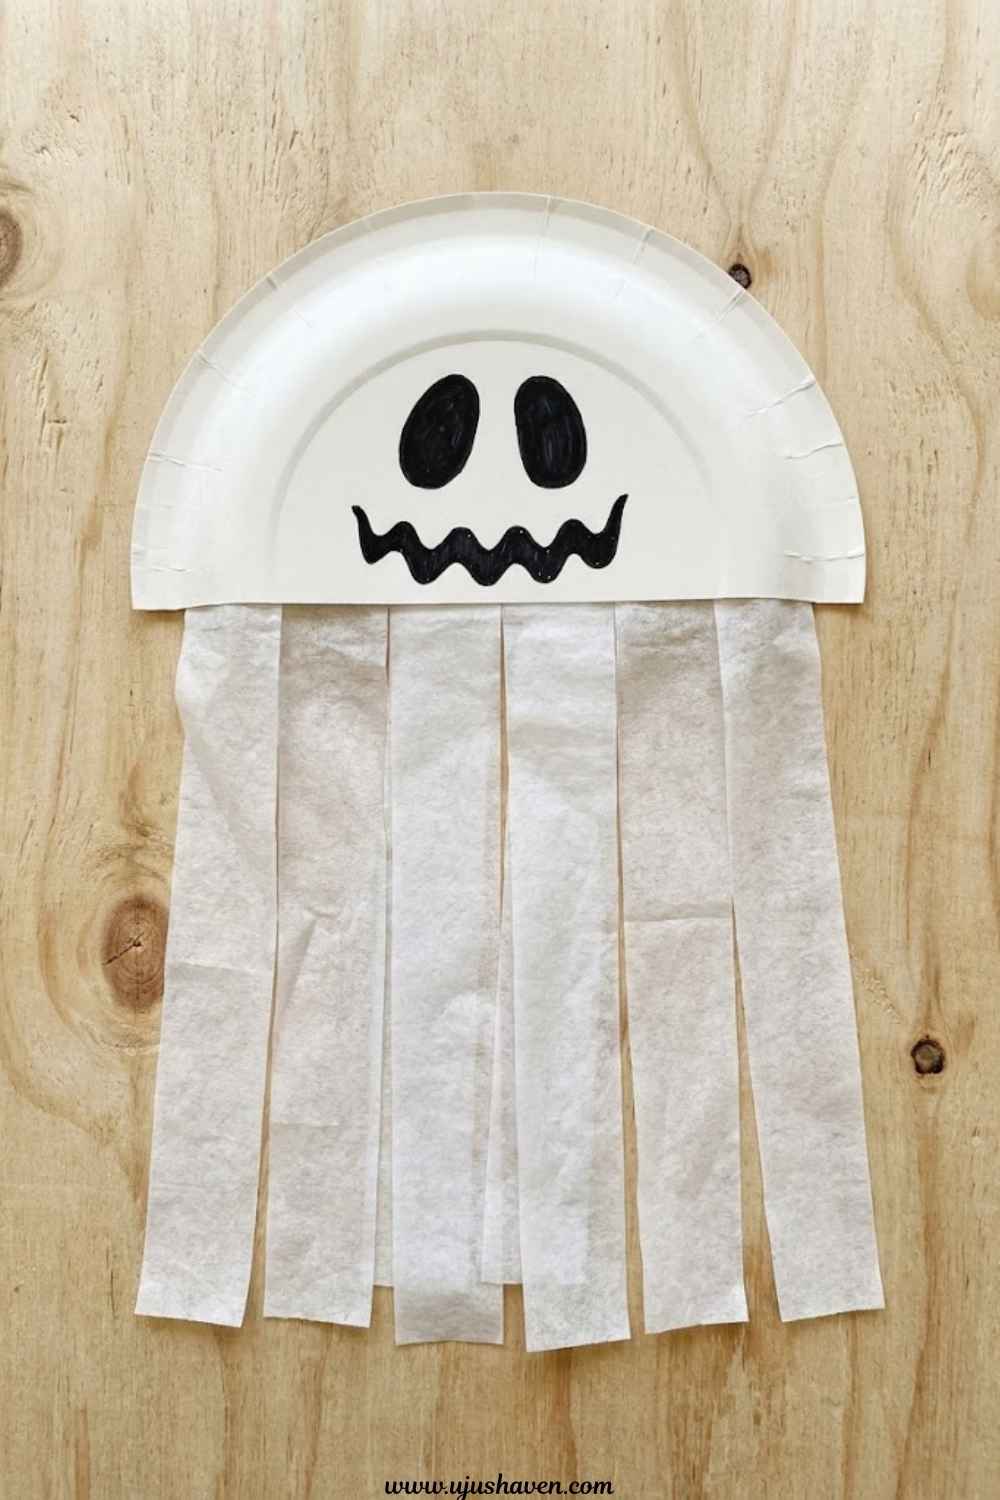
A plain paper plate becomes a ghost with just white paint and a few black shapes.
Budget: Under $2
Time: 15 minutes (plus drying time)
Best for Ages: 3-7
Skill Level: Easy
Supplies:
- White paper plate
- White paint (if the plate isn’t already white)
- Black construction paper
- Glue
How to make it:
- Paint the plate white and let it dry, or skip this step if using a white plate.
- Cut small ovals from black paper for eyes and a mouth.
- Glue the shapes onto the plate to form a ghost face.
- Fringe-cut the bottom edge for a wispy effect, if desired.
Simple enough for preschoolers to finish almost entirely on their own.
4. Toilet Paper Roll Mummy
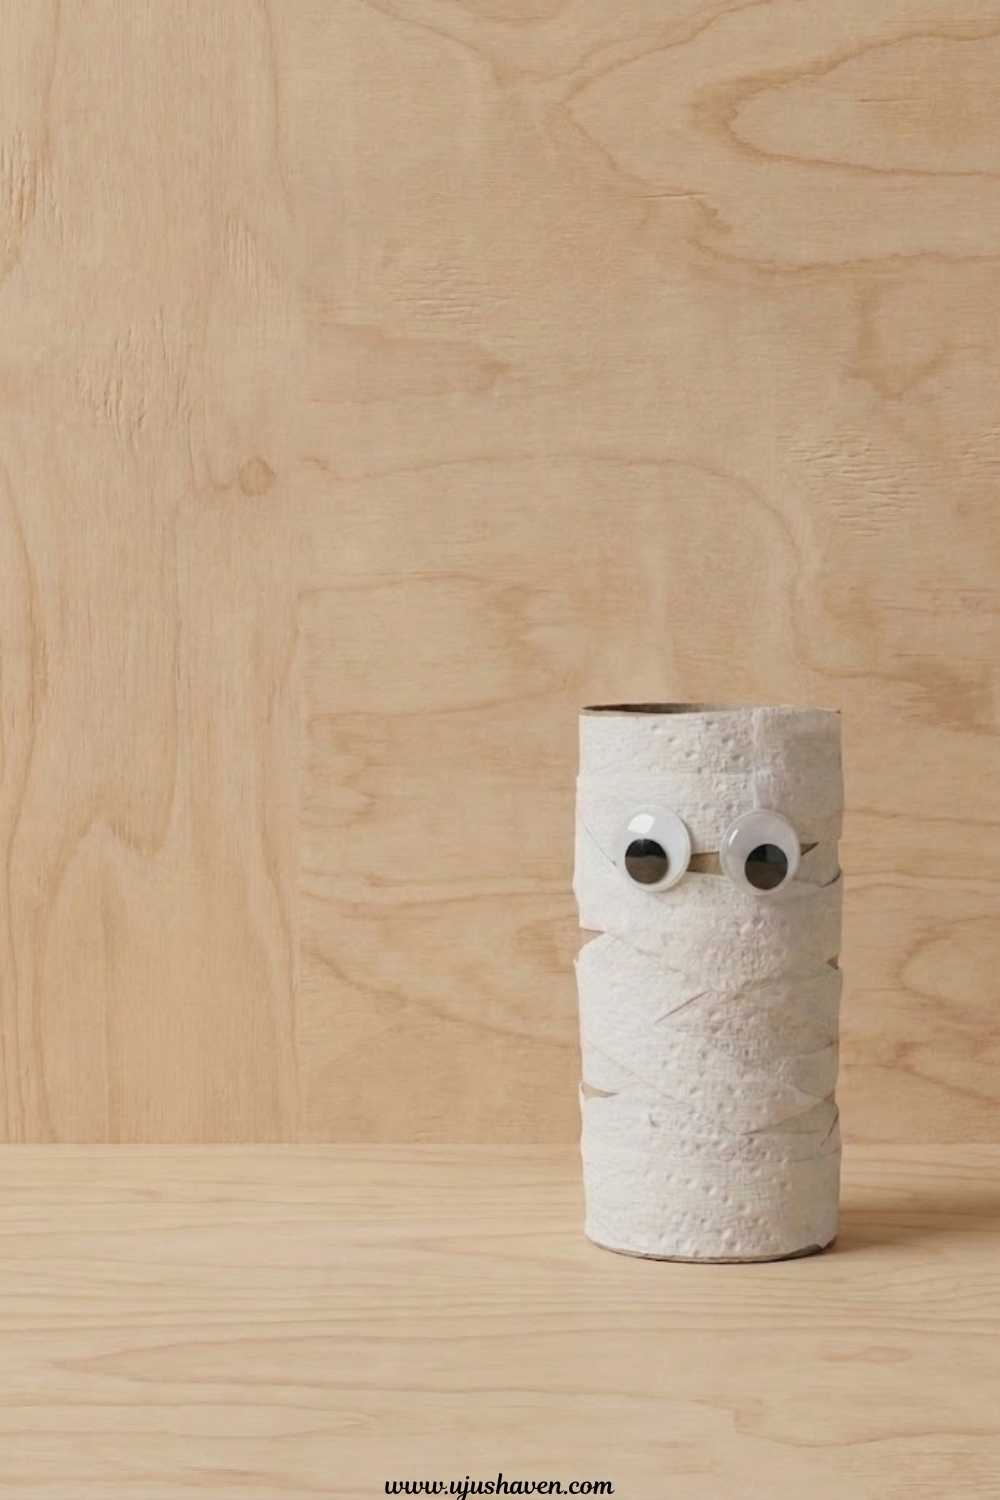
An empty toilet paper roll wrapped in white strips makes a mummy that stands up on its own.
Budget: Under $2
Time: 10 minutes
Best for Ages: 4-9
Skill Level: Easy
Supplies:
- Toilet paper roll
- White paper strips or gauze
- Googly eyes
- Glue
How to make it:
- Wrap white paper strips around the roll, leaving a small gap for the face.
- Glue the ends of the strips down as you go.
- Add googly eyes in the gap.
A tray of these lined up makes a surprisingly good centerpiece for a party table.
5. Paper Plate Spider Web
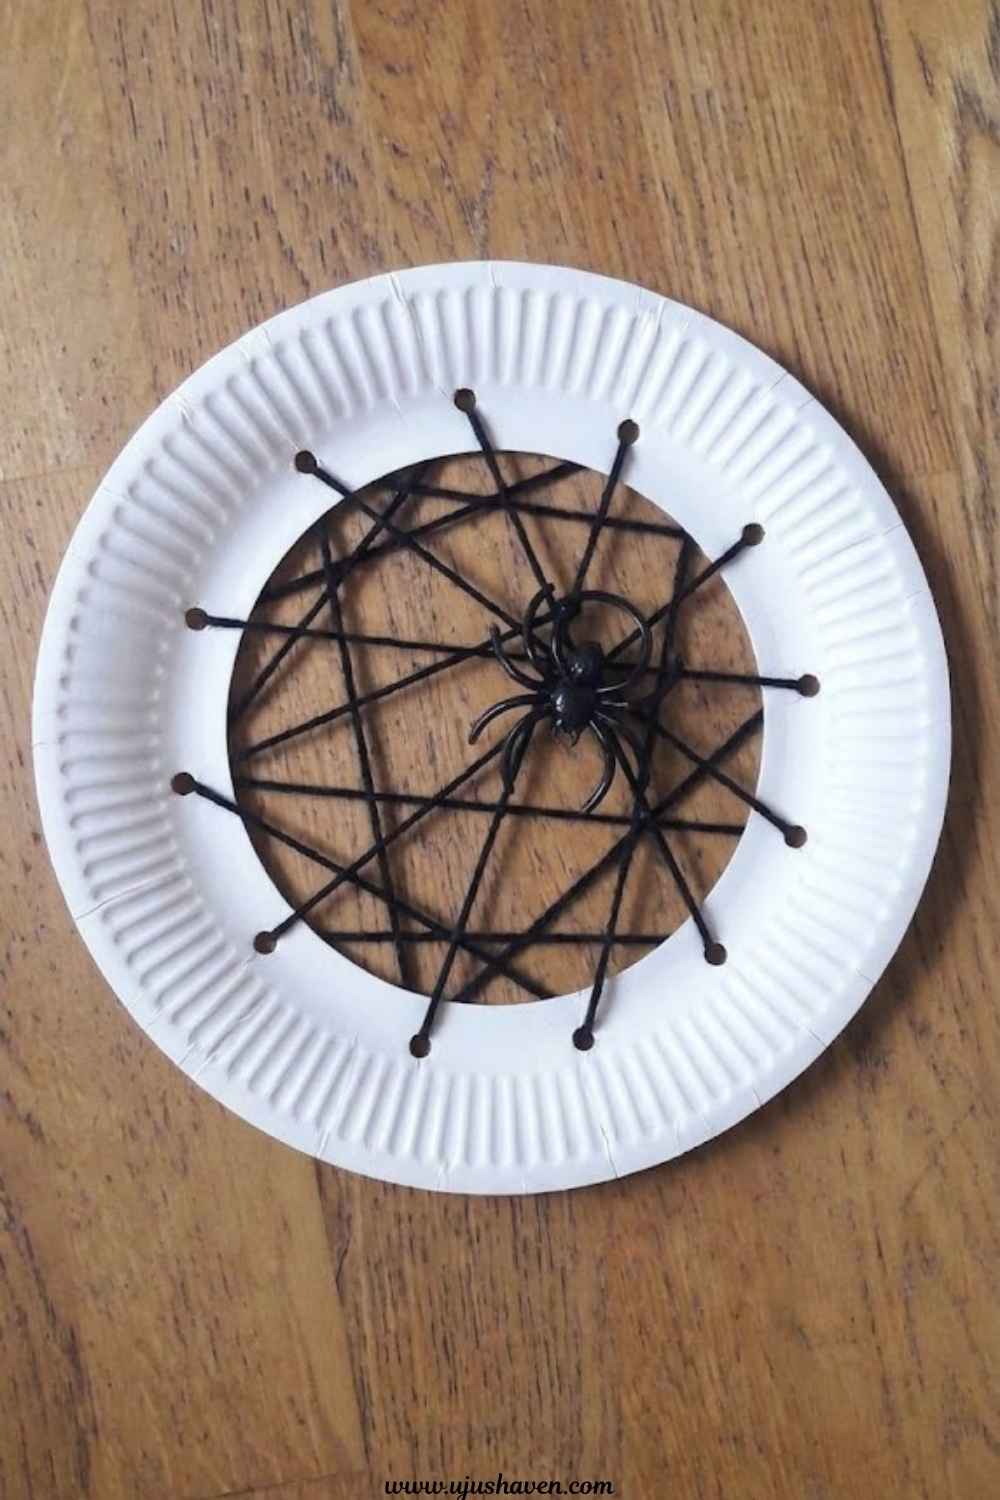
A paper plate strung with yarn turns into a spider web your kid can hang a plastic spider on.
Budget: Under $2
Time: 15 minutes
Best for Ages: 5-9
Skill Level: Easy
Supplies:
- White paper plate
- Black yarn or string
- Hole punch
- Plastic spider ring or toy
How to make it:
- Punch evenly spaced holes around the rim of the plate.
- Cut the center out of the plate, leaving just the rim.
- Thread yarn back and forth across the open center, looping through the holes to form a web pattern.
- Tie a plastic spider onto the finished web.
Kids can weave the yarn however they like, so no two webs come out looking the same.
6. Popsicle Stick Frankenstein
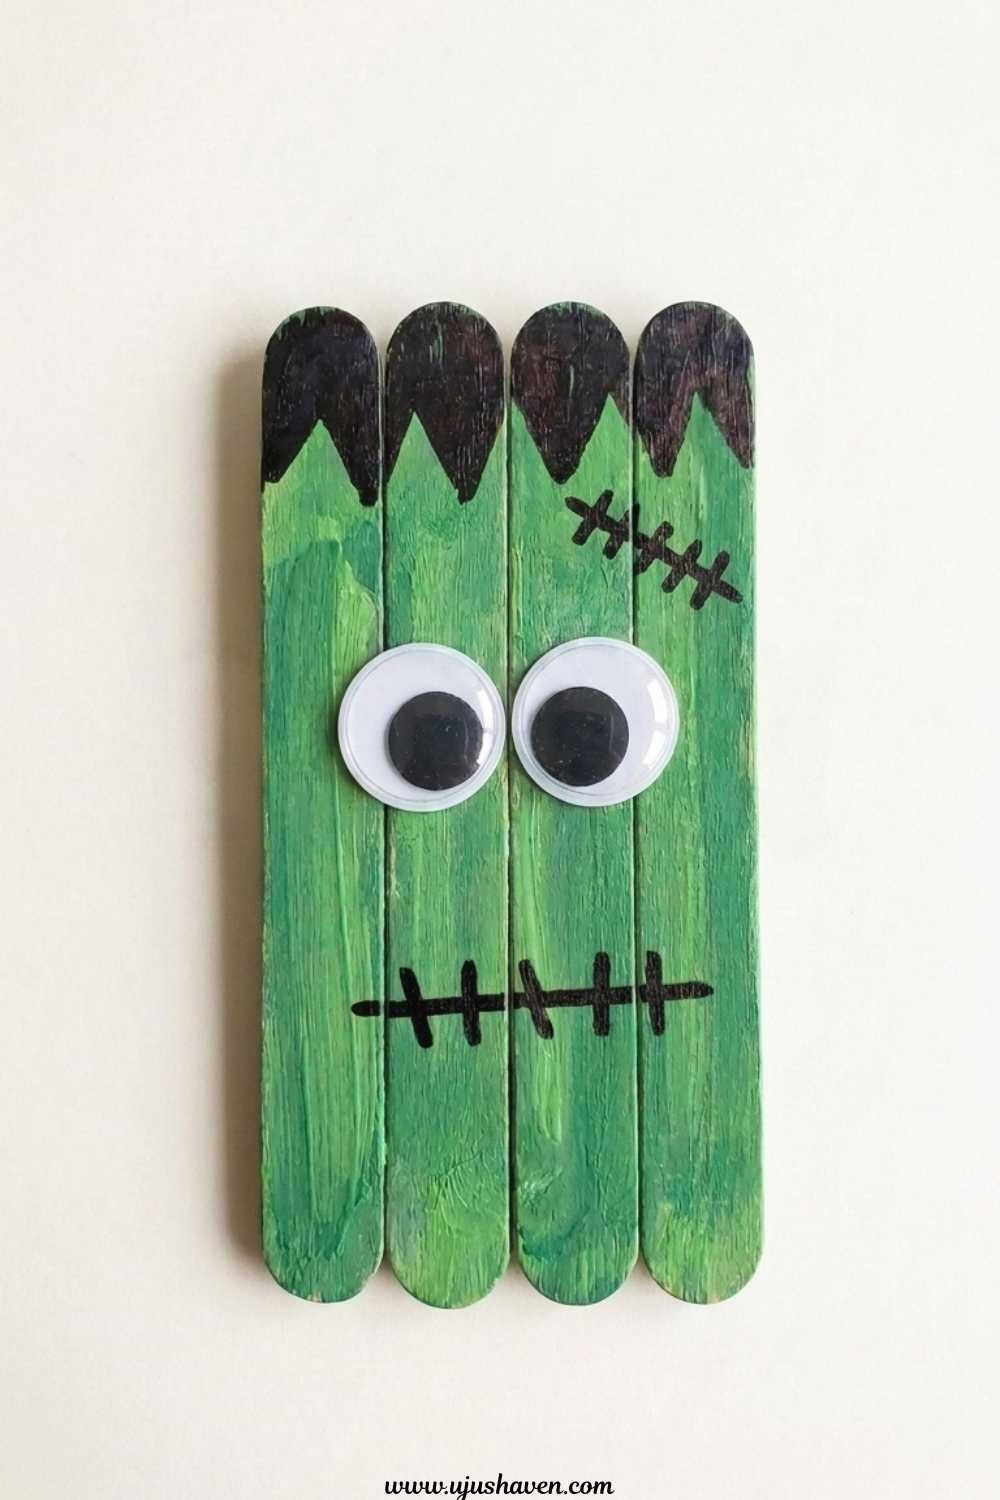
A row of popsicle sticks becomes a Frankenstein face in just a few steps.
Budget: Under $2
Time: 10 minutes
Best for Ages: 4-9
Skill Level: Easy
Supplies:
- 4-5 popsicle sticks
- Green paint or green construction paper
- Black marker
- Googly eyes
How to make it:
- Lay the popsicle sticks side by side and glue a small strip across the back to hold them together.
- Paint the front green, or cover it with green paper.
- Add googly eyes, black marker stitches, and hair with the marker.
This one pairs well with a full afternoon of stick crafts.
There’s a whole list of 15 Easy Popsicle Stick Crafts for Kids They’ll Love Making if this style is a hit.
7. Paper Bat Garland
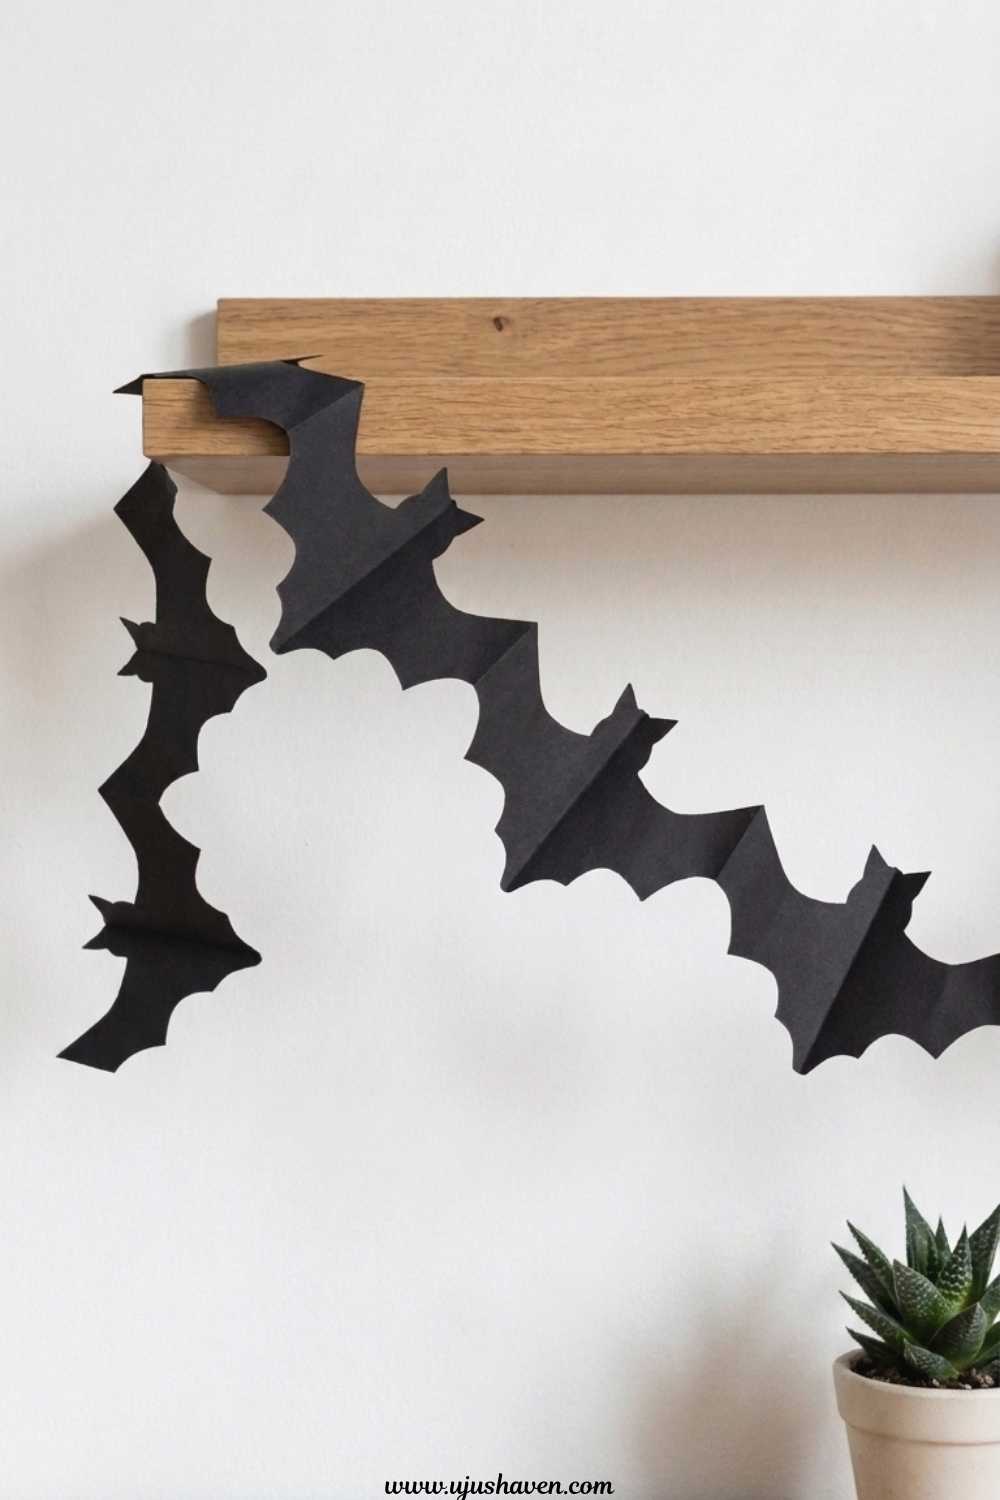
Simple bat silhouettes strung together make an easy no-fuss Halloween banner.
Budget: Under $2
Time: 15 minutes
Best for Ages: 5-10
Skill Level: Easy
Supplies:
- Black construction paper
- String or twine
- Hole punch
- Tape
How to make it:
- Fold black paper in half and cut a simple bat shape, so each fold opens into a symmetrical bat.
- Punch a small hole in the top of each bat.
- Thread the bats onto string, spacing them evenly.
- Tape the ends of the string up along a wall or window.
A batch of ten bats takes barely any time once the folding trick clicks for kids.
8. Foam Sticker Monster Treat Bags
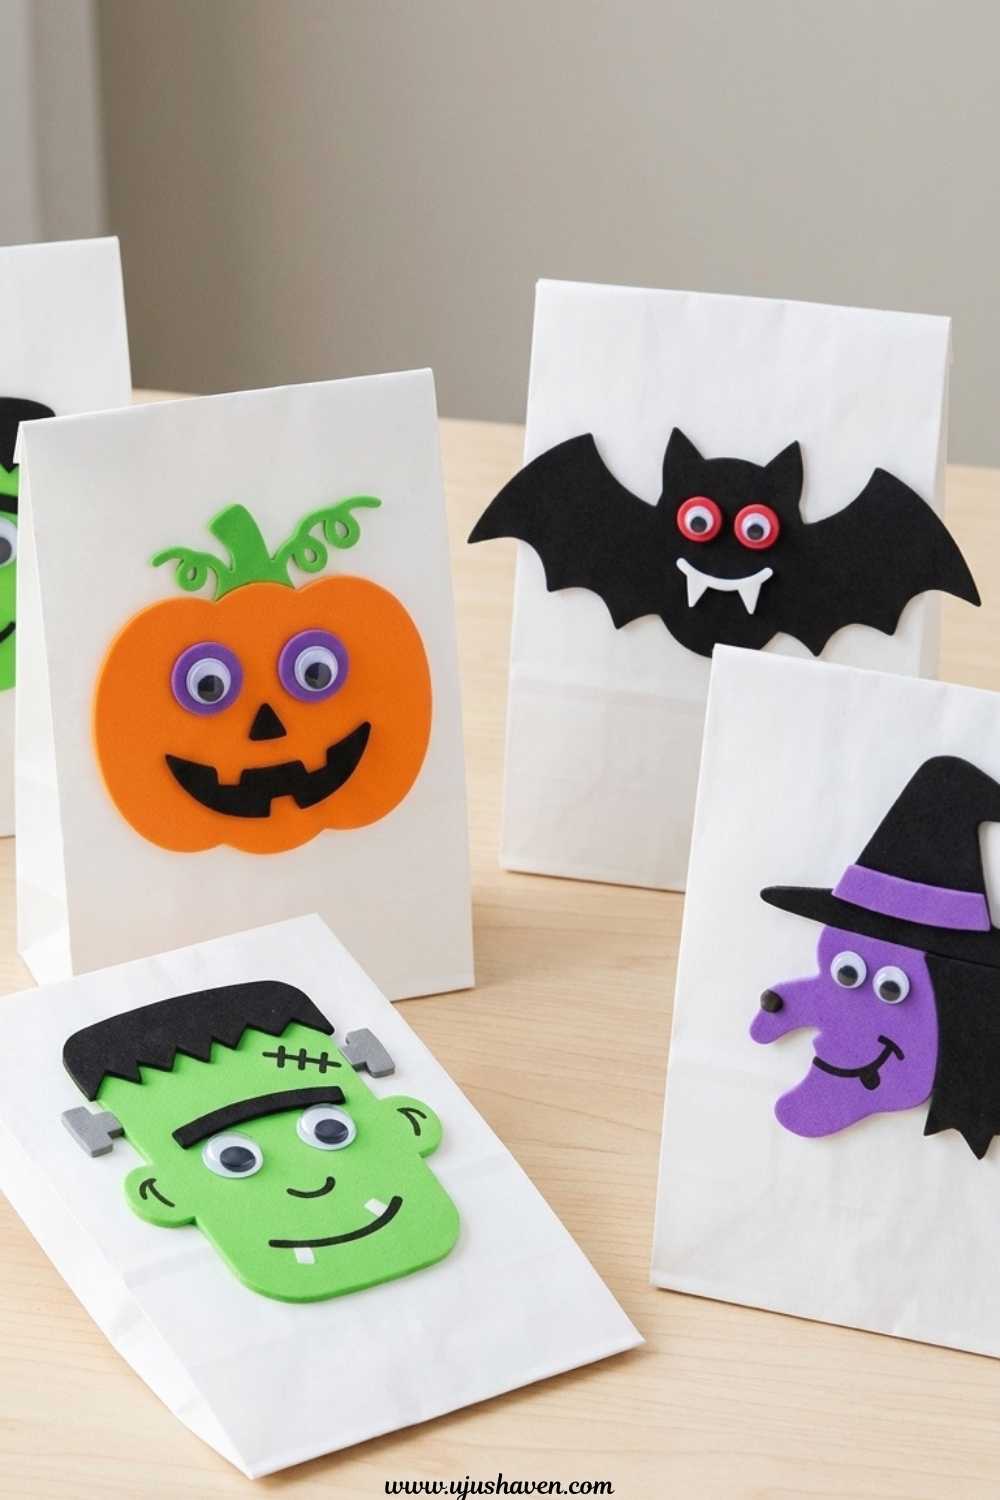
Plain paper treat bags turn into silly monsters with just foam stickers.
Budget: Under $2
Time: 10 minutes
Best for Ages: 3-8
Skill Level: Easy
Supplies:
- Paper treat bags
- Foam stickers (eyes, teeth, shapes)
- Markers (optional)
How to make it:
- Lay a treat bag flat on the table.
- Peel and stick foam eyes, teeth, and other shapes onto the front to build a monster face.
- Add extra details with markers if desired.
Once filled with candy, these double as party favors kids get to keep.
No-Mess Halloween Crafts for Busy Parents
These three ideas skip paint, glue drying time, and cleanup almost entirely, which makes them a good pick for a busy afternoon.
9. No-Mess Window Cling Ghosts
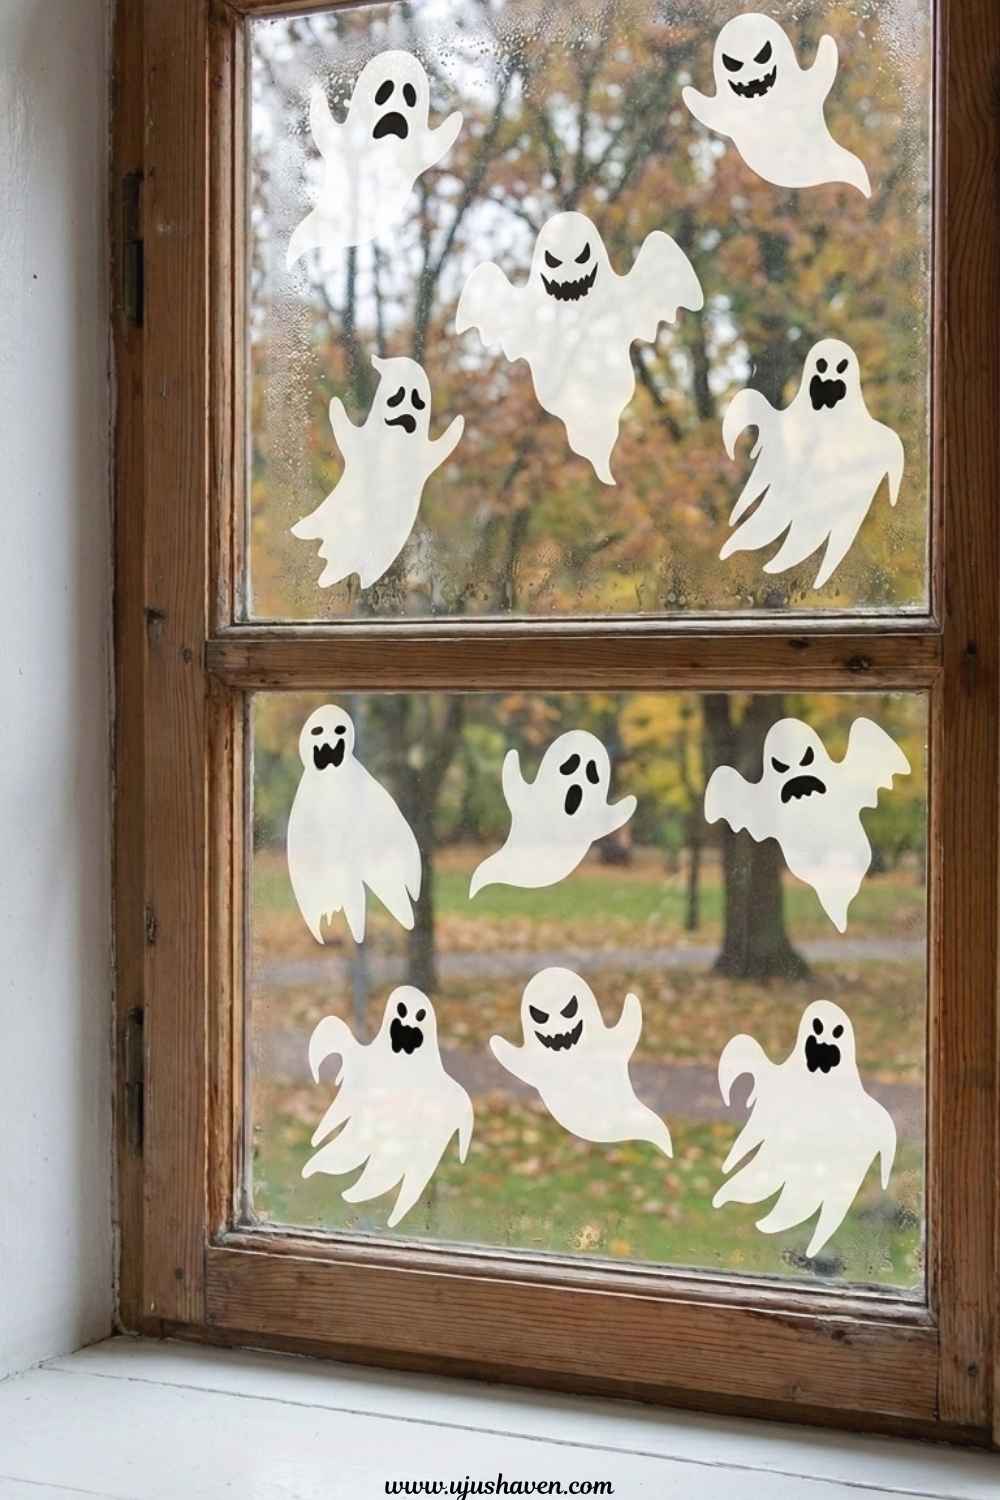
Precut foam or sticker ghosts press right onto a window with no adhesive needed beyond what’s already on them.
Budget: Under $2
Time: 5 minutes
Best for Ages: 2-6
Skill Level: Very Easy
Supplies:
- Foam window cling stickers (ghost shapes)
How to make it:
- Peel the backing off each cling.
- Press it onto a clean window.
- Rearrange as many times as your kid wants.
This is the one to keep in your back pocket for a day when patience is short.
10. Sticker Pumpkin Treat Bags
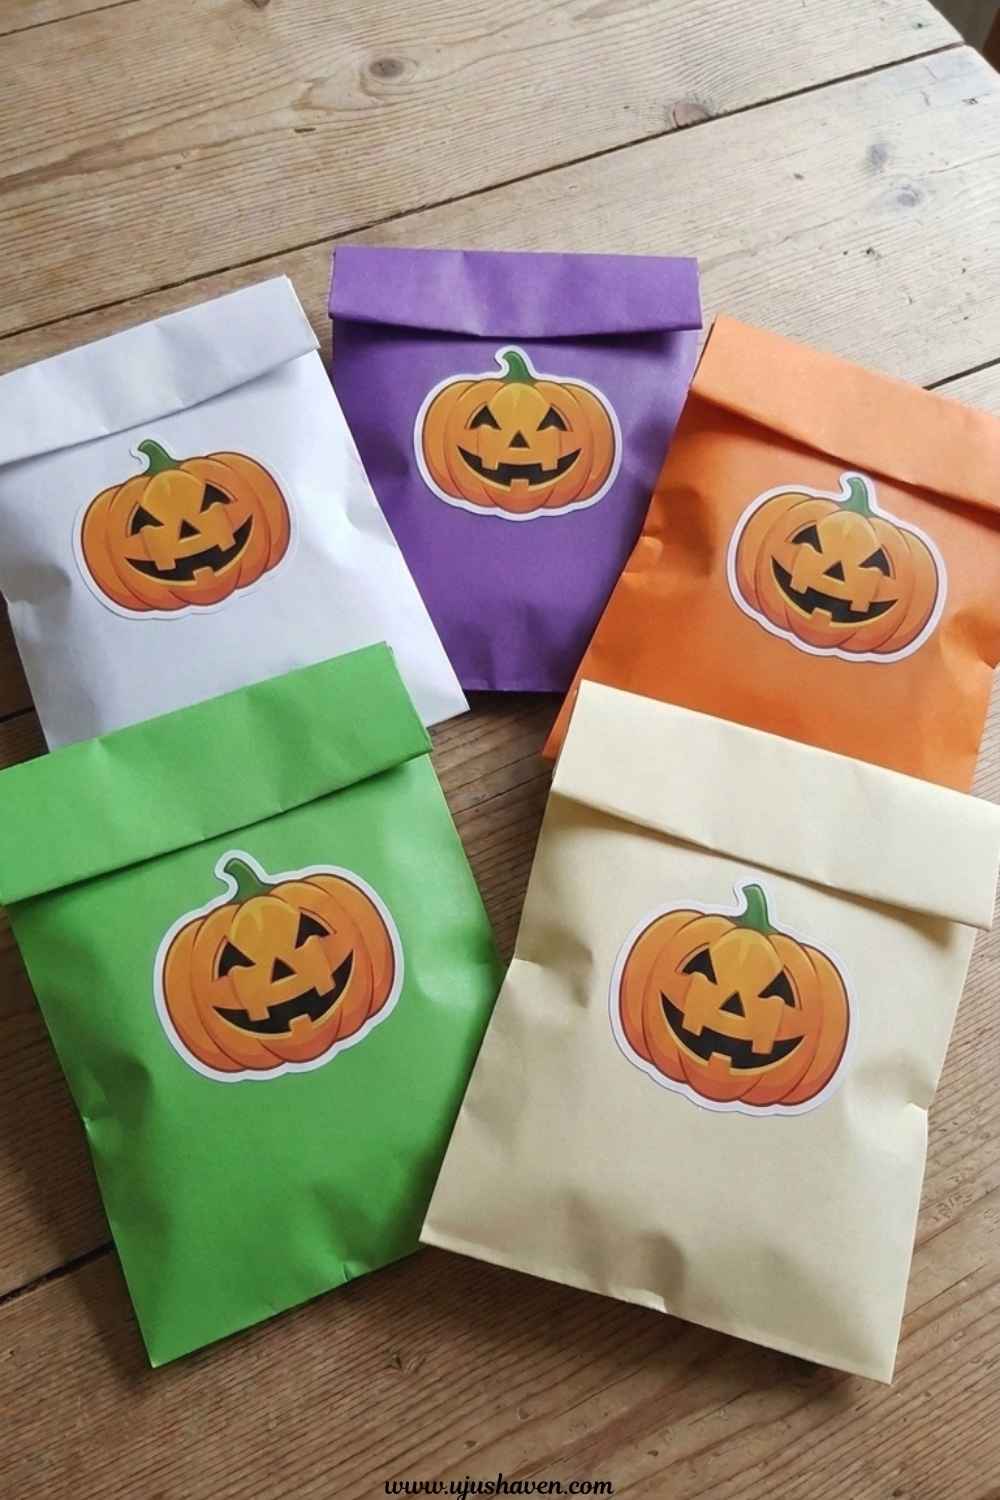
Foam pumpkin stickers pressed onto plain bags make a decoration with zero glue or mess involved.
Budget: Under $2
Time: 5 minutes
Best for Ages: 2-6
Skill Level: Very Easy
Supplies:
- Paper treat bags
- Foam pumpkin stickers
How to make it:
- Peel each sticker.
- Press it onto the front of a treat bag.
- Fill the bag with candy or small toys once finished.
Toddlers especially enjoy the peel-and-stick part on repeat.
11. Foam Sticker Masks
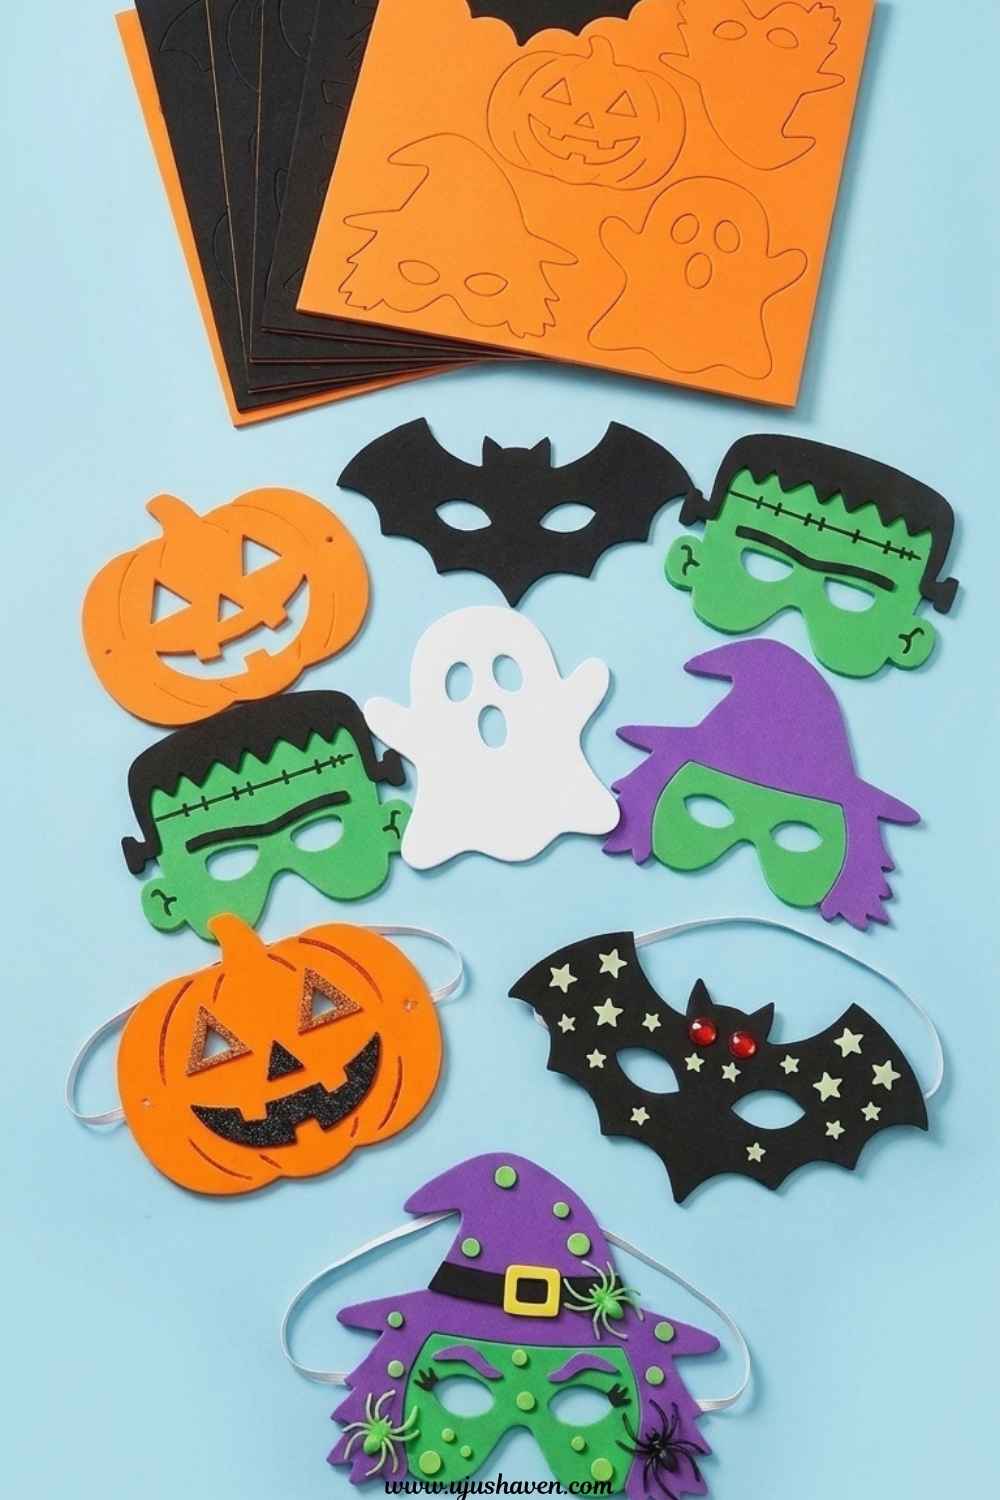
Precut foam masks decorated with stickers give kids a wearable craft with no cutting or gluing required.
Budget: Under $2
Time: 10 minutes
Best for Ages: 3-8
Skill Level: Very Easy
Supplies:
- Foam mask base
- Foam stickers
- Elastic string (usually included)
How to make it:
- Let kids arrange and stick foam pieces onto the mask base.
- Attach the elastic string if it isn’t already in place.
- Try the mask on for size.
A good option right before a costume parade or party, since it takes almost no setup.
Halloween Crafts Preschoolers Can Finish Without Frustration
These three are sized down for shorter attention spans and smaller hands.
12. Cotton Ball Ghost
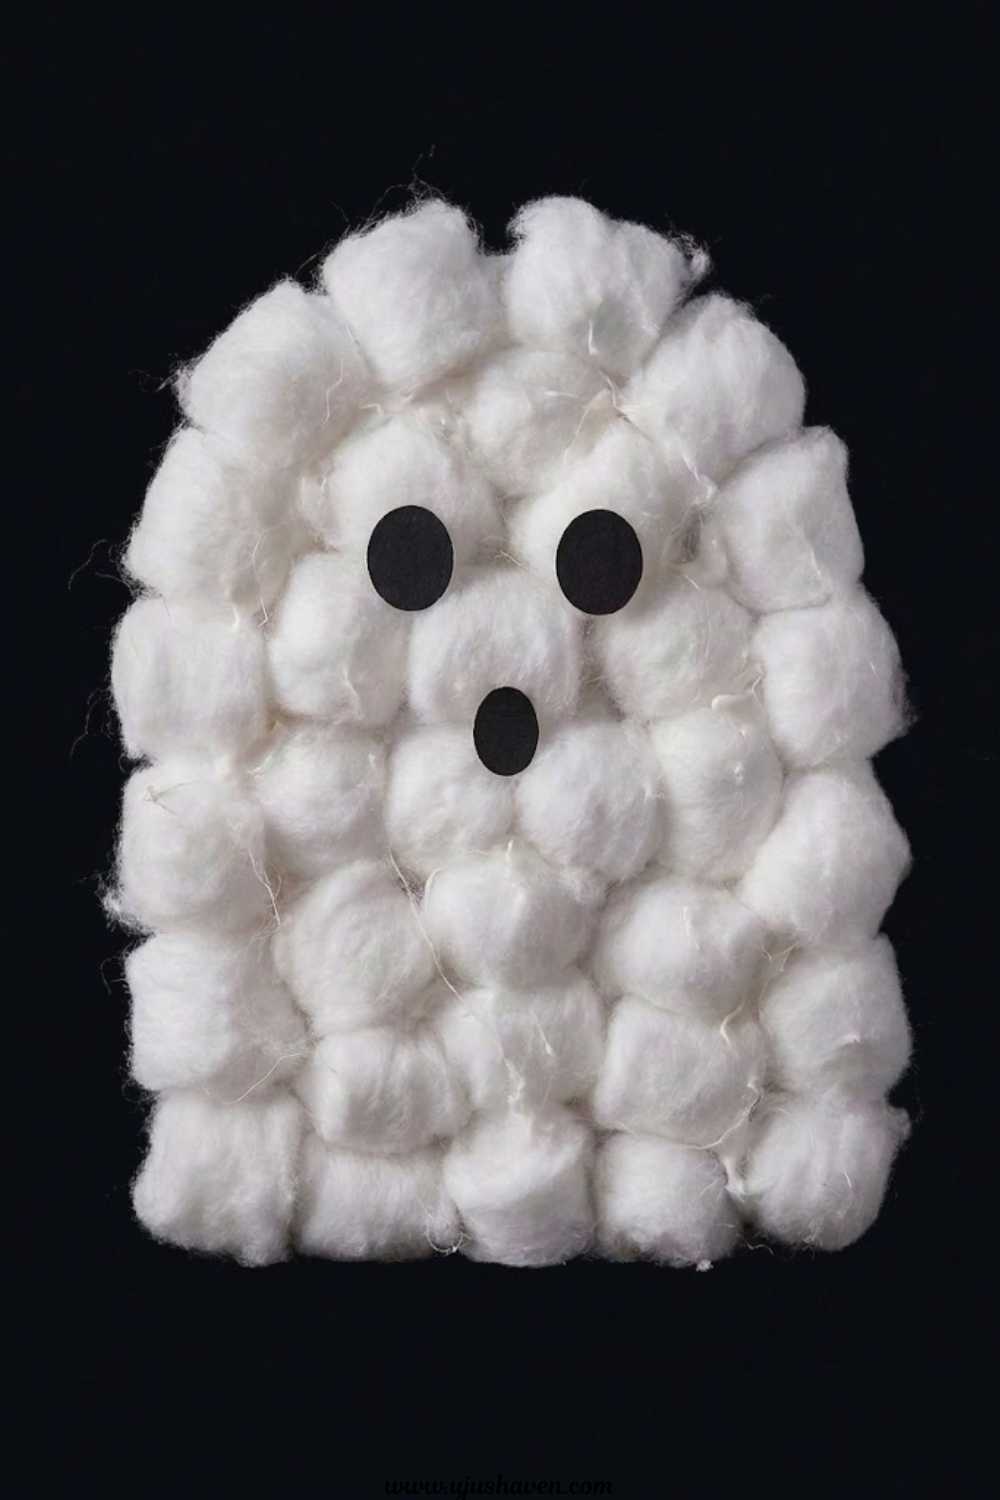
Cotton balls glued onto a paper shape make a soft, fluffy ghost that’s forgiving for little hands.
Budget: Under $2
Time: 10 minutes
Best for Ages: 2-5
Skill Level: Very Easy
Supplies:
- White cotton balls
- Construction paper (any color for the background)
- Googly eyes
- Glue
How to make it:
- Draw or trace a ghost outline on the paper.
- Have your child glue cotton balls inside the outline.
- Add googly eyes once the shape is filled in.
The cotton balls forgive uneven gluing, which makes this a good confidence-builder for younger kids.
13. Handprint Spider Craft
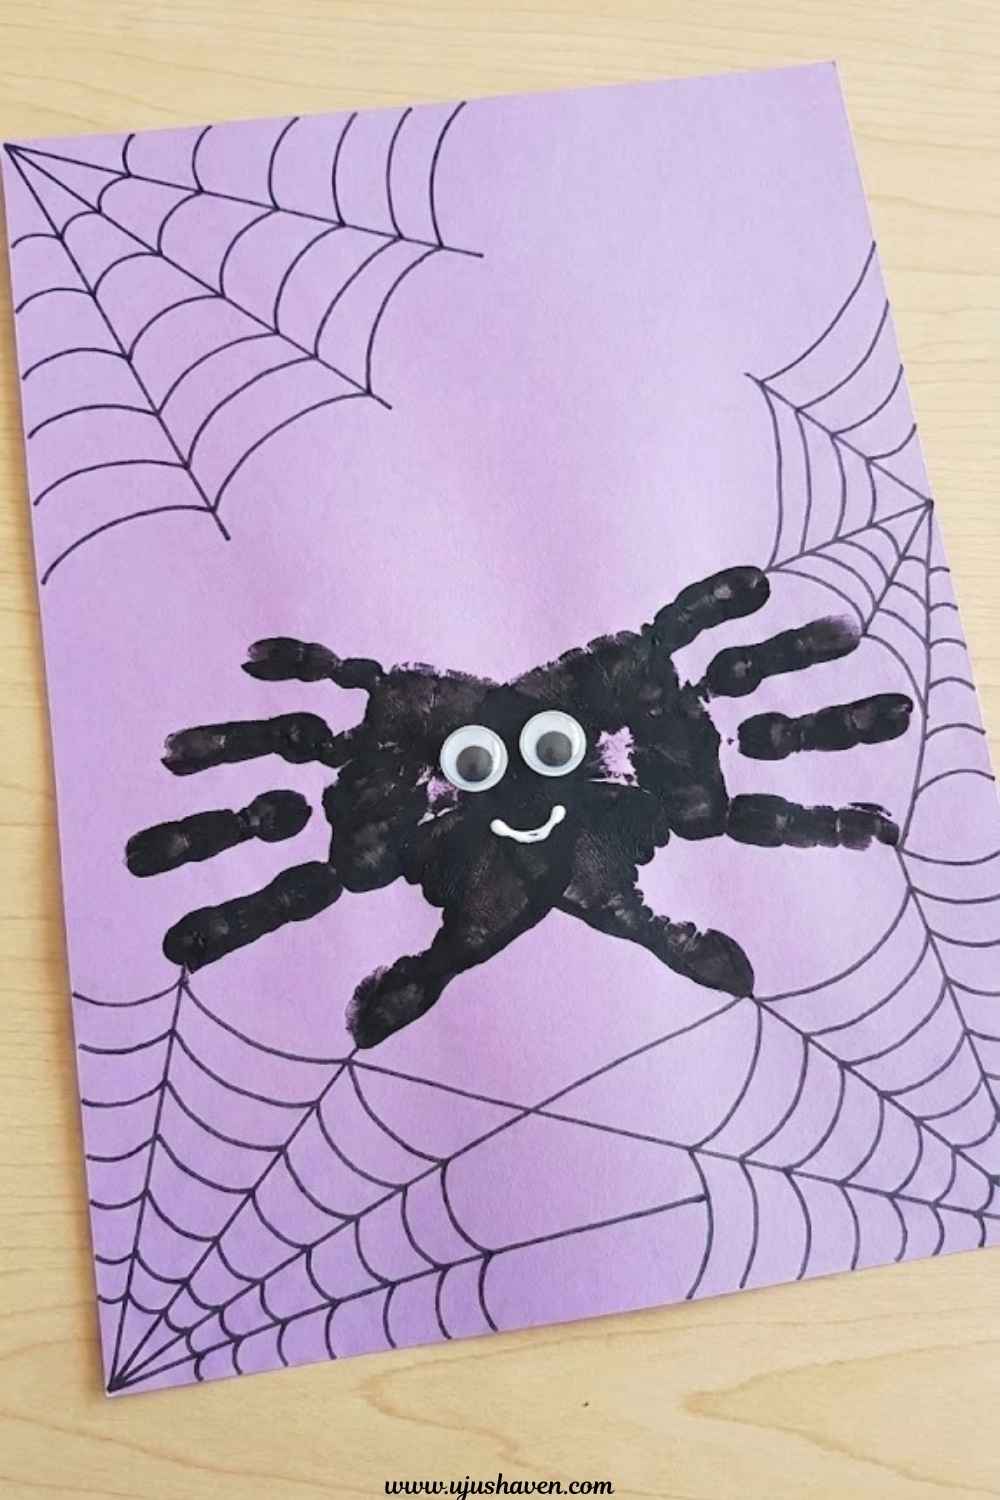
A traced handprint becomes a spider with just a few added details.
Budget: Under $1
Time: 10 minutes
Best for Ages: 2-6
Skill Level: Very Easy
Supplies:
- Black paint or black construction paper
- White paper (for the background)
- Googly eyes
How to make it:
- Paint your child’s hand black, or trace their hand onto black paper and cut it out.
- Press or glue the handprint onto white paper with fingers spread as the legs.
- Add googly eyes above the palm.
A sweet one to keep, since it captures a hand size at a specific age.
14. Paper Plate Jack-O-Lantern
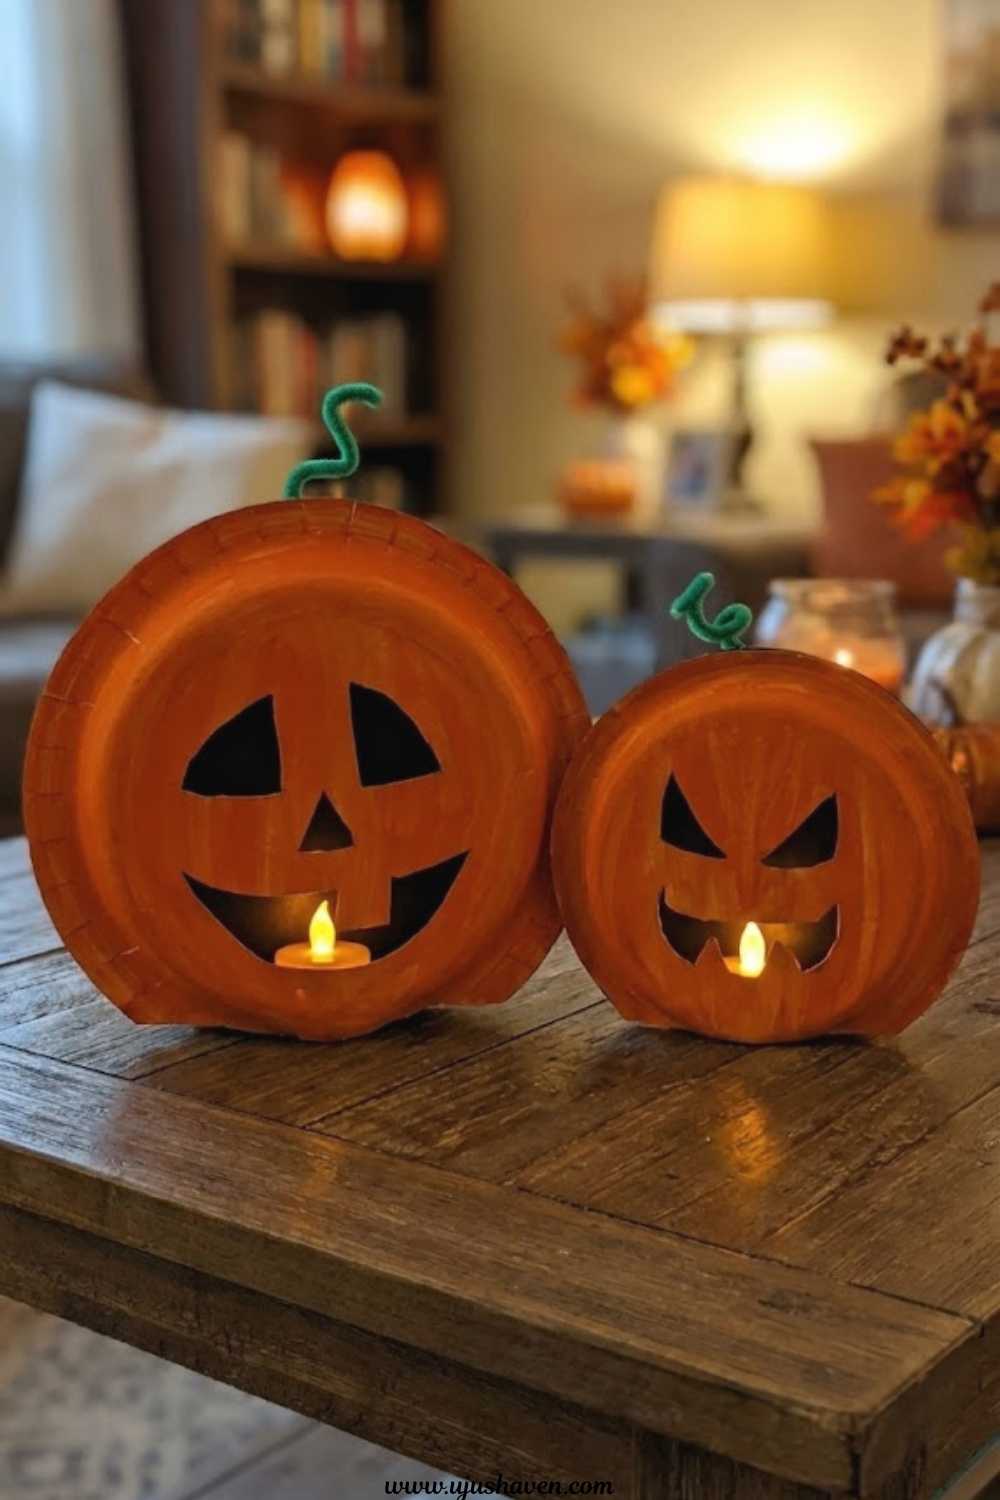
An orange paper plate with a simple cut-out face makes a jack-o-lantern preschoolers can manage almost entirely alone.
Budget: Under $2
Time: 15 minutes
Best for Ages: 3-6
Skill Level: Easy
Supplies:
- Orange paper plate (or white plate painted orange)
- Black construction paper
- Glue
How to make it:
- Paint the plate orange and let it dry, if needed.
- Cut simple triangle eyes and a jagged mouth from black paper.
- Glue the face onto the plate.
A good companion project to the Paper Plate Ice Cream Craft if your child enjoys the paper plate format.
Best Dollar Tree Halloween Crafts for Classroom Parties
These three are built for making in batches, which makes them useful for teachers, room parents, or anyone hosting a group of kids.
15. Ghost Lollipop Favors
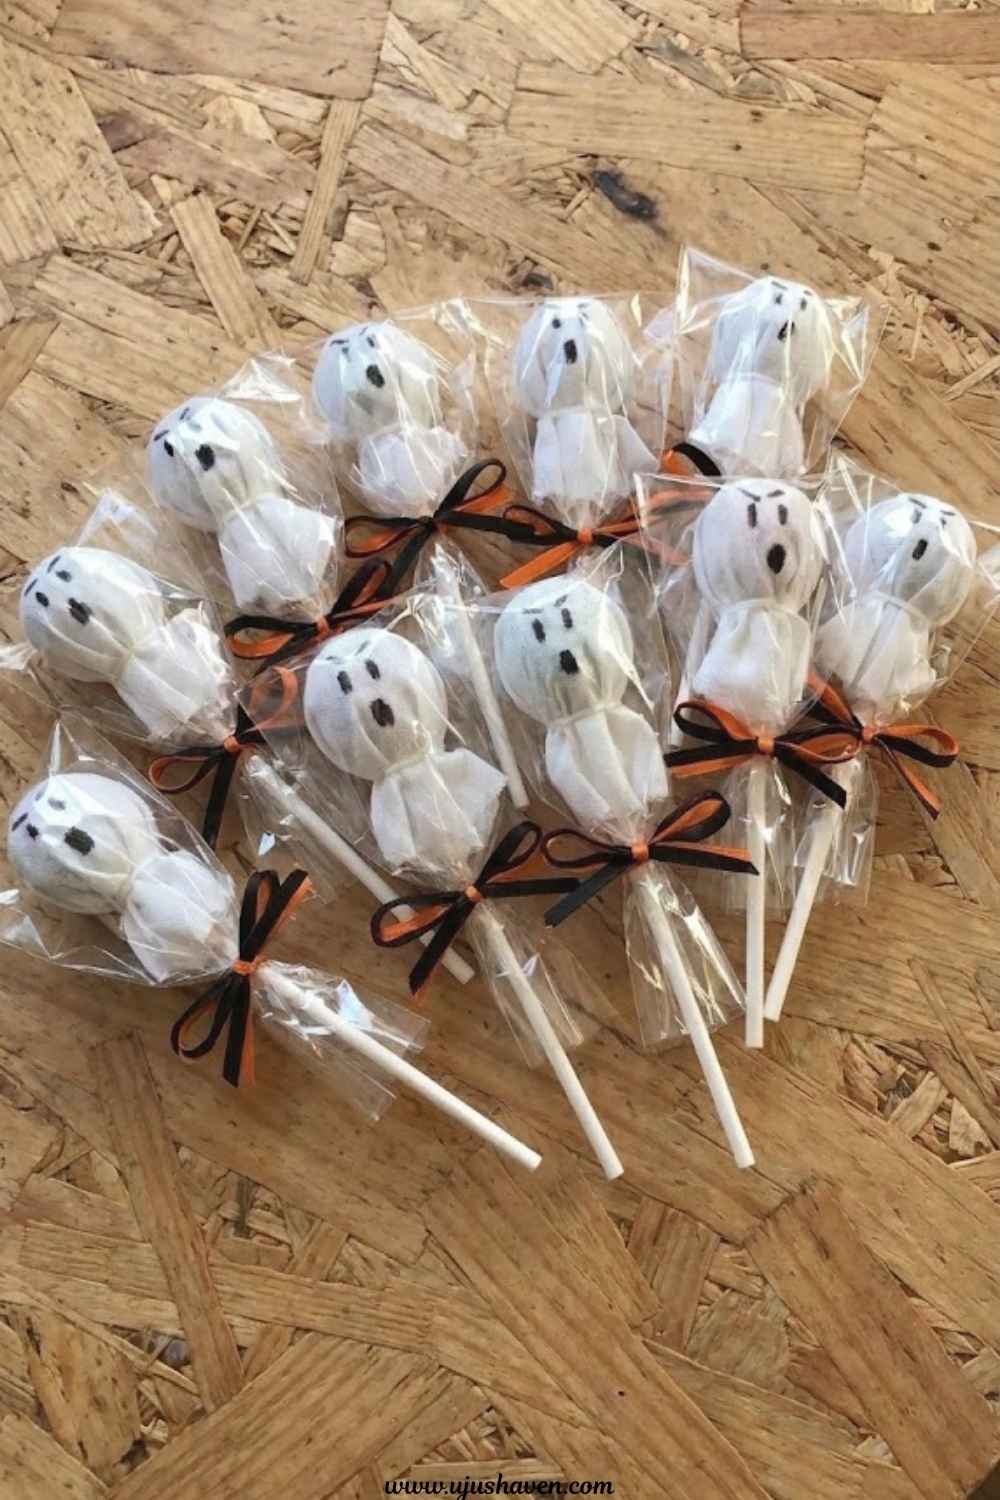
A lollipop wrapped in a tissue ghost makes a simple, no-mess party favor kids can make themselves.
Budget: Under $1 per favor
Time: 5 minutes per favor
Best for Ages: 4-9
Skill Level: Very Easy
Supplies:
- Lollipops
- White tissue paper
- Black marker
- Small rubber bands or ribbon
How to make it:
- Cover a lollipop with a square of tissue paper, letting the stick poke through the bottom.
- Gather the tissue around the stick and secure it with a rubber band or ribbon.
- Draw a small ghost face on the front with marker.
A good project to send home in a party favor bag once everyone’s made one.
16. Paper Plate Halloween Wreath
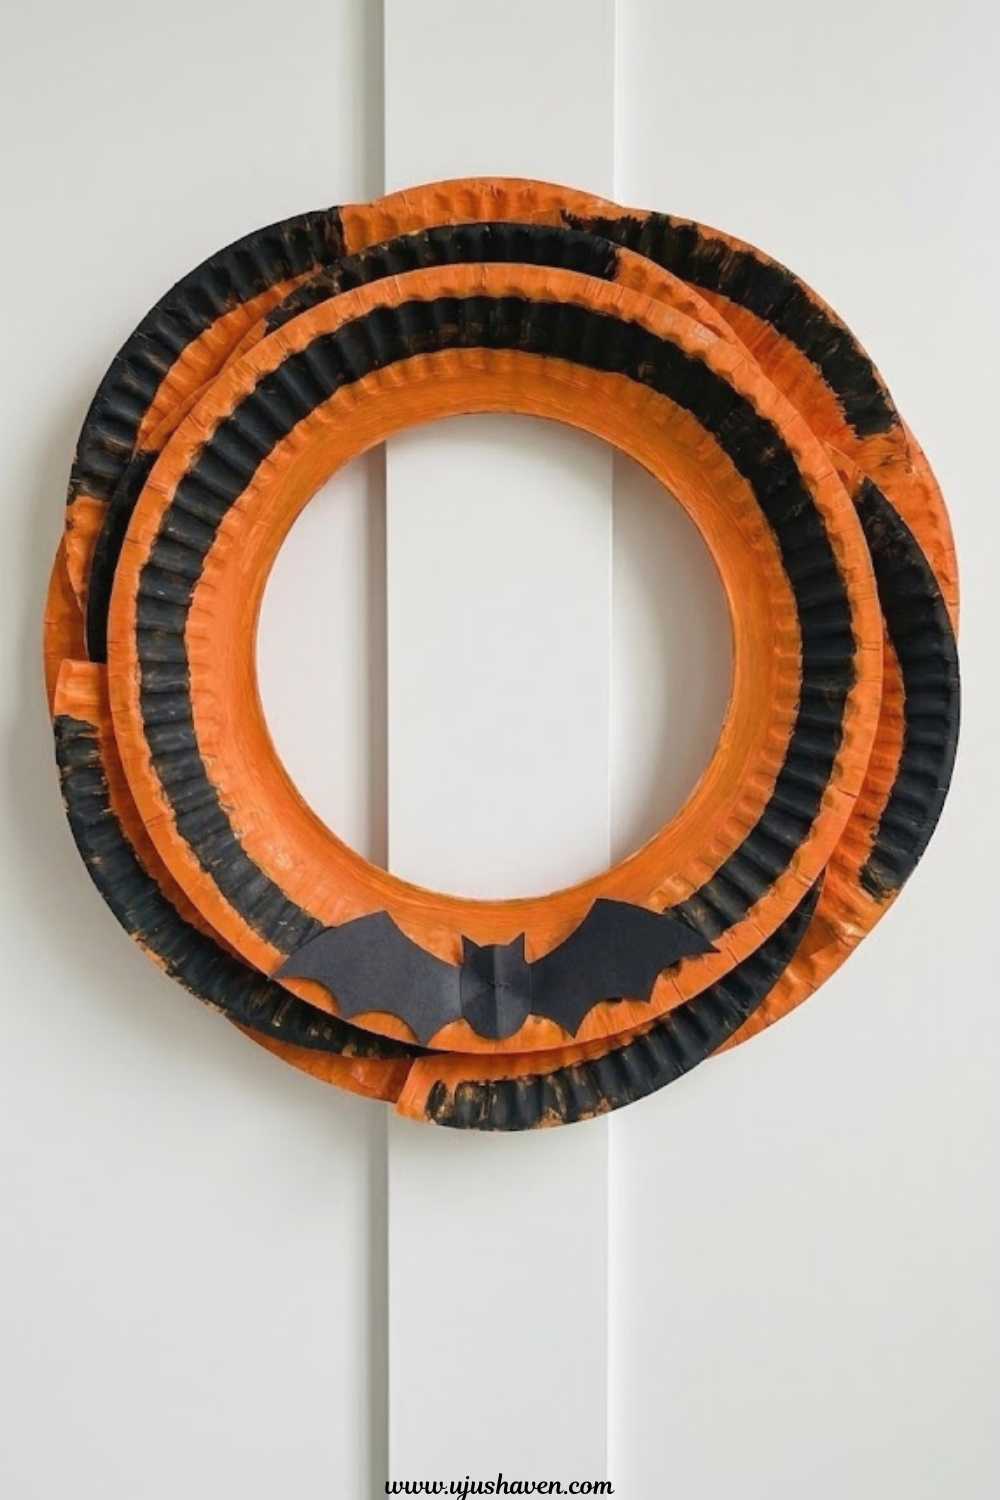
Several paper plates cut into pieces and layered together make a wreath that looks far more put-together than the effort required.
Budget: Under $3
Time: 20 minutes
Best for Ages: 6-10
Skill Level: Easy to Medium
Supplies:
- 2-3 paper plates
- Orange and black paint or construction paper
- Scissors
- Glue
How to make it:
- Cut the centers out of the paper plates, keeping the rims.
- Paint the rims orange and black, or wrap them in construction paper.
- Layer the rims together and glue them in place to form a wreath shape.
- Add a small paper bow or bat cutout to finish it off.
This one works well as a group project, with different kids decorating different sections before assembling the final wreath.
17. Yarn-Wrapped Foam Pumpkin
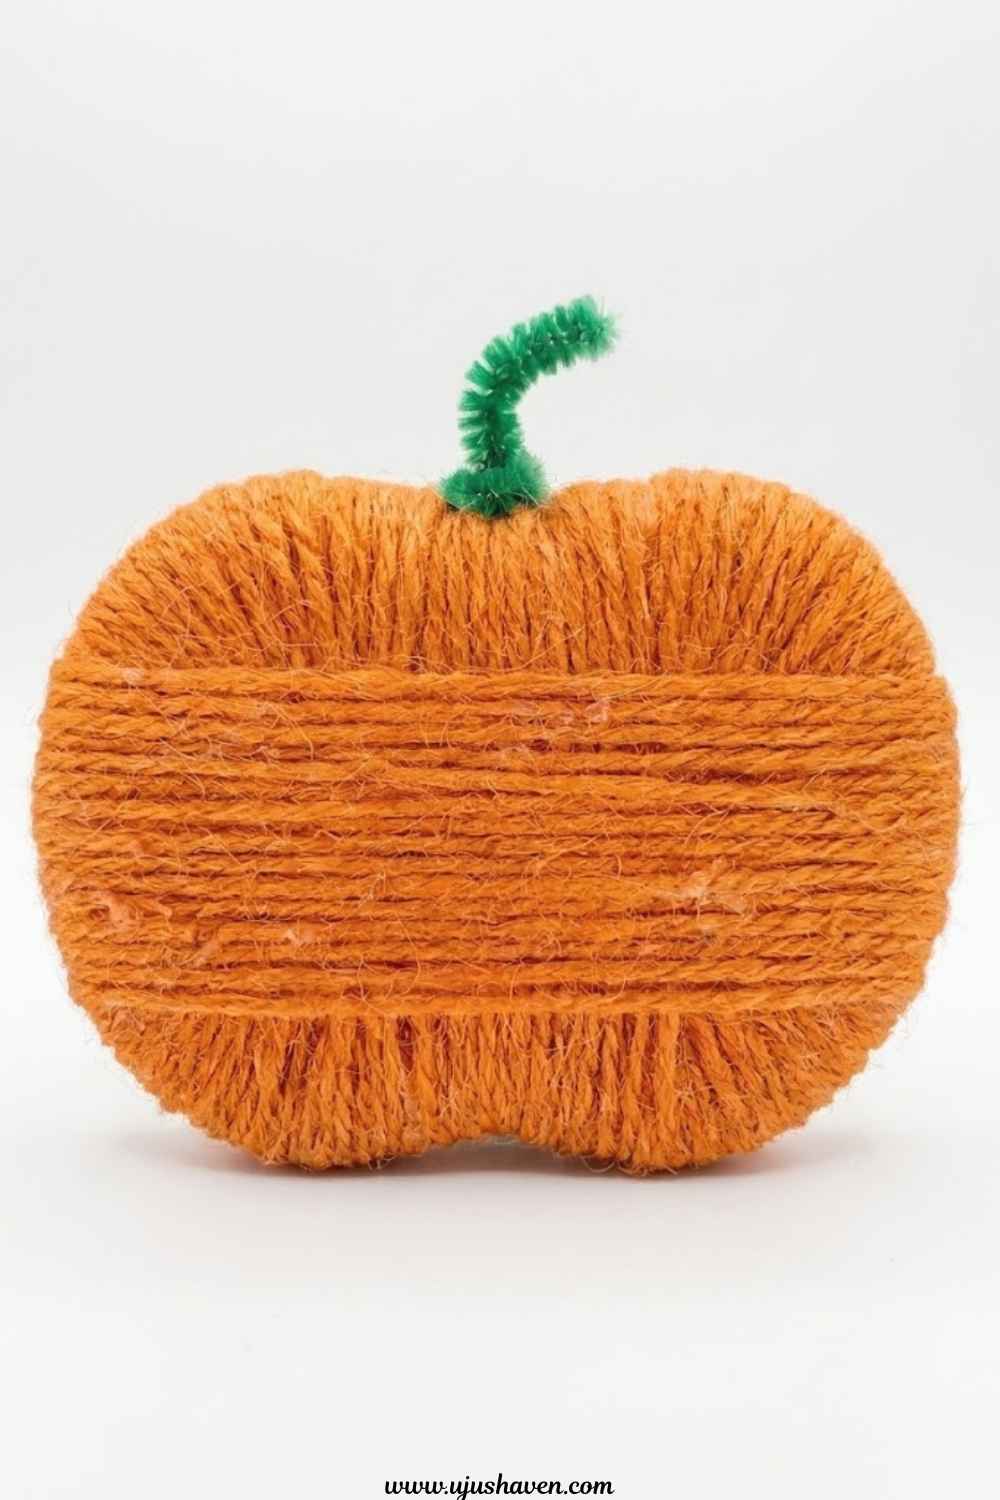
Plain orange yarn wrapped around a foam pumpkin shape gives it texture without any paint or mess.
Budget: Under $2
Time: 15 minutes
Best for Ages: 5-10
Skill Level: Easy
Supplies:
- Foam pumpkin cutout
- Orange yarn
- Glue
- Green pipe cleaner (for the stem)
How to make it:
- Spread a thin layer of glue across the foam pumpkin.
- Wrap yarn around the pumpkin in rows, pressing it into the glue as you go.
- Trim the yarn once the shape is fully covered.
- Twist a small piece of green pipe cleaner into the top for a stem.
The texture makes this one stand out on a shelf next to the flatter paper crafts.
Tips for Making Dollar Tree Halloween Crafts Look Even Better
A few small adjustments go a long way toward making Dollar Tree crafts feel more finished:
- Buy an extra pack of googly eyes. Kids always want more than the craft calls for.
- Let paint dry fully before adding stickers or details, since rushing this step is the most common cause of a craft looking messy.
- Set out a small tray or paper plate under each project to catch loose glitter, glue, or paint.
- Save leftover foam scraps in a bin. They come in handy for the next round of easy Dollar Tree Halloween crafts for kids.
- Let kids adjust proportions and placement themselves. Uneven spider legs and lopsided pumpkin faces usually look more charming than a perfectly symmetrical version.
Frequently Asked Questions About Easy Dollar Tree Halloween Crafts for Kids:
What are the easiest Dollar Tree Halloween crafts for kids?
Crafts that use stickers or precut foam pieces, like the window cling ghosts or foam sticker treat bags, tend to be the easiest since they skip glue and drying time entirely.
How much do Dollar Tree Halloween crafts usually cost?
Most individual crafts in this list cost $2 or less, and a full afternoon of crafting for one child rarely goes above $10 in supplies.
Are these crafts good for classrooms?
Yes. The assembly-line pumpkin kits, ghost lollipop favors, and paper plate wreath were built with group settings in mind, since supplies can be prepped ahead of time for multiple kids at once.
Can toddlers do any of these crafts?
The no-mess section and the preschooler section both work well for younger kids, especially the window clings, cotton ball ghost, and handprint spider.
Halloween crafting doesn’t need a big supply haul or a long afternoon to feel worthwhile.
A single trip to Dollar Tree covers nearly everything on this list, and most of these easy Dollar Tree Halloween crafts for kids come together in under 15 minutes.
Pick one or two to start with, and the rest of the list will be there for the next rainy afternoon or classroom party that needs a quick, budget-friendly idea.
If paper plates and popsicle sticks turned out to be a hit, the Paper Plate Watermelon Craft and 15 Easy Popsicle Stick Crafts for Kids are worth trying next.